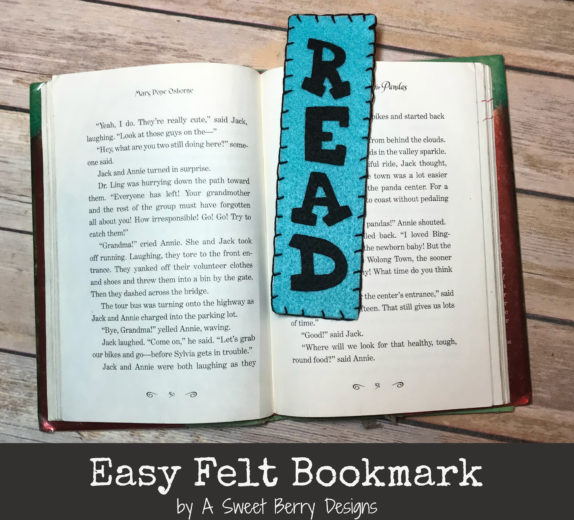
With year round school back in the swing of things, reading has become a daily routine! One thing my boys are always looking for is a bookmark. This fun bookmark was super simple and could also be made in different colors and customized with any sayings or designs!
Skill level: Basic and simple sewing skills
Completion time: 30 minutes
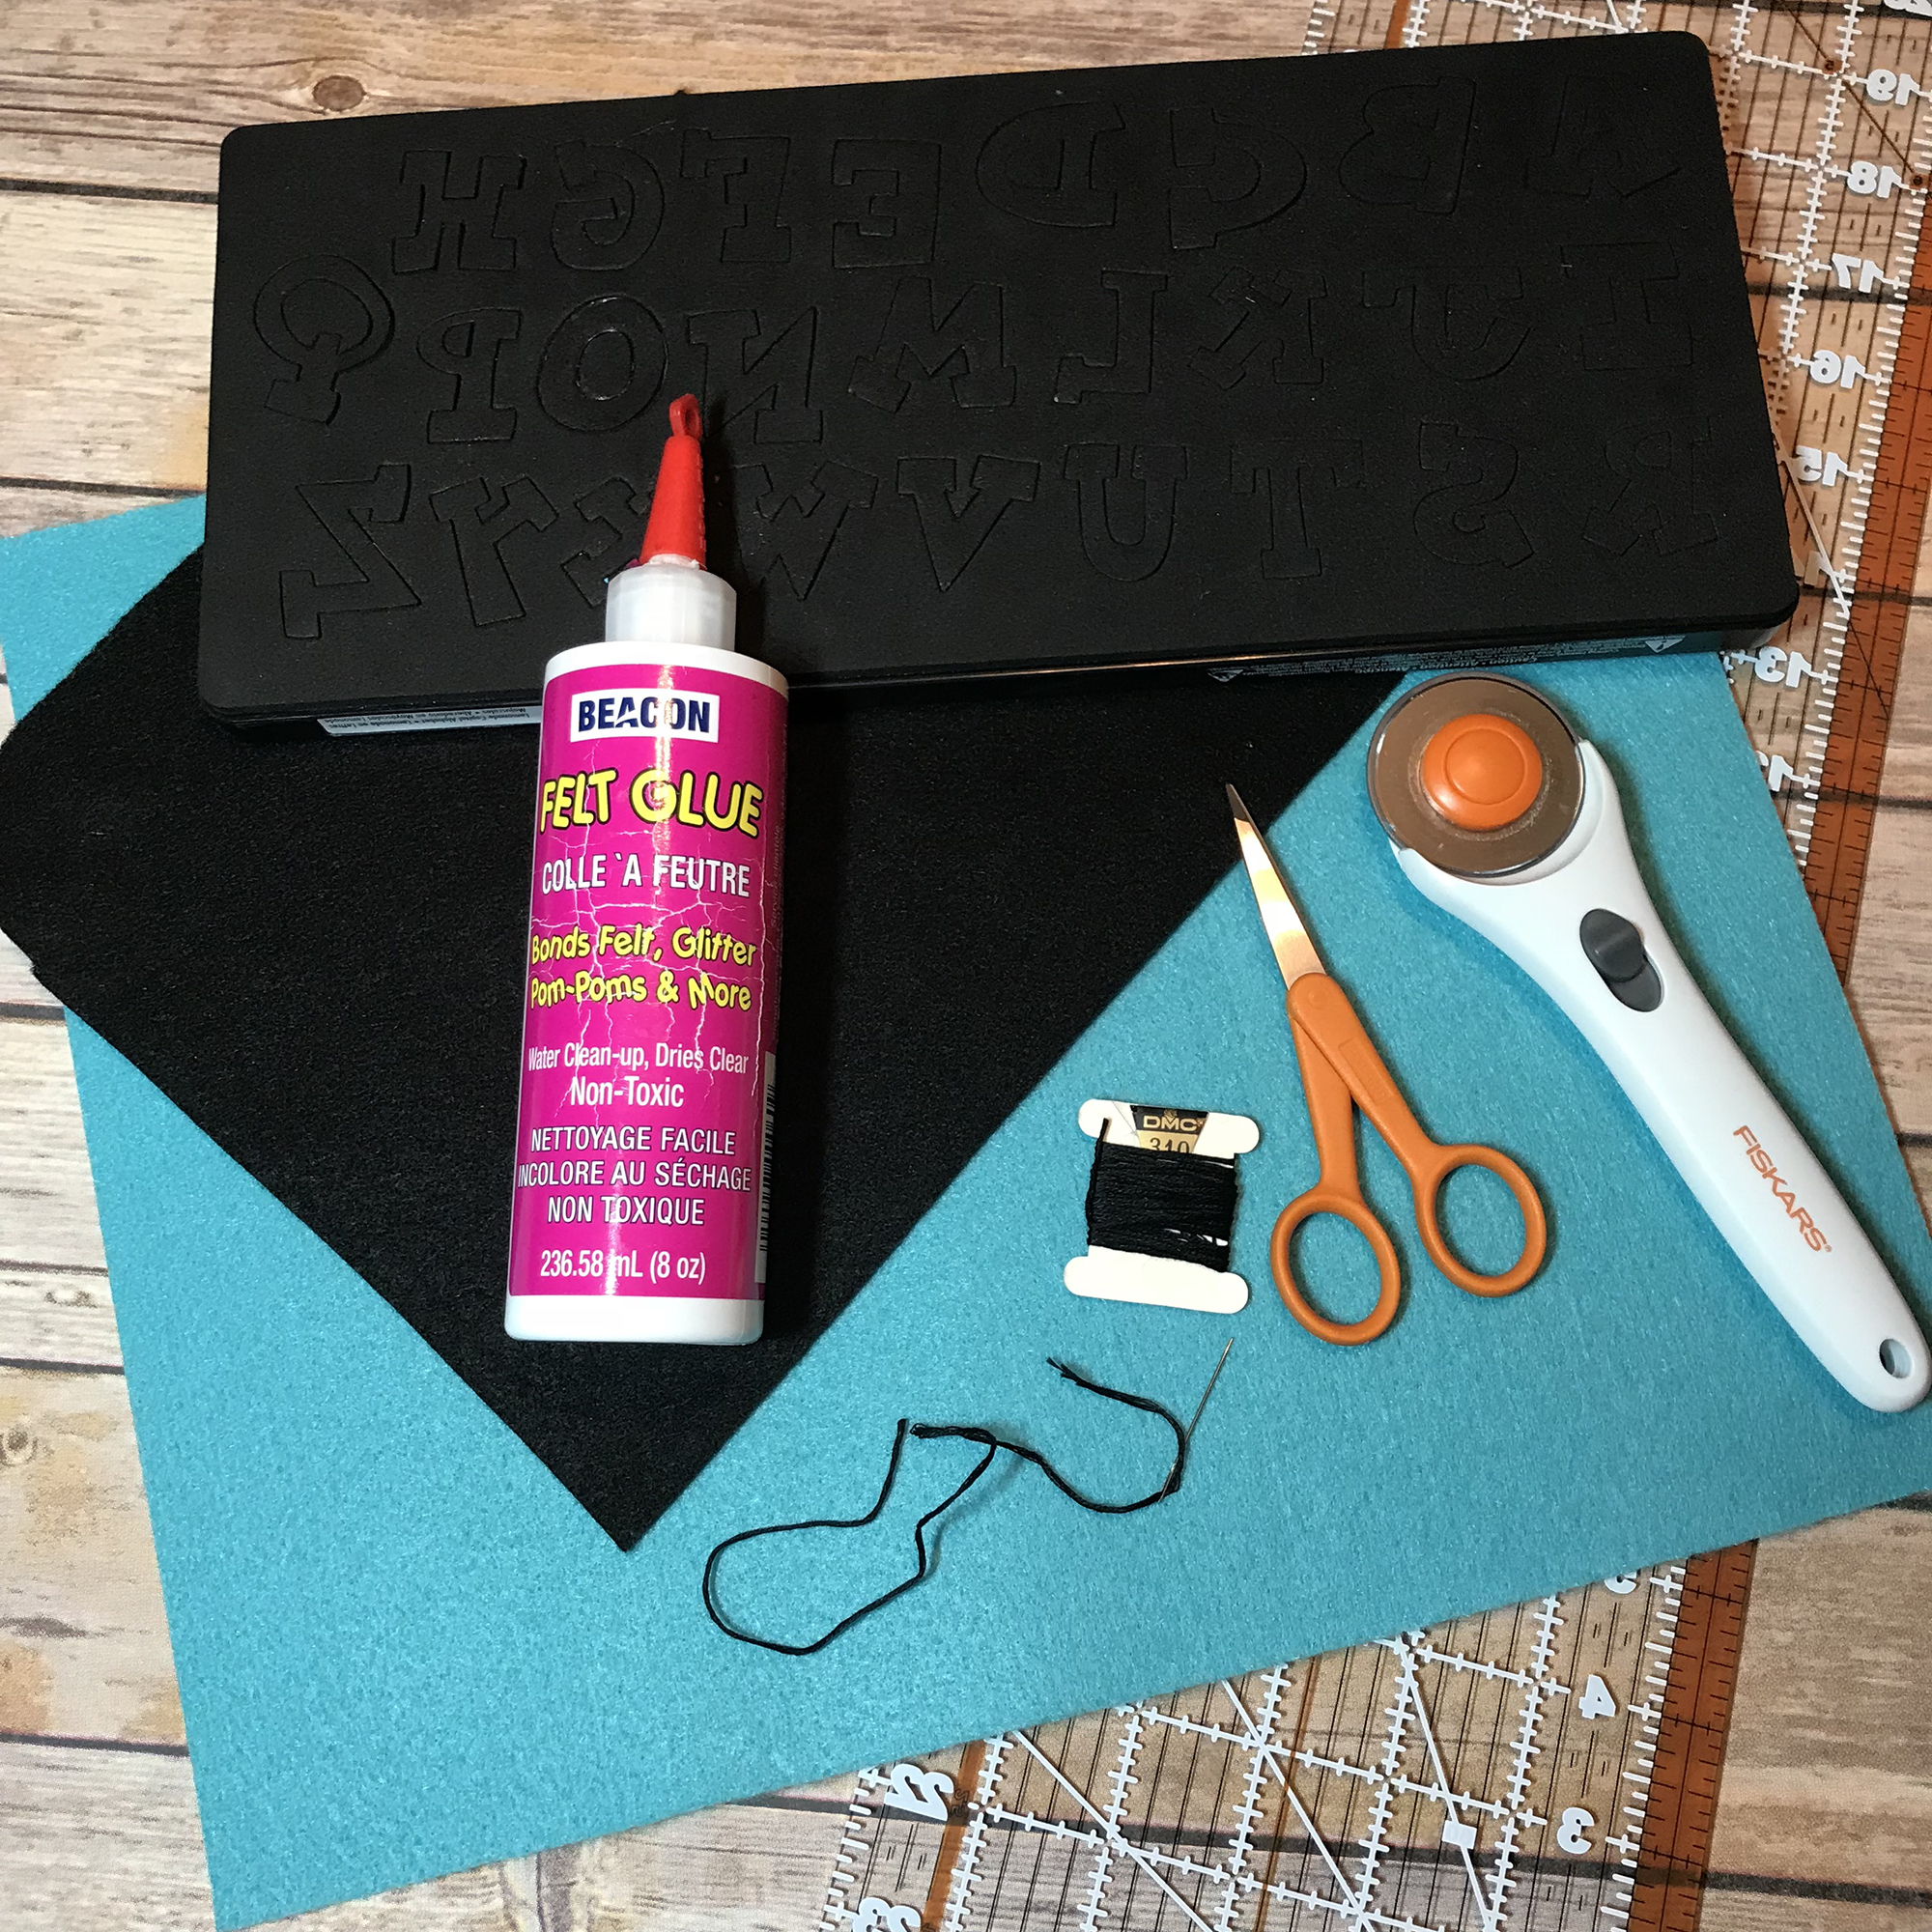
Materials:
• Craft Cut of 12” x 18” Kunin Premium Felt in Lagoon (1)
• Craft Cut of 9” x 12” Kunin Classicfelt in Black (1)
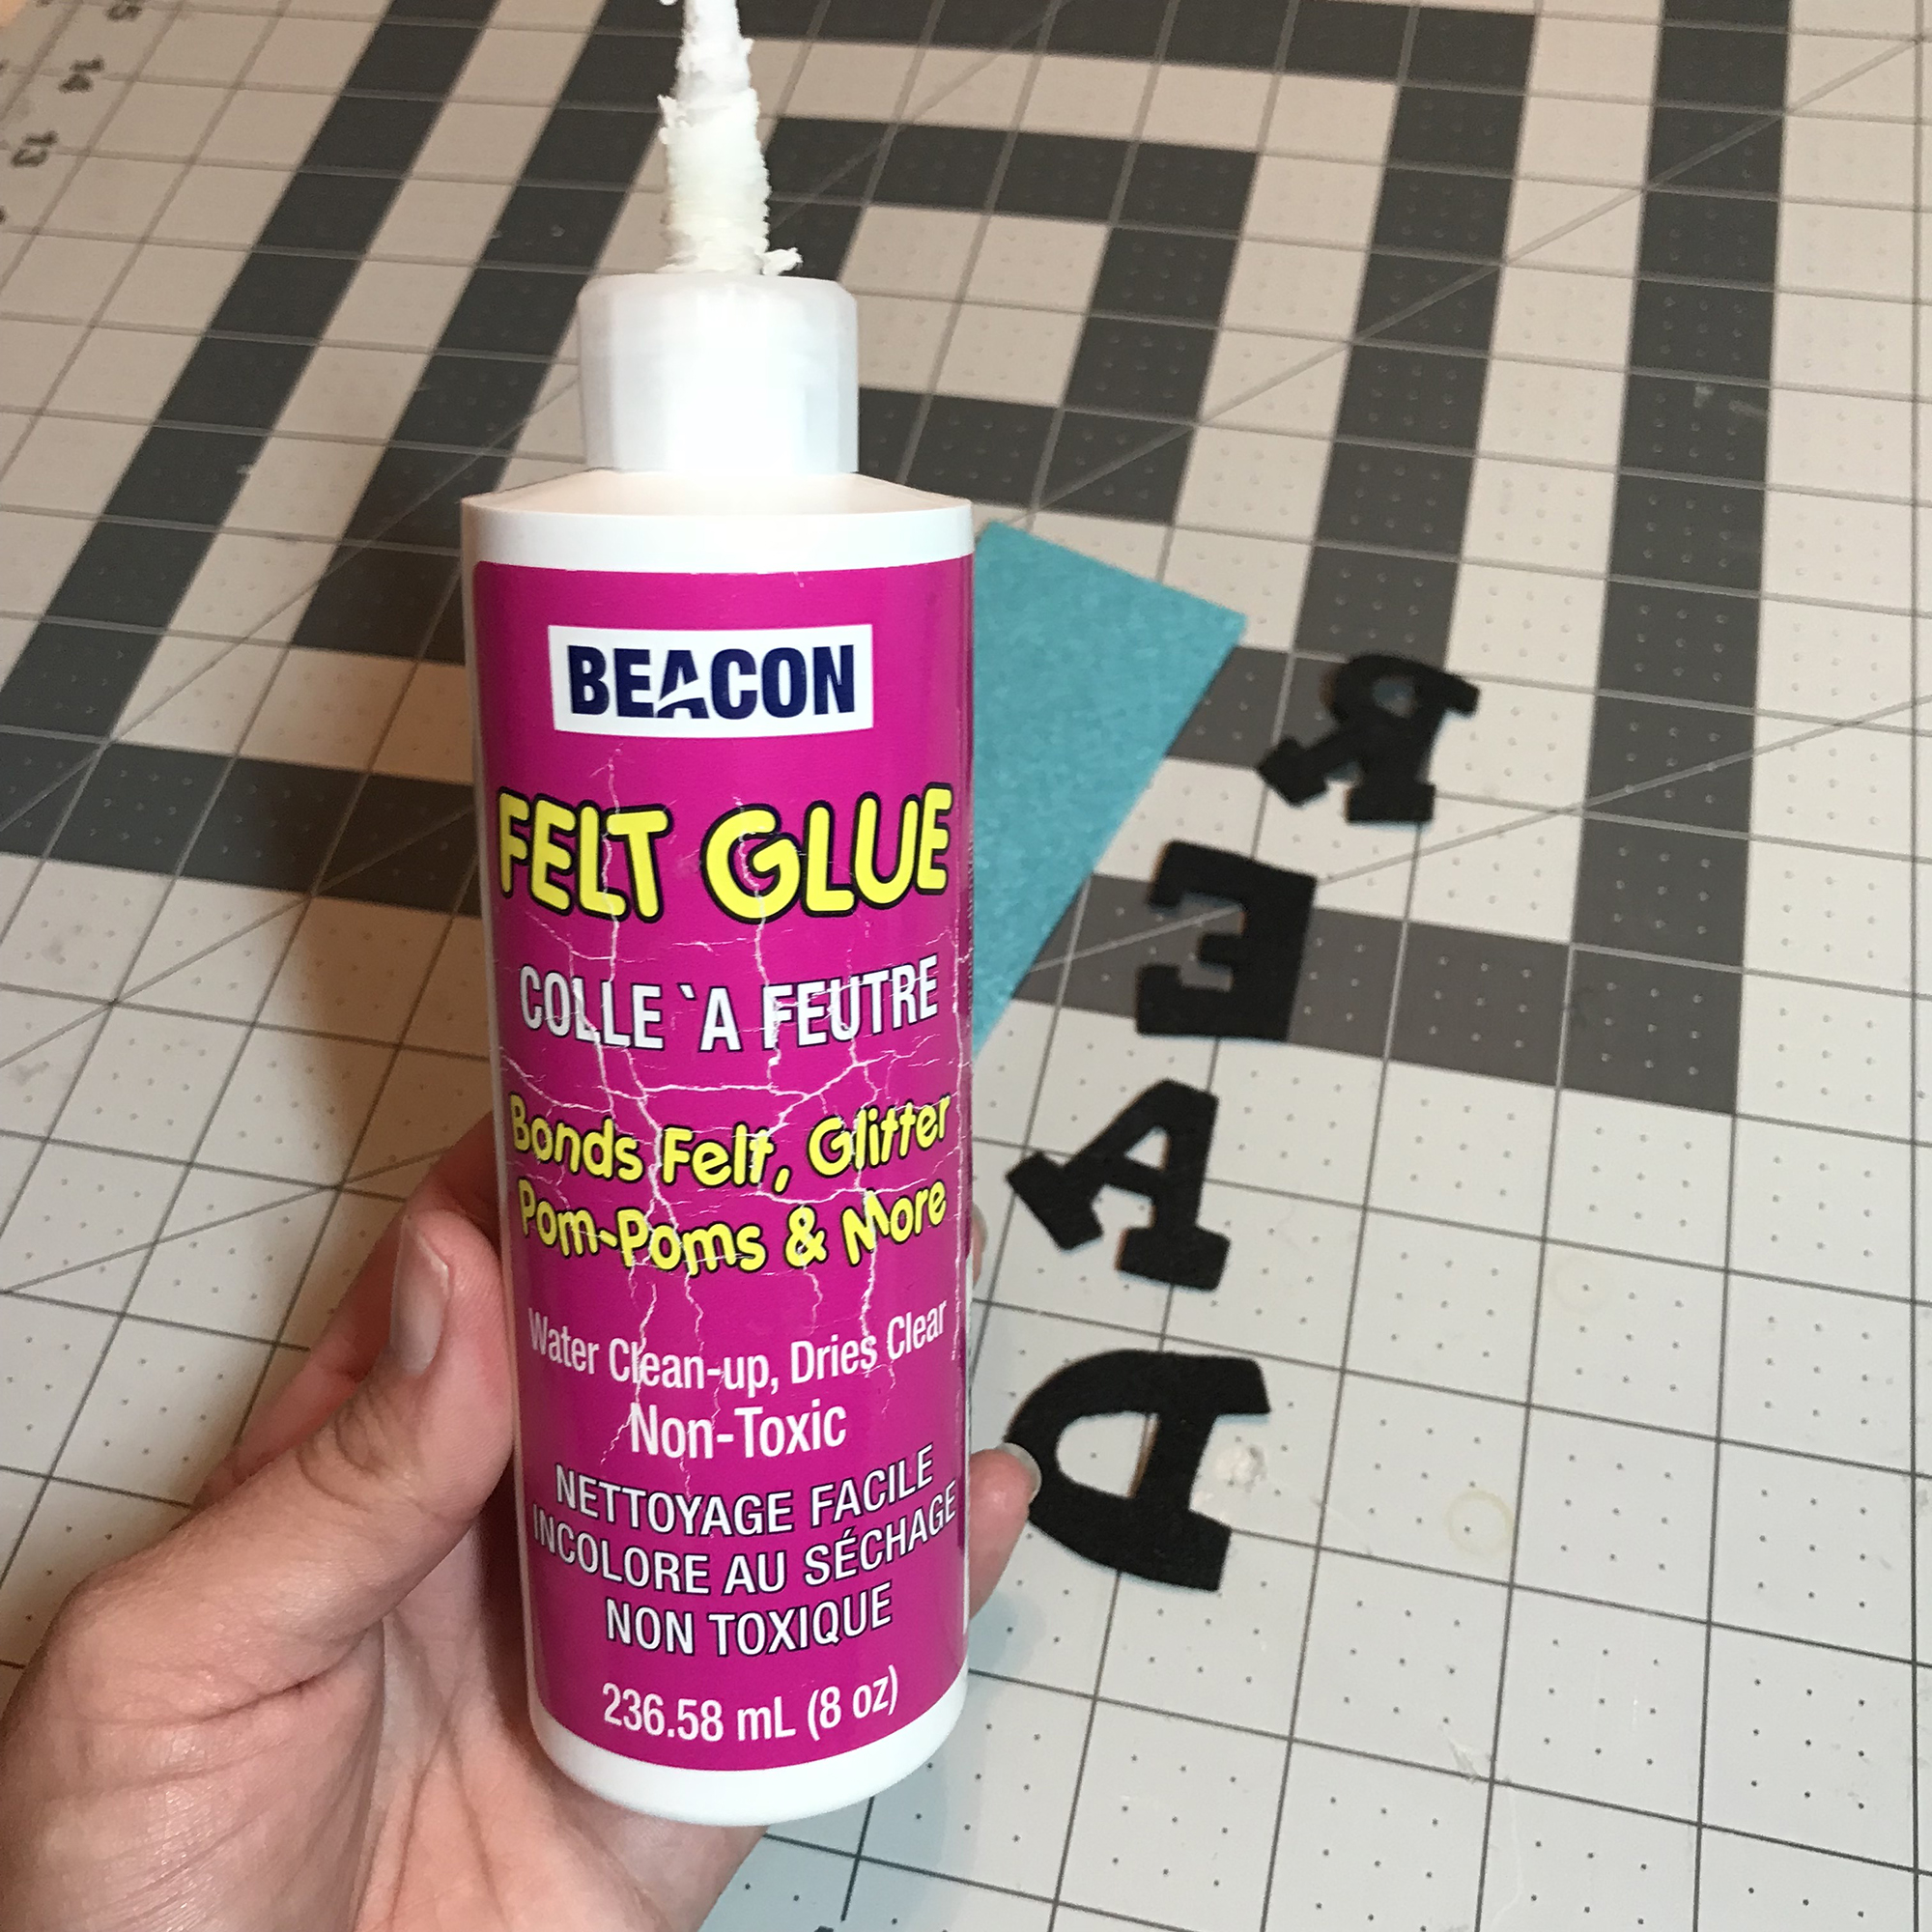
• Felt Glue
• Scissors
• Black Embroidery Floss
• Needle
• Cutting Mat
• Cutting Ruler
• Rotary Cutter
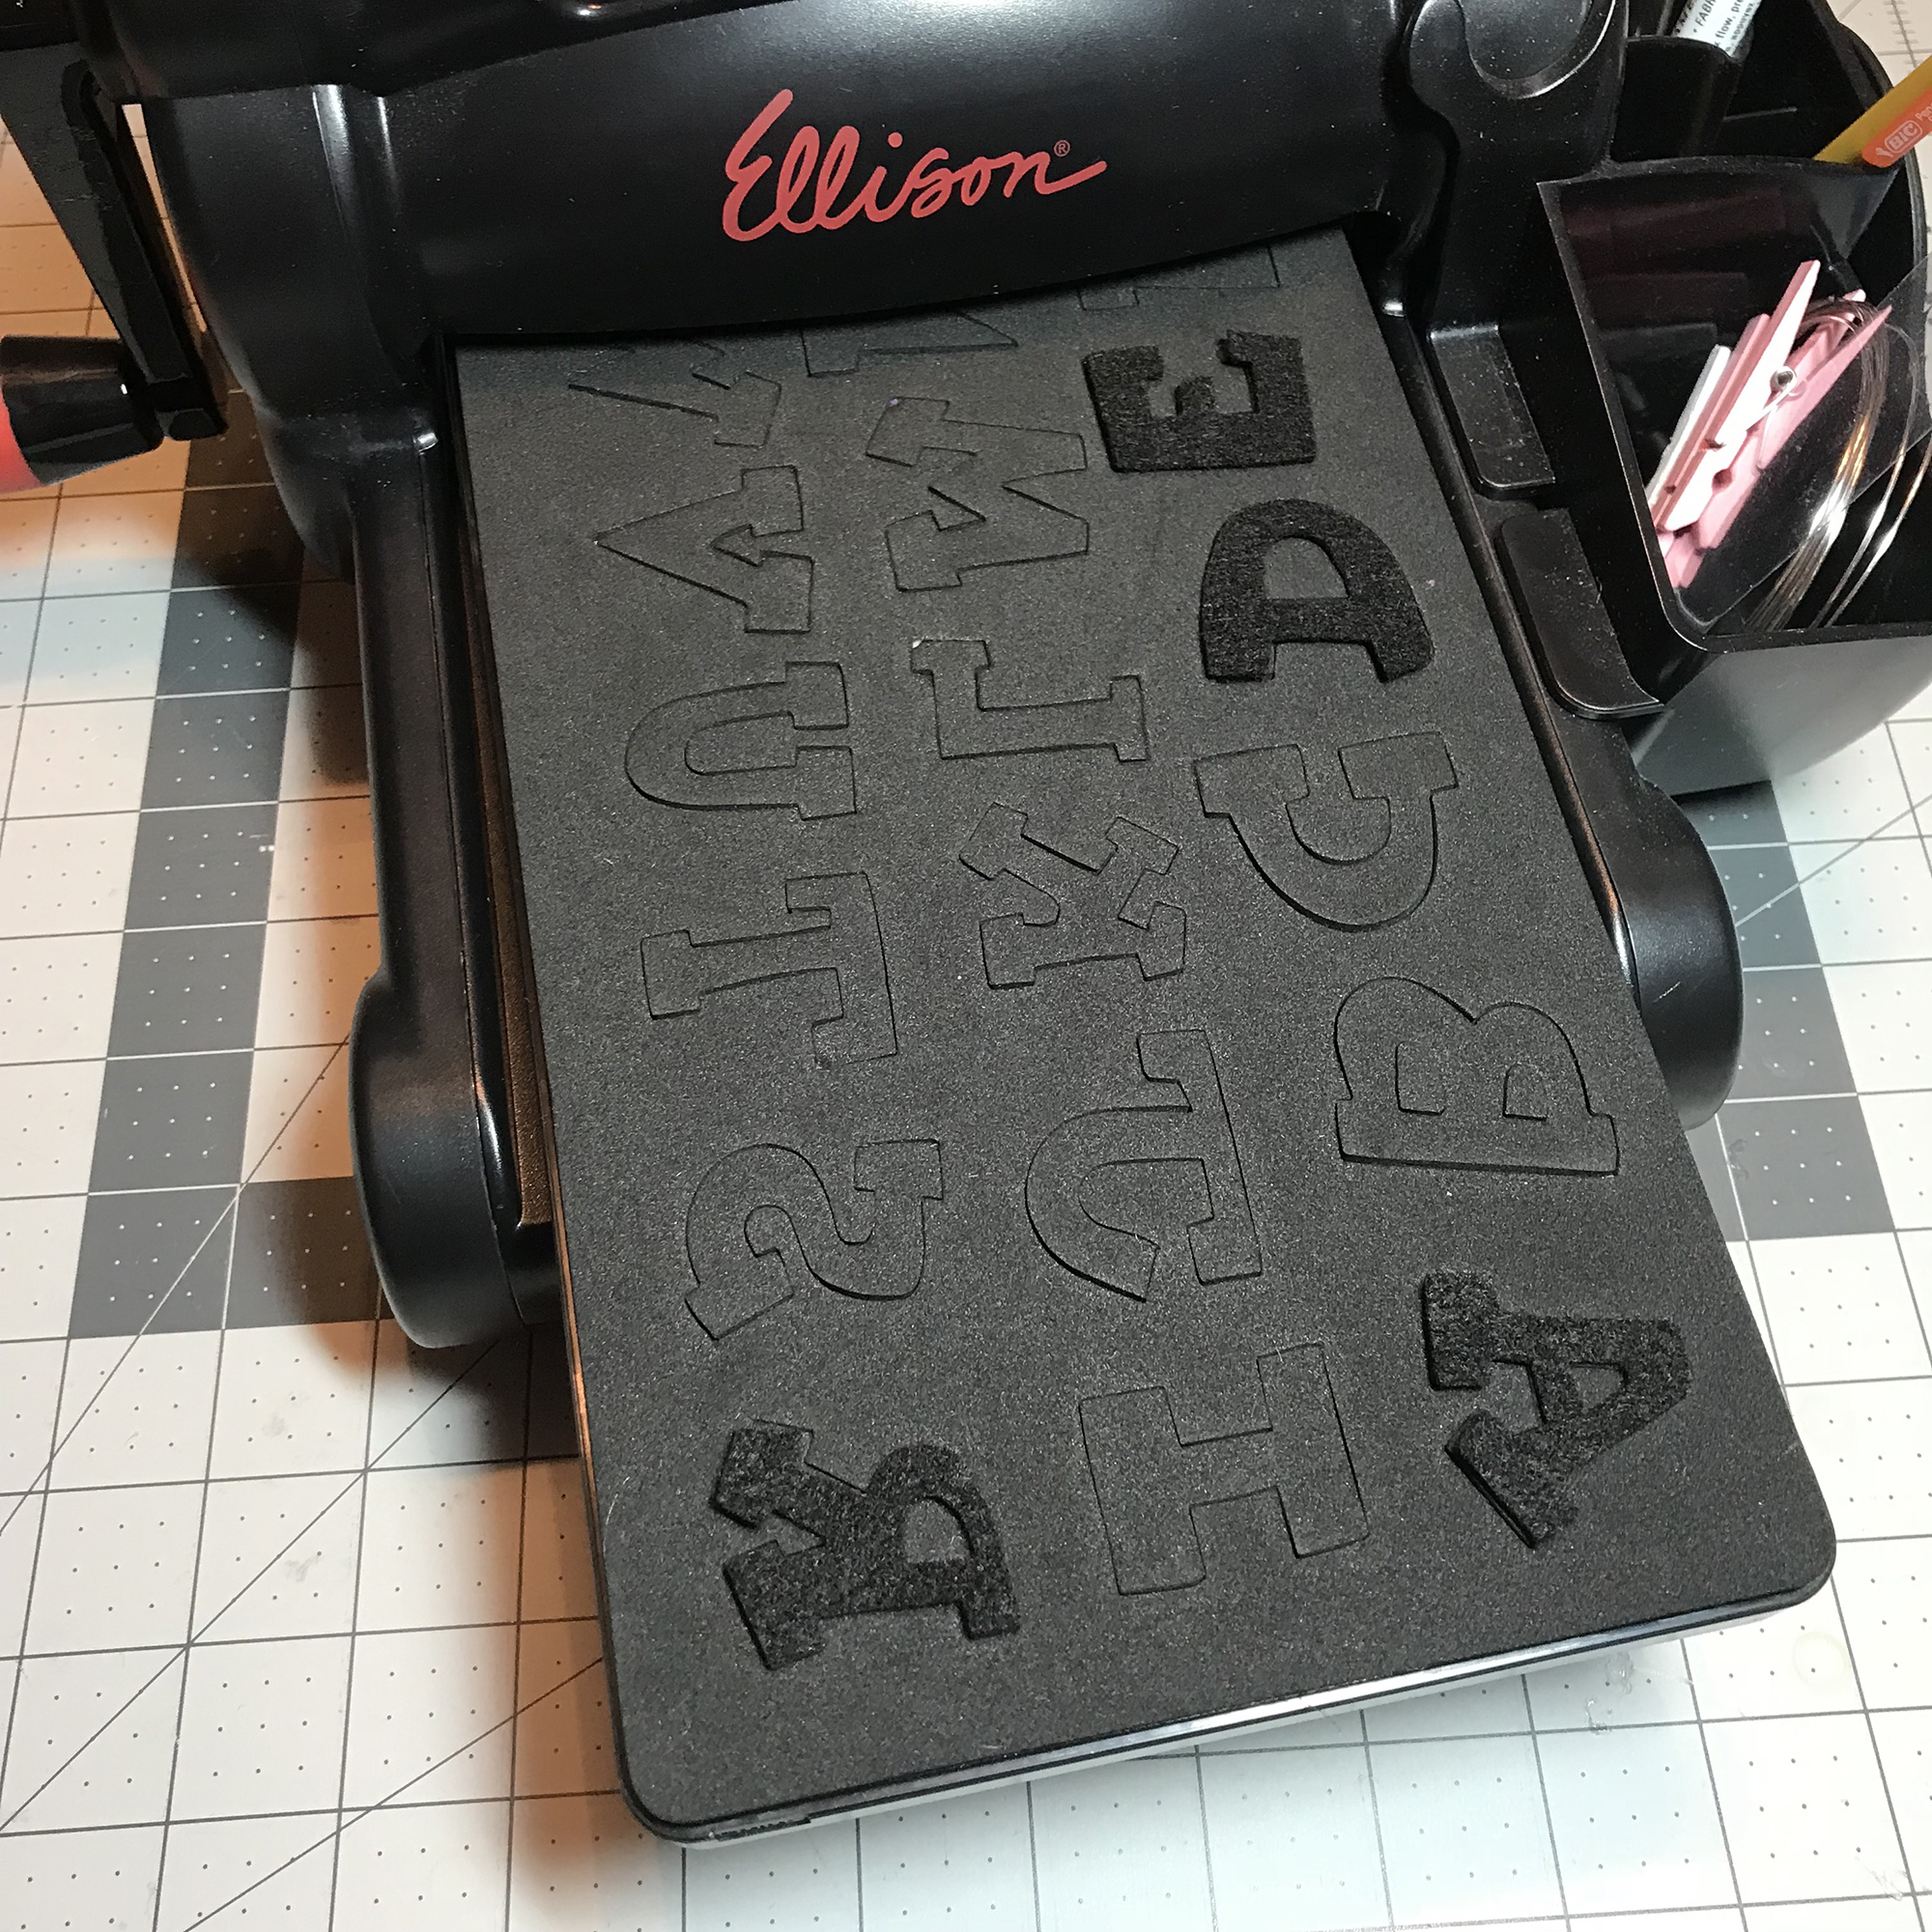
• Die Cut Machine
• Die Cutting Pads
• Alphabet Die (I used Laura Kelly’s Lemonade Capital Alphabet from Sizzix)
How I made it:
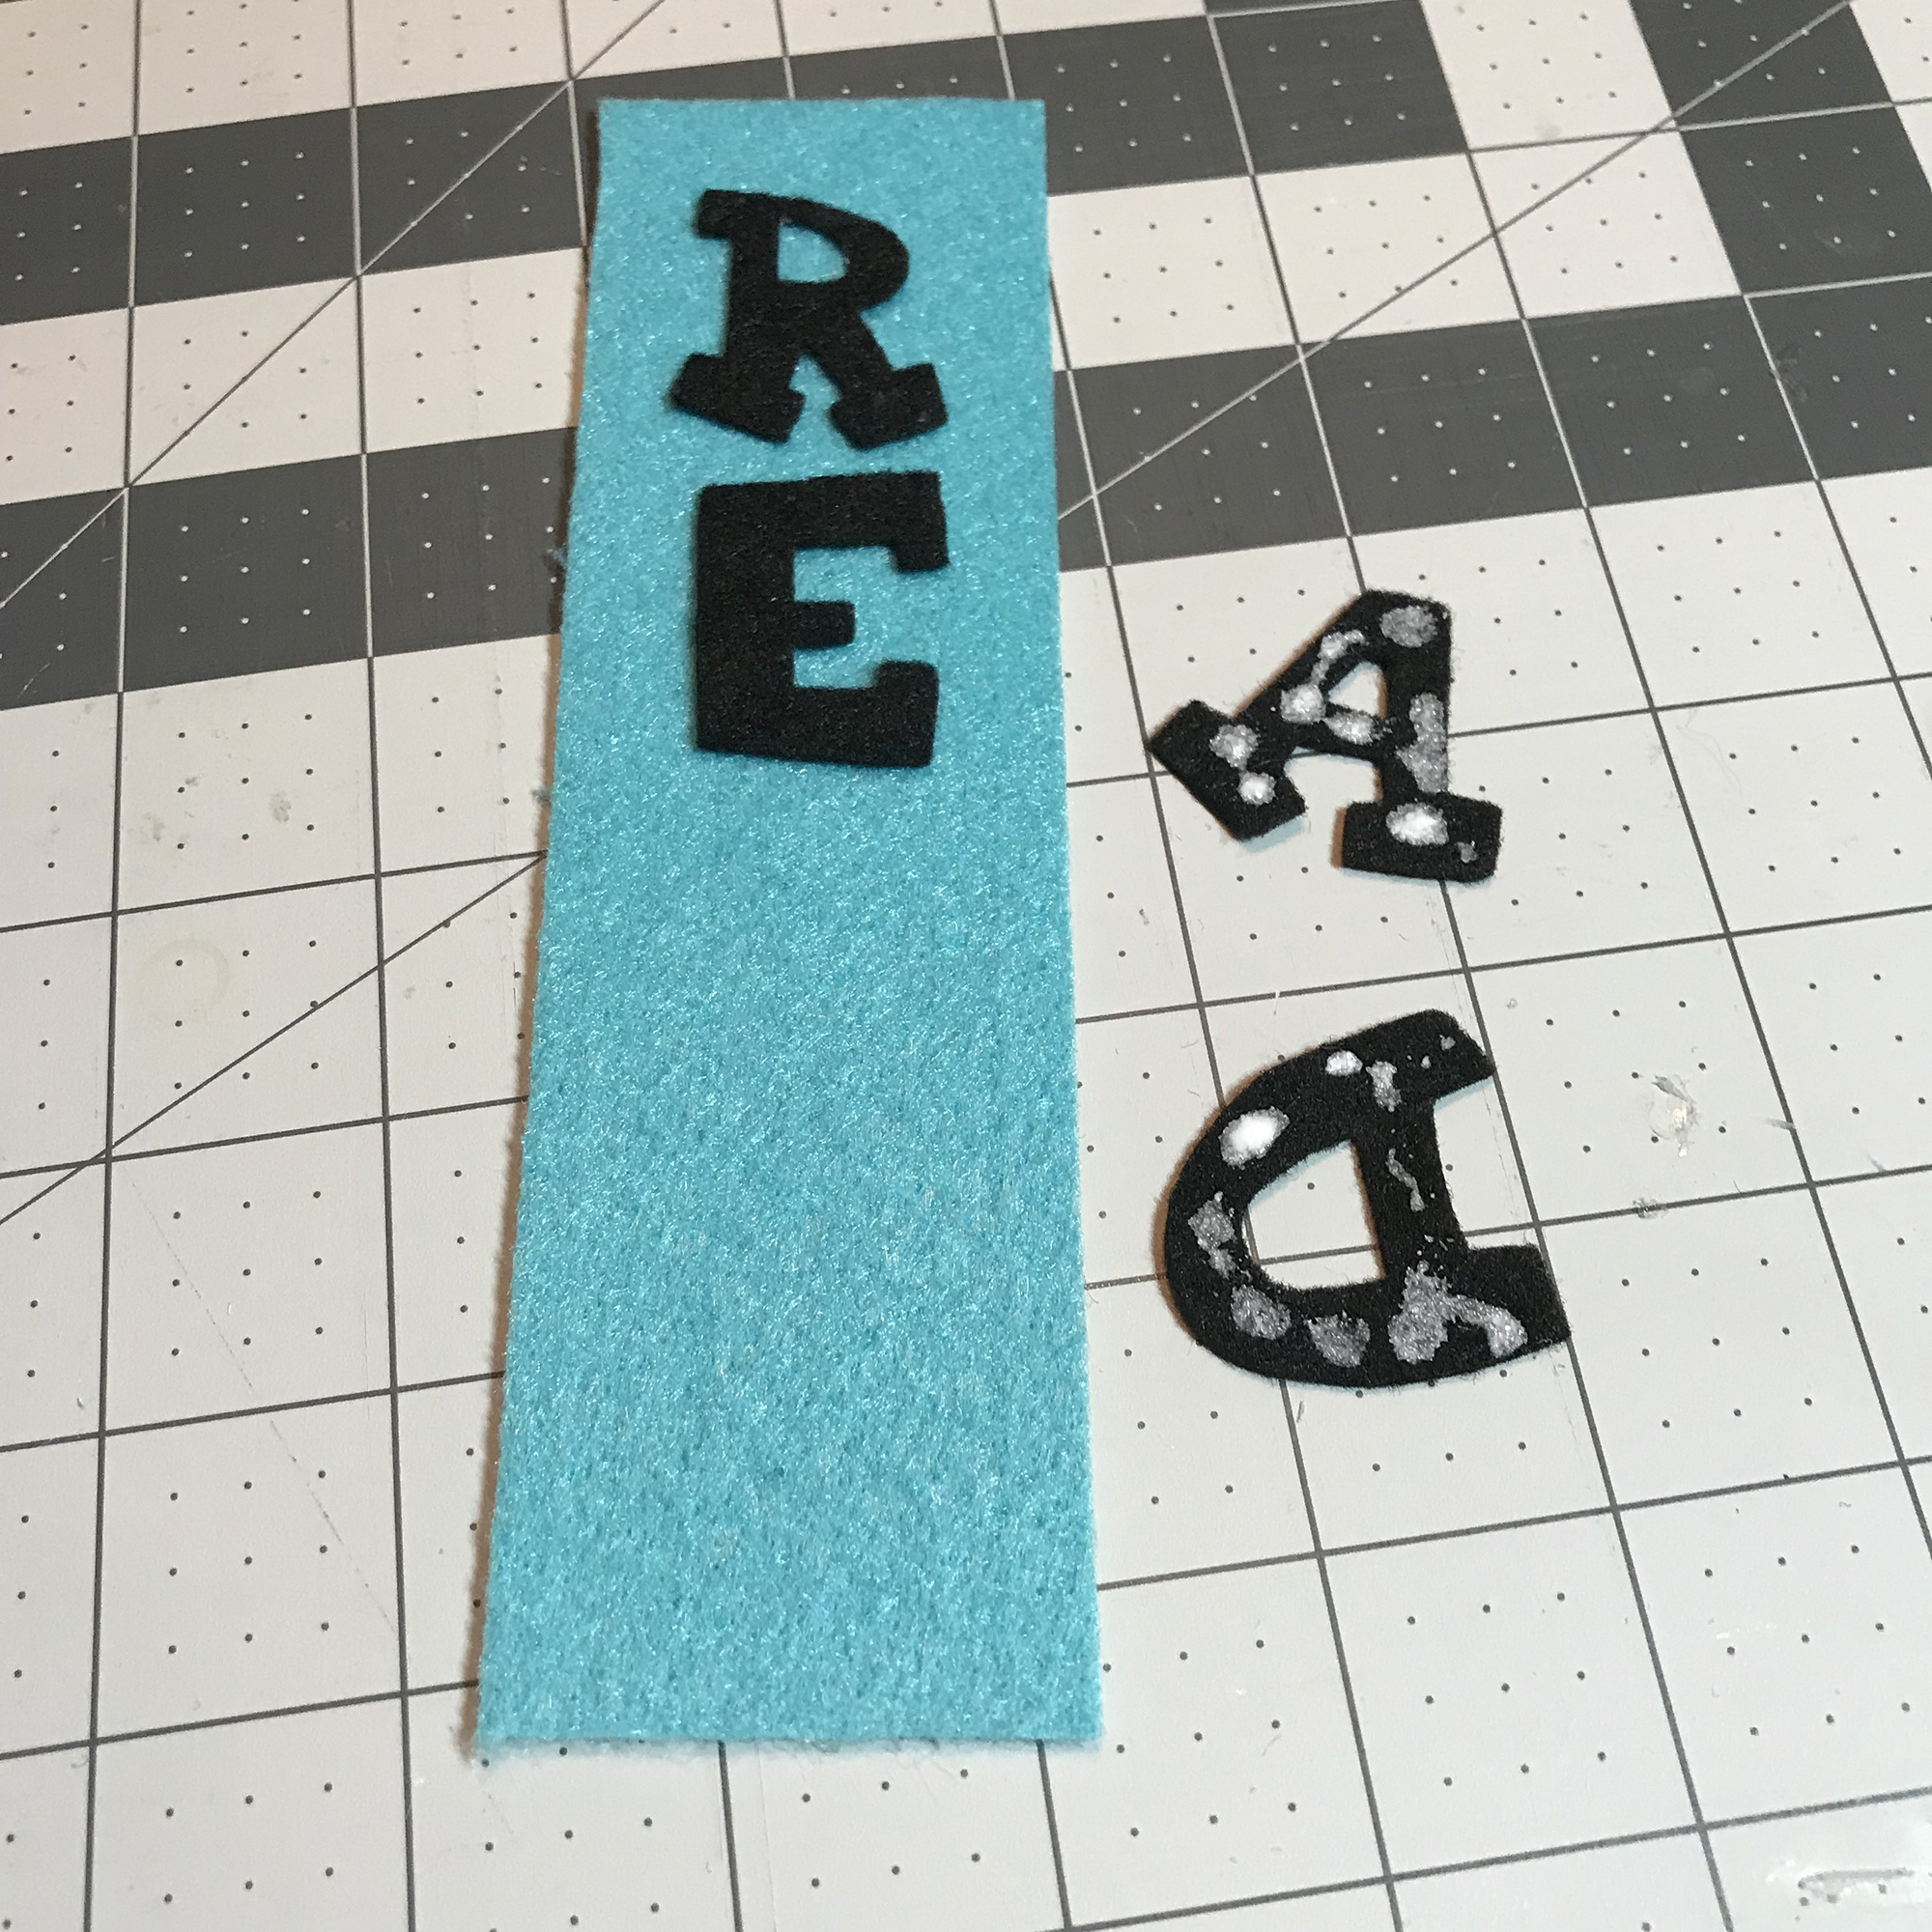
Using the die cutting machine, alphabet die, cutting pads and black felt, cut the letters needed. I chose to cut the word READ.
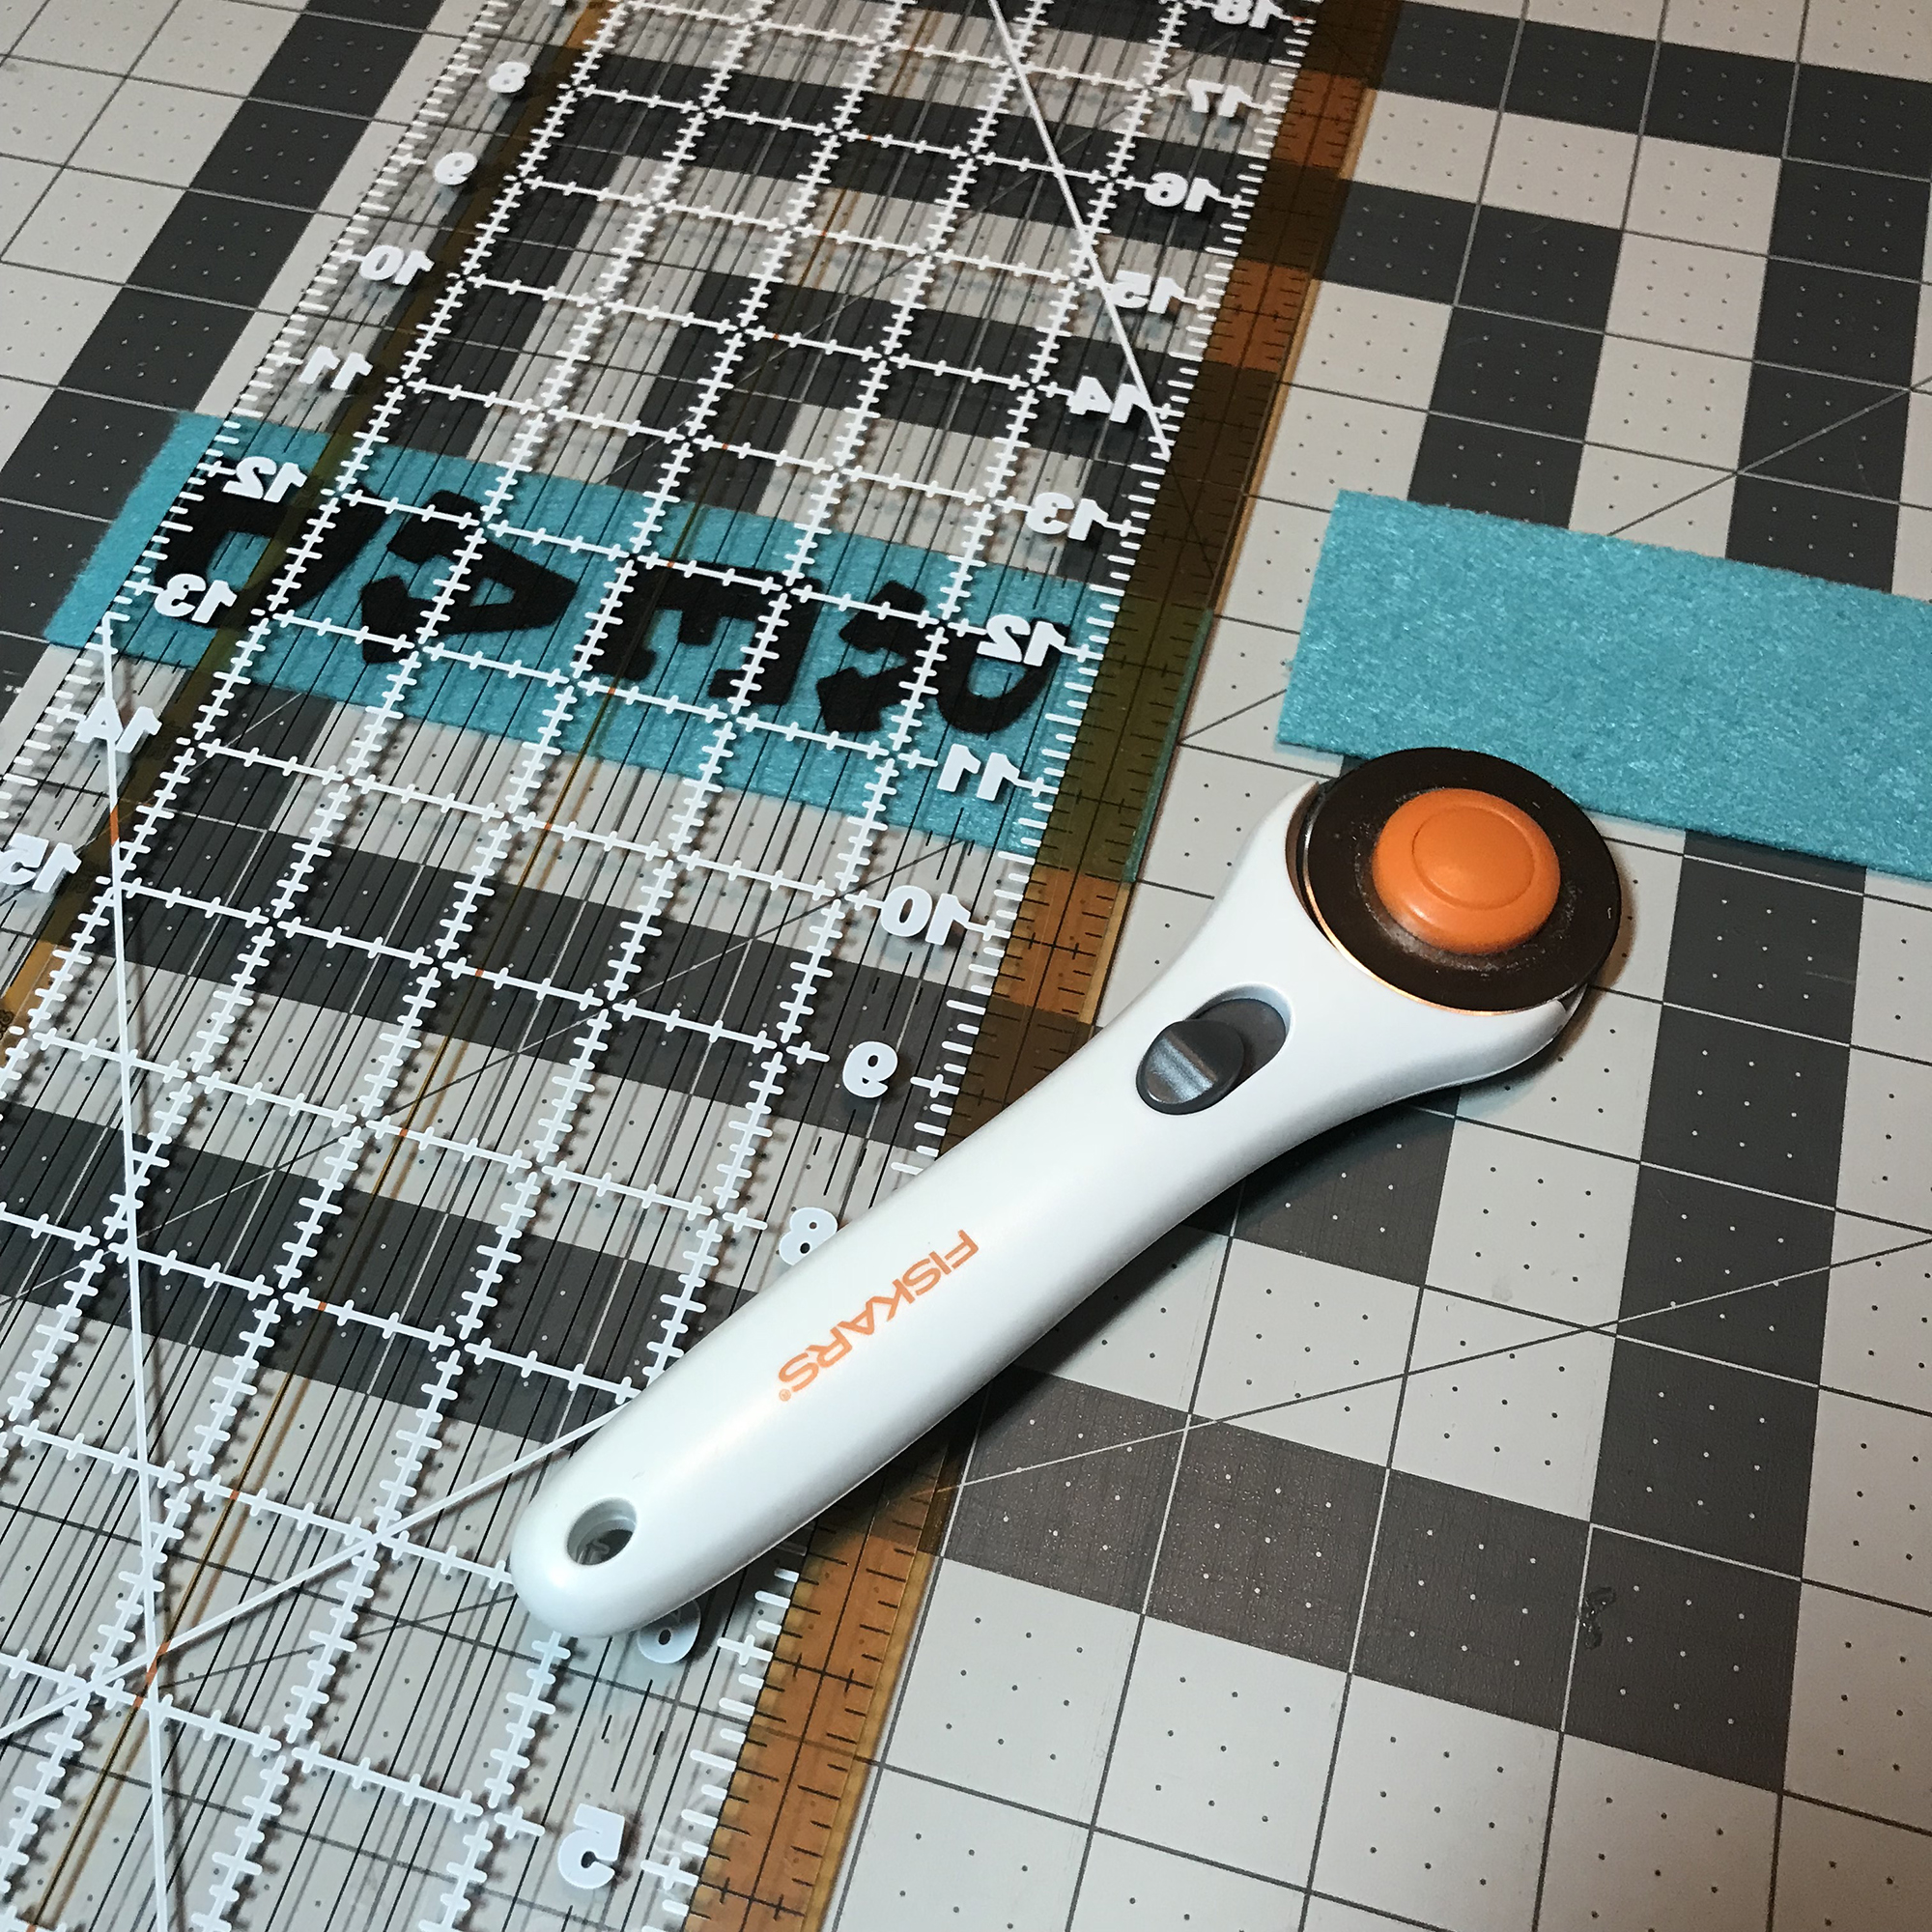
Line the letters up on the Lagoon Premium Felt to get an idea of how big you want the bookmark to be. Cut your bookmark using the cutting mat, cutting ruler and rotary cutter. I made mine 2” x 7”.
Once you have everything cut, it’s time to glue the letters to the bookmark. I like using Beacon Felt Glue.
TIP: You could sew your letters on if you’d like them more secure.
Lastly, I used a needle and black embroidery floss to add a basic blanket stitch around the border. TIP: You could use any border embroidery stitch or no stitch at all. The premium felt is sturdy enough to work without a stitch.

Now it’s ready to be used for all of the books that my boys love to read! Of course I have to make multiple bookmarks in multiple colors!
You can now find an expanded color line of Kunin® Classicfelt; Kunin® Premiumfelt and Corduroy non-wovens fabrics in cut by the yard at your local Walmart; please inquire as to what is available in your area.
Happy Crafting,
Katie Berry
A Sweet Berry Designs
www.asweetberrysblog.com
FB: A Sweet Berry Designs
IG: asweetberrydesigns