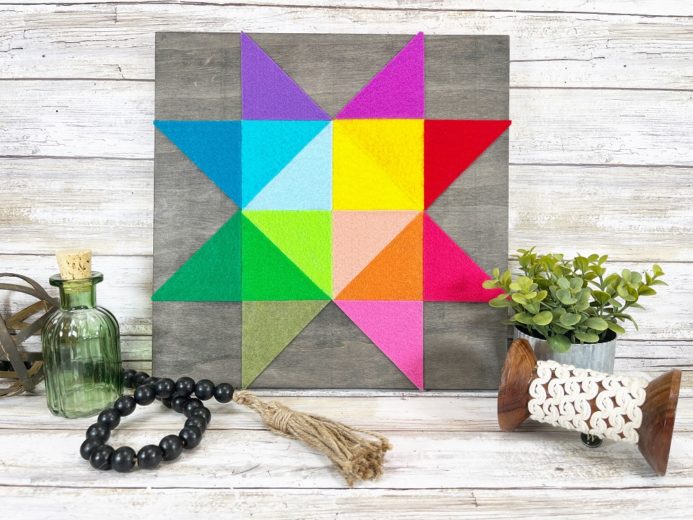
Growing up near Lancaster, Pennsylvania, I have been enamored with Amish Barn Quilts since I was a kid. Kunin® Classic™ Felt has bright and vibrant colors of Craft Cuts that complements the traditionally black background of Amish Quilts perfectly. With just a few supplies and 30 minutes, create a custom piece of home décor that is oh so trendy!
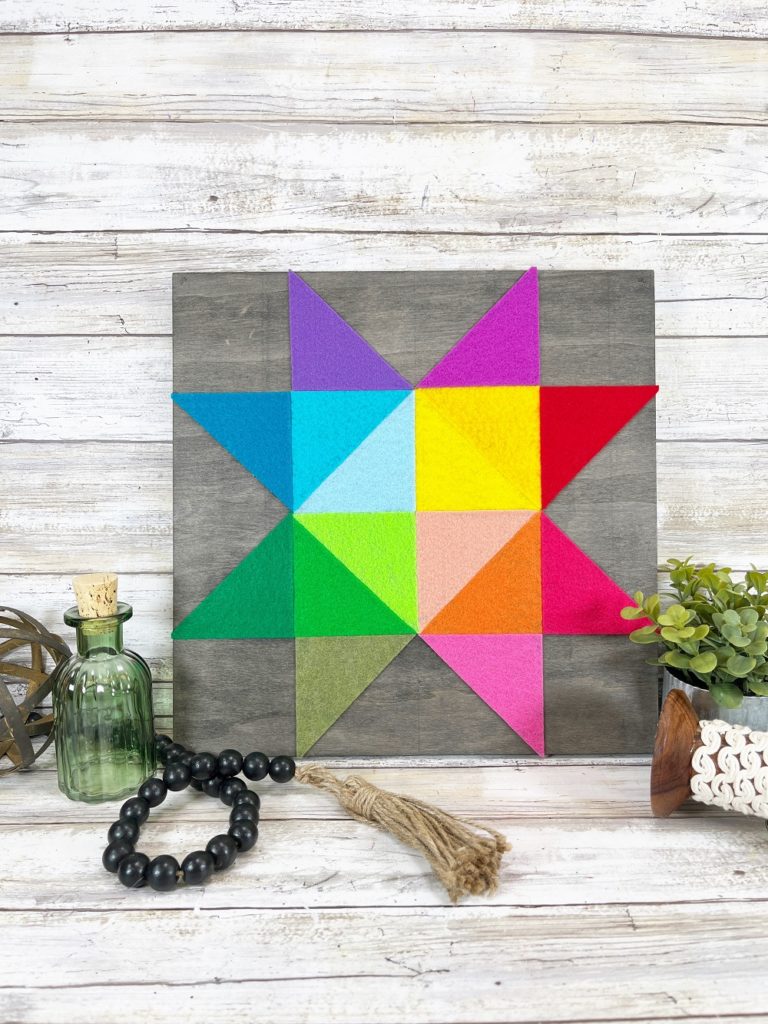
Time: 30 Minutes
Skill Level: Beginner
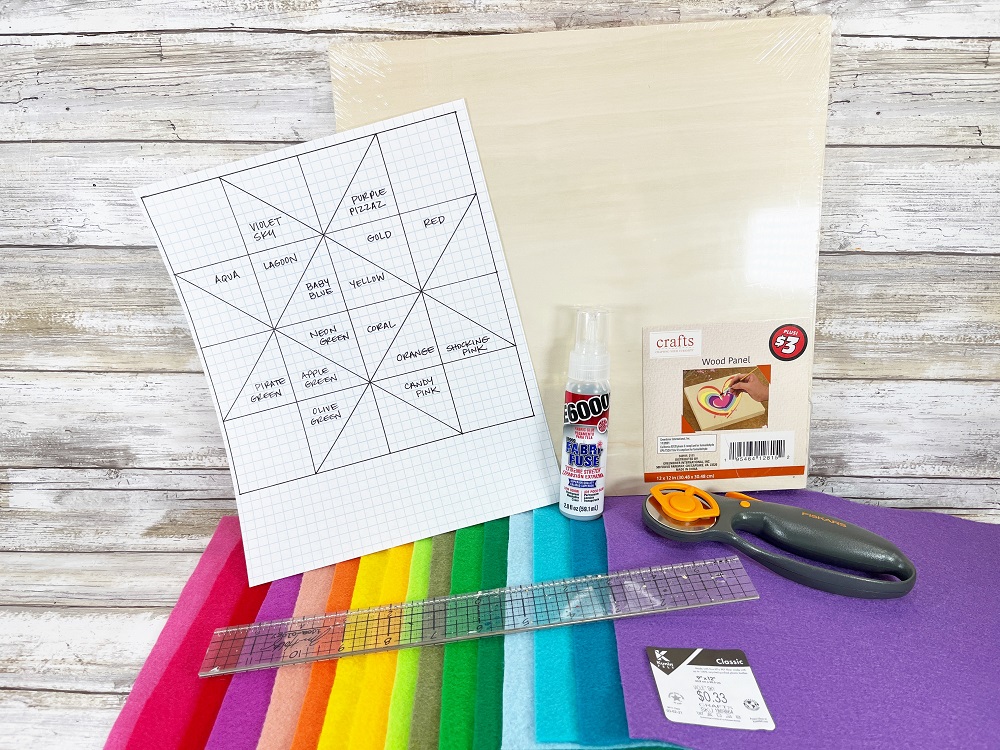
YOU WILL NEED:
- Kunin® Classics™ Felt 9” x 12” Craft Cuts – Candy Pink, Shocking Pink, Coral, Orange, Yellow, Gold, Neon Green, Apple Green, Pirate Green, Olive Green, Baby Blue, Lagoon, Aqua, Purple Pizzaz, Violet Sky
- Wooden Canvas – 12” by 12” Square
- UNICORN SPiT Stain – Midnight’s Blackness
- E6000 Fabri-Fuse Liquid Fabric Glue
- Rotary Cutter
- Self-Healing Mat
- Scissors
- Ruler
- Pencil
- Paintbrush
- FELT BARN QUILT PATTERN
INSTRUCTIONS:
To begin the DIY Felt Barn Quilt, gather all supplies. Download and print the pattern sheet. Follow the colors outlined on the pattern sheet or use what you have on hand to create a custom-colored quilt. You can also change up the quilt pattern to match your home’s style.
STEP 1
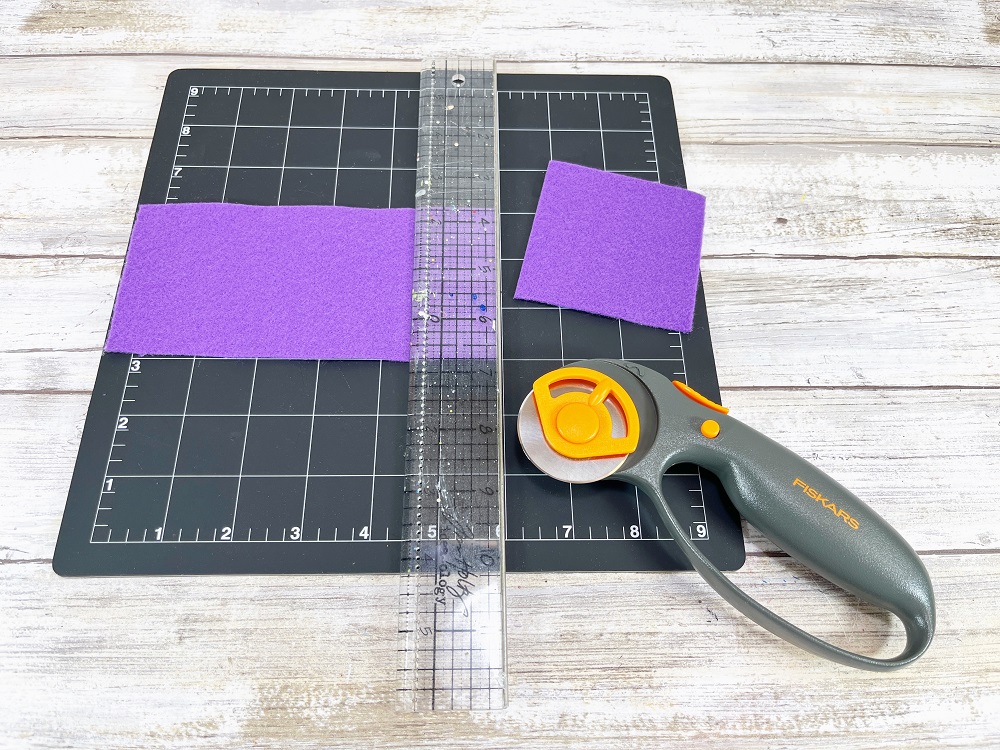
Line up Violet Sky Kunin® Classic™ Felt Craft Cuts squarely on the grid of a self-healing mat. Using a clear ruler and a rotary cutter, trim off a 3” wide rectangle from the sheet of felt.
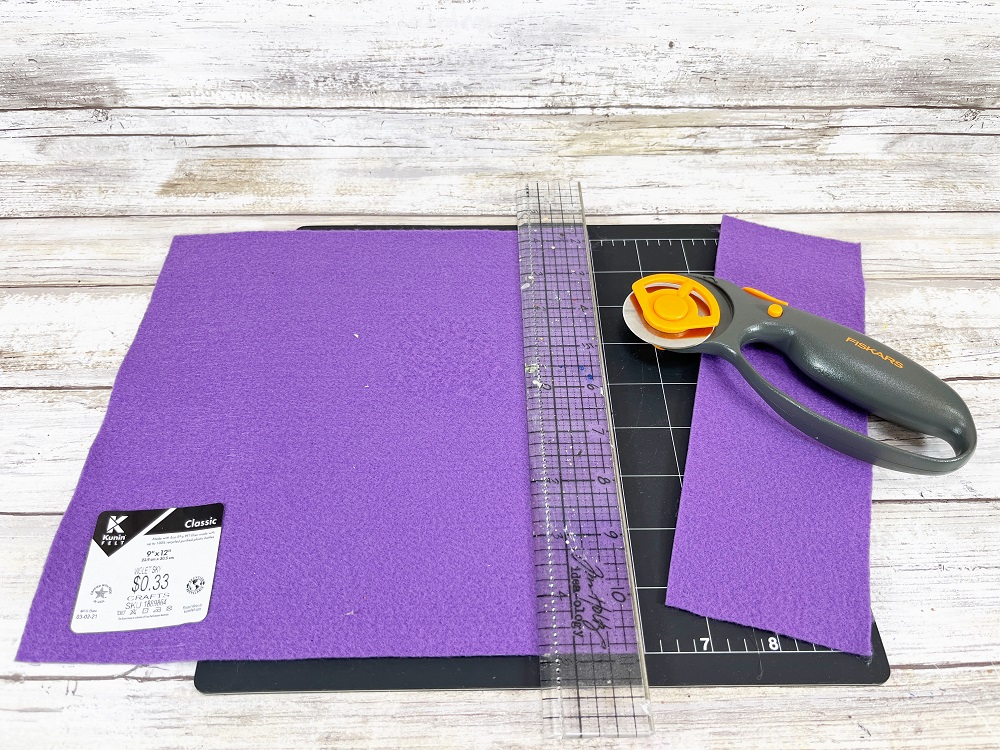
Rotate the rectangle and line up on the self-healing mat grid with the clear ruler set at the 3” mark. Trim the felt to a 3” by 3” square using a rotary cutter.
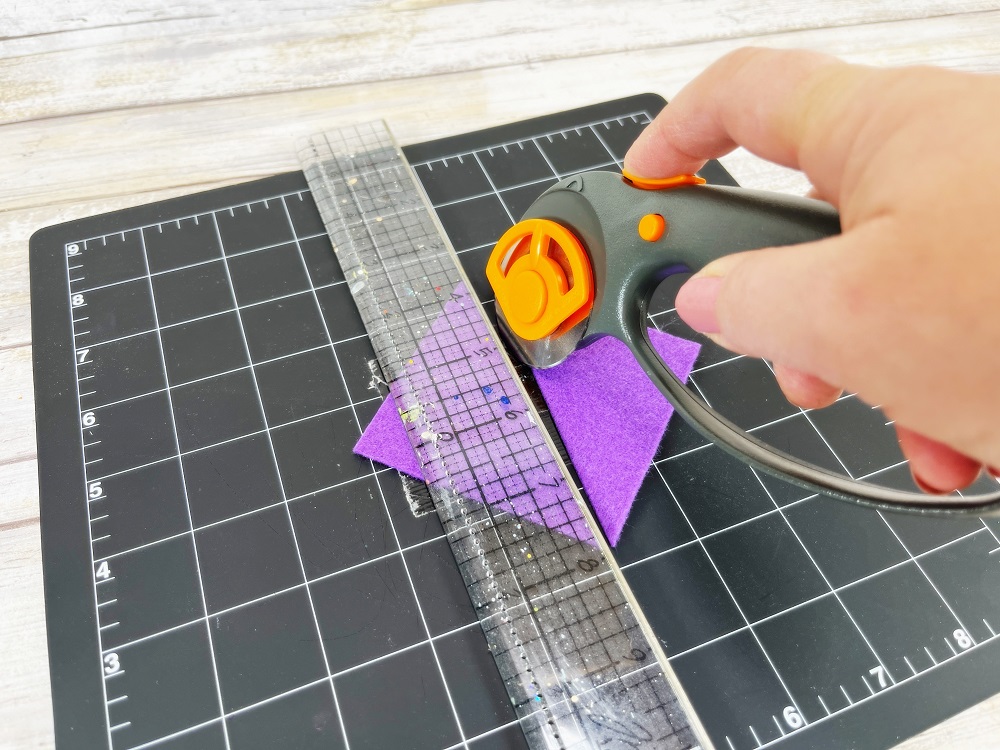
Line up the 3” square from point to point on a vertical line of the self-healing mat. Cut the square into two triangles using the clear ruler and rotary cutter.
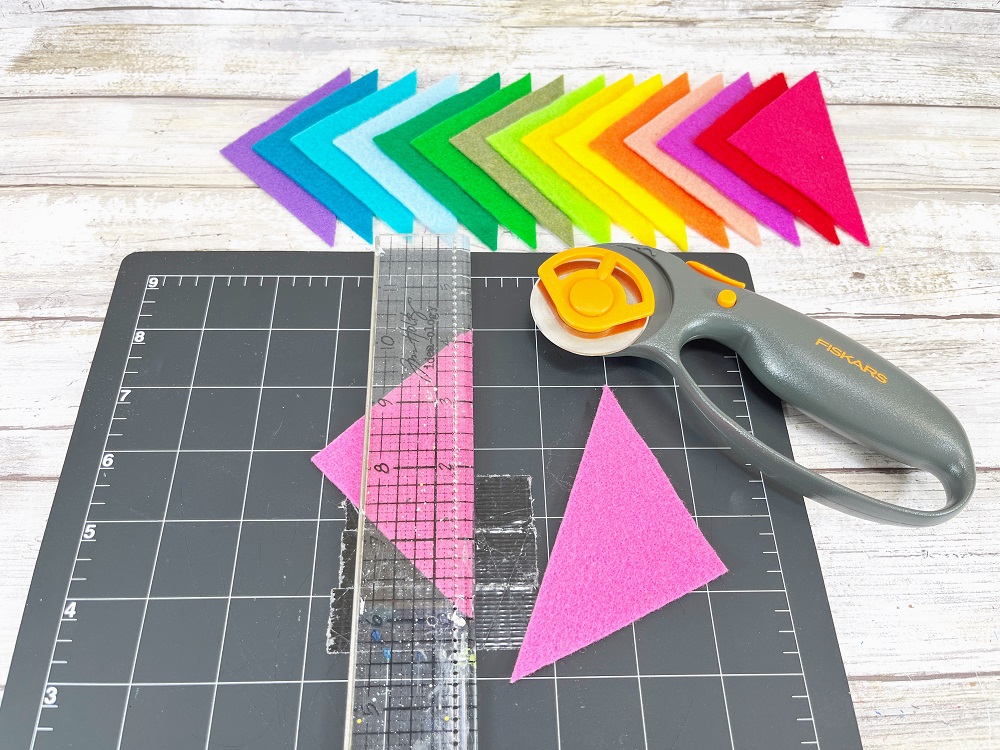
Repeat with the remaining 15 colors of Kunin® Classic™ Felt Craft Cuts. You could use a ruler and marker to create the triangles, cutting them out with scissors.
STEP 2
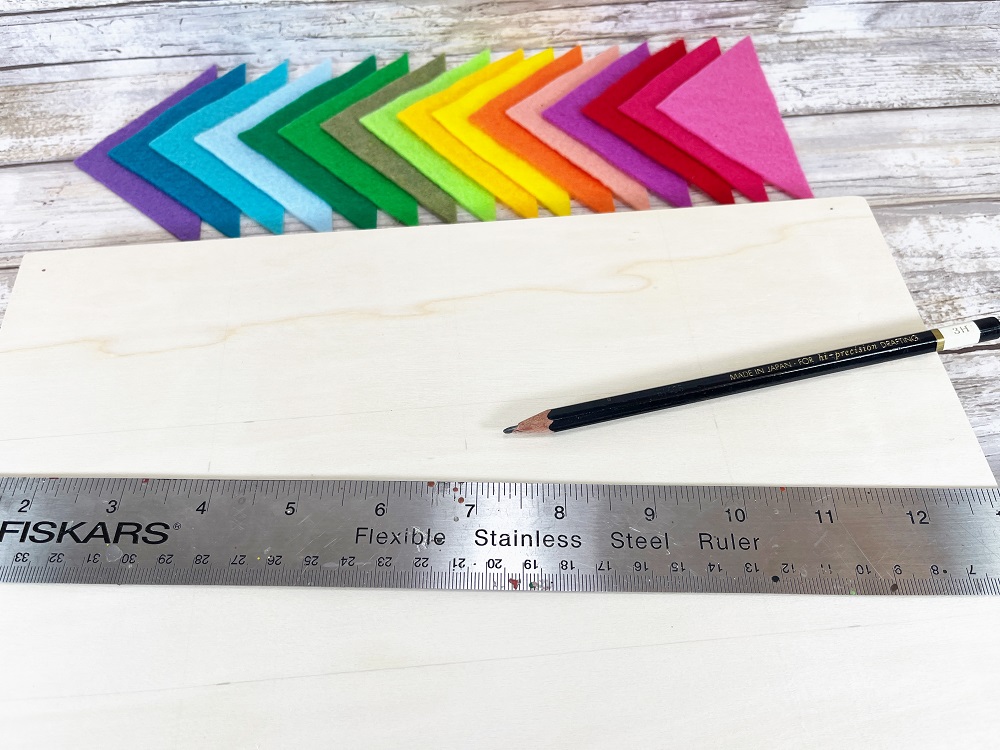
Using a pencil and ruler, mark off the four square by four square grid on the 12” by 12” wooden canvas board in 3” squares. Lightly pencil in the lines using the ruler.
STEP 3
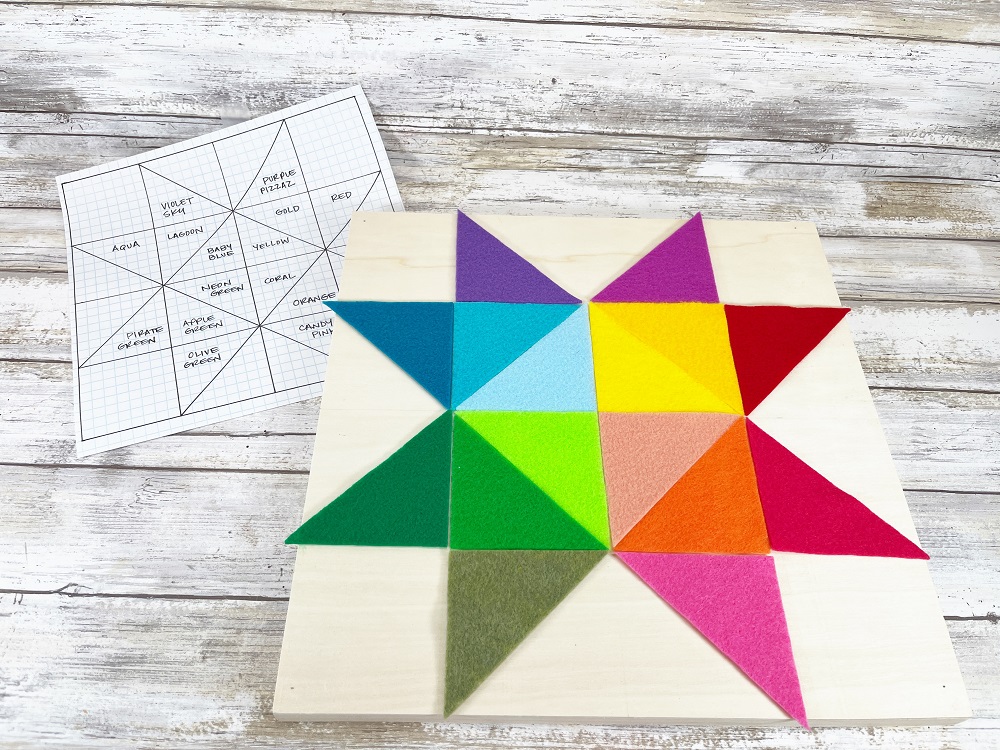
Dry fit all 16 of the colored triangles of Kunin® Classic™ Felt Craft Cuts on the wooden canvas. Make sure you are pleased with the color arrangement and quilt pattern.
STEP 4
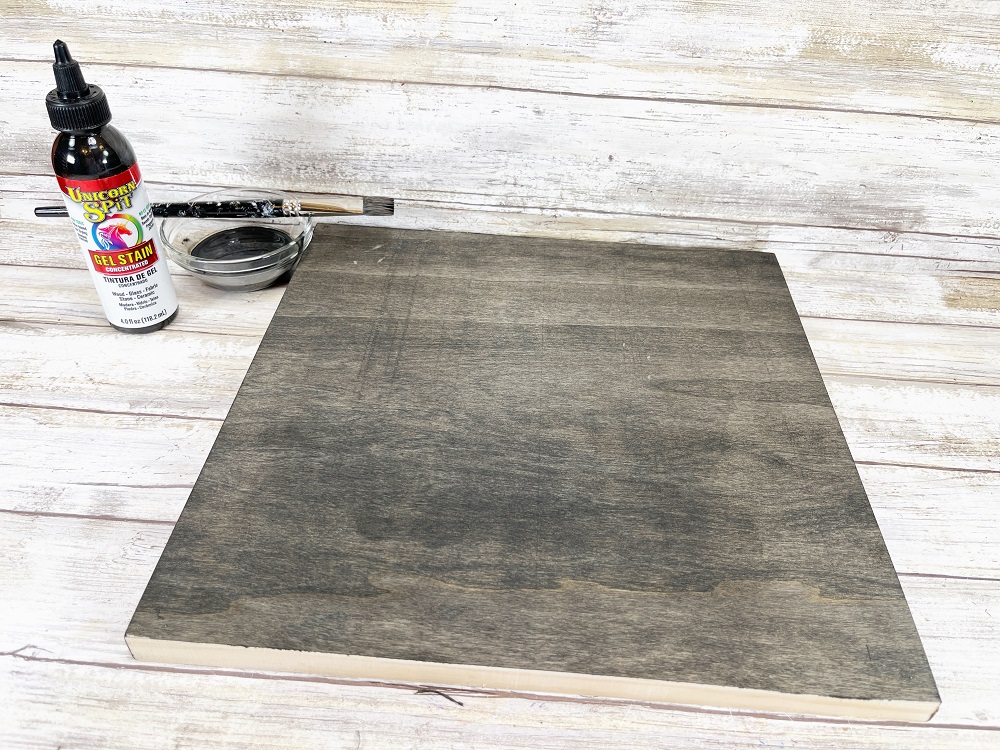
Basecoat the wooden canvas with a one-part water to one-part UNICORN SPiT stain in Midnight’s Blackness. Mixing the stain with water allows for a light coat that when dry, showcases the grain of the wood. Set aside to dry.
STEP 5
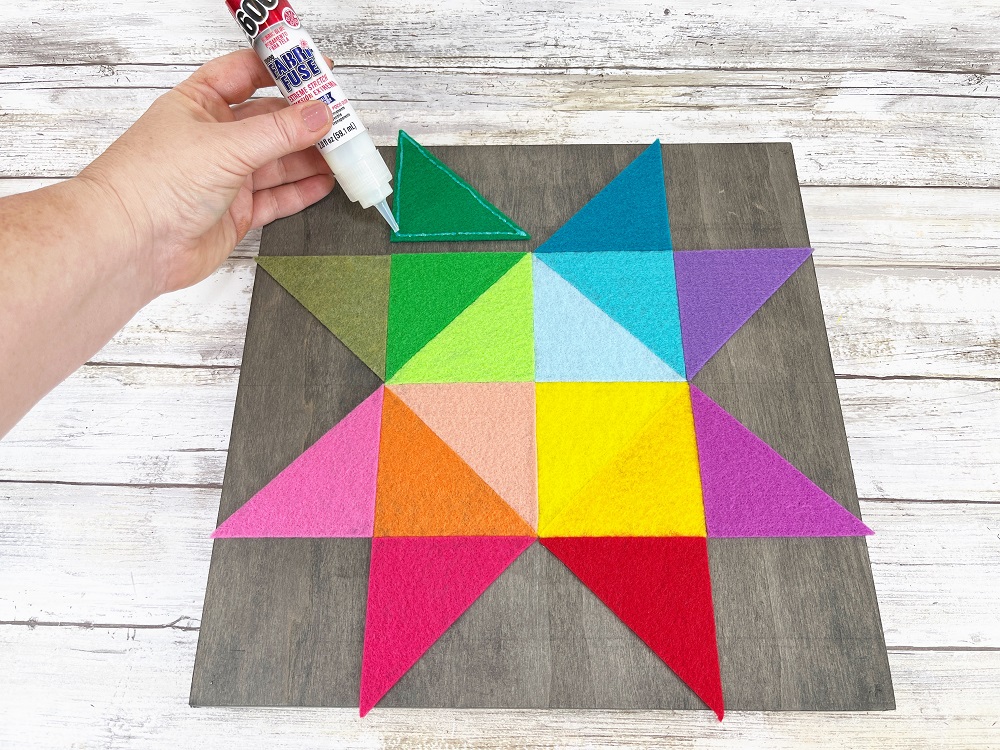
Using Fabri-Fuse Liquid Fabric Glue, attach the four triangles in the center of the wooden canvas to create the main square of the quilt pattern.
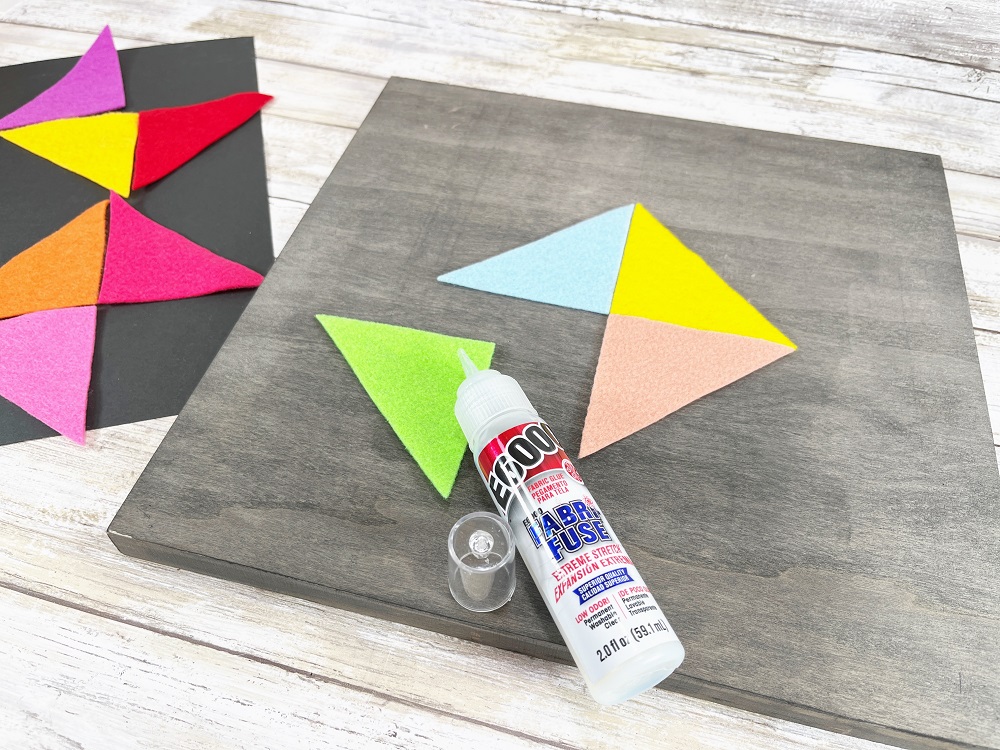
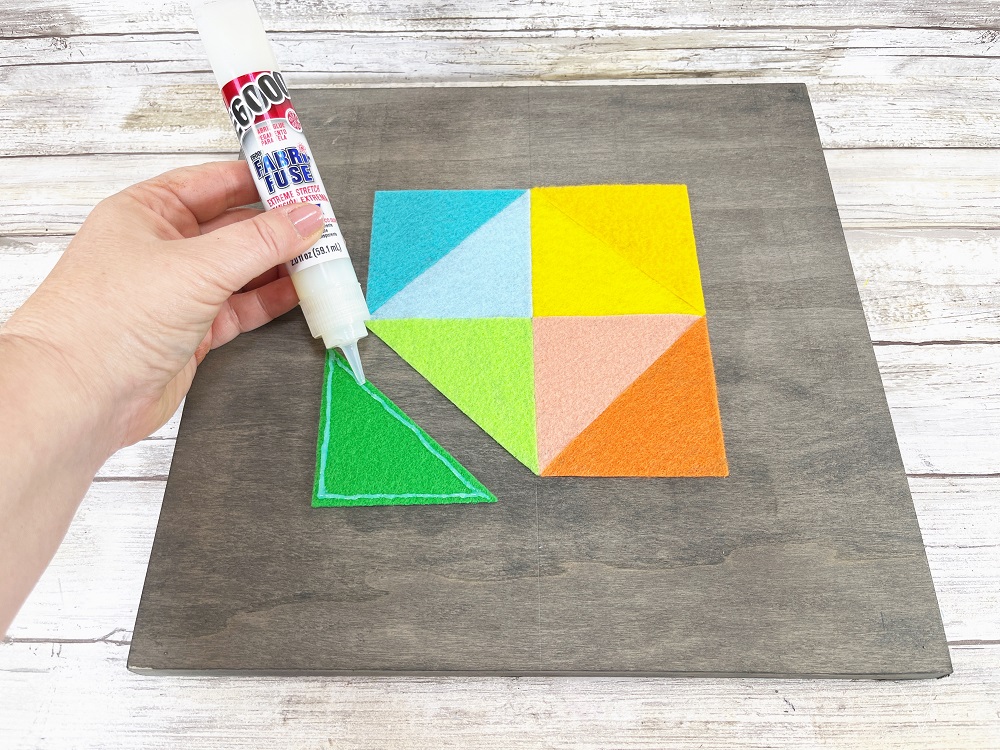
Continue to attach the second layer of triangles around the quilt pattern with Fabri-Fuse liquid fabric glue.
STEP 6
To finish the DIY Felt Barn Quilt, attach the final layer of triangles around the outside of the large square. Adding these triangles completes the star pattern of the quilt.
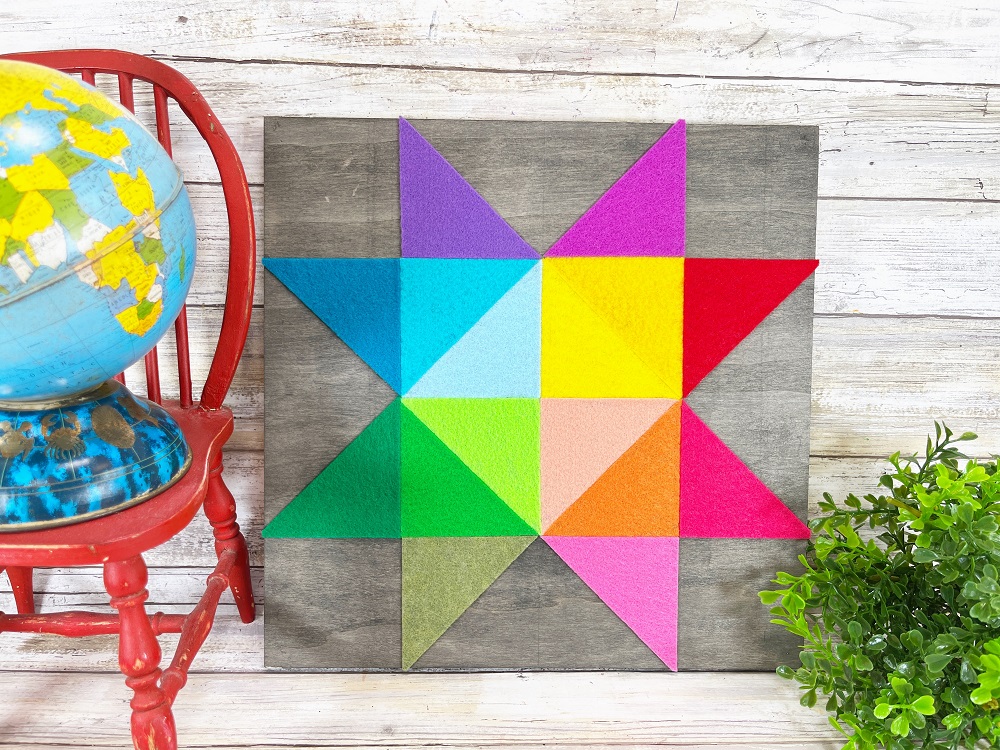
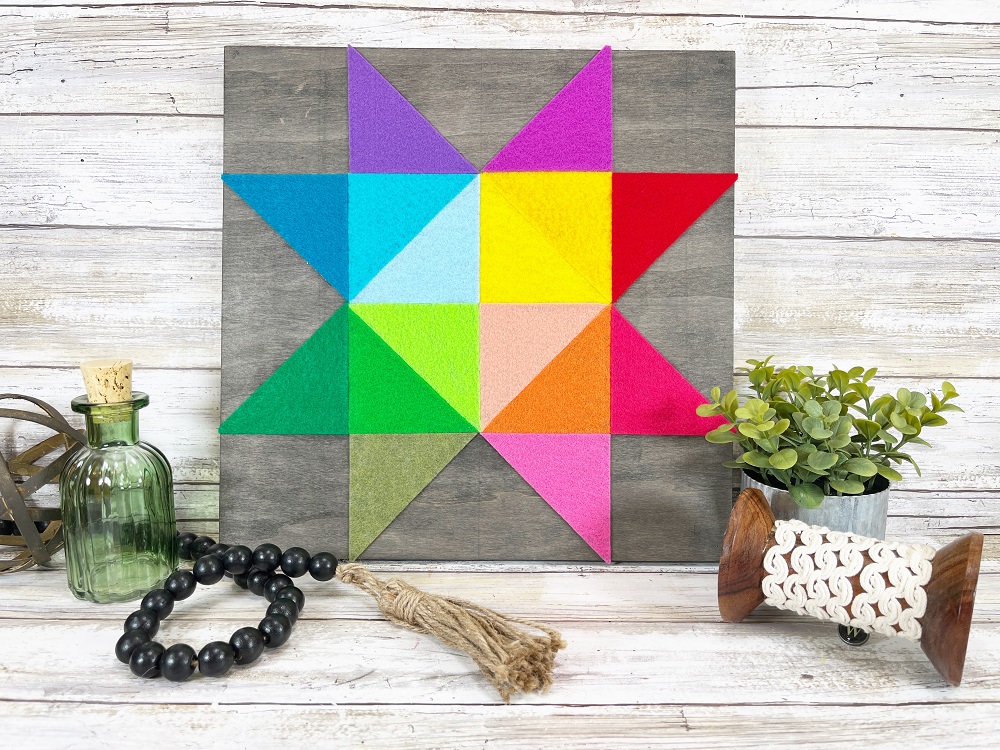
I hope you will use my Amish-inspired Barn Quilt project as a jumping off point to showcase your Kunin® Creativity and make some trendy and colorful décor for your home. Felt is an easy to use, versatile, and forgiving medium which allows you to create affordable but stylish projects whether you are a beginner or an expert crafter! The color combinations that can be created are endless.
You can now find an expanded color line of Kunin® Classicfelt and Kunin® Premiumfelt non-wovens fabrics in cut by the yard at your local Walmart; please inquire as to what is available in your area. Also widely available online at fabric.com and Amazon.
Follow Kunin® Felt Brand on Facebook, Instagram and Pinterest for daily creative inspiration and crafty projects! Make sure to tag Kunin® on social media with the hashtags #createwithkunin #kuninfeltcrafts
#madewithkuninfelt

