by Chad Boender
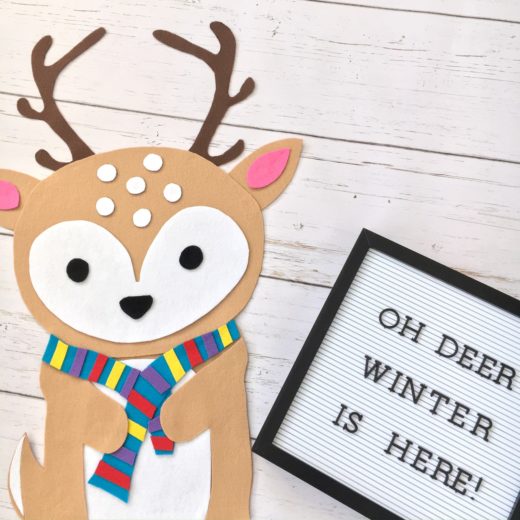
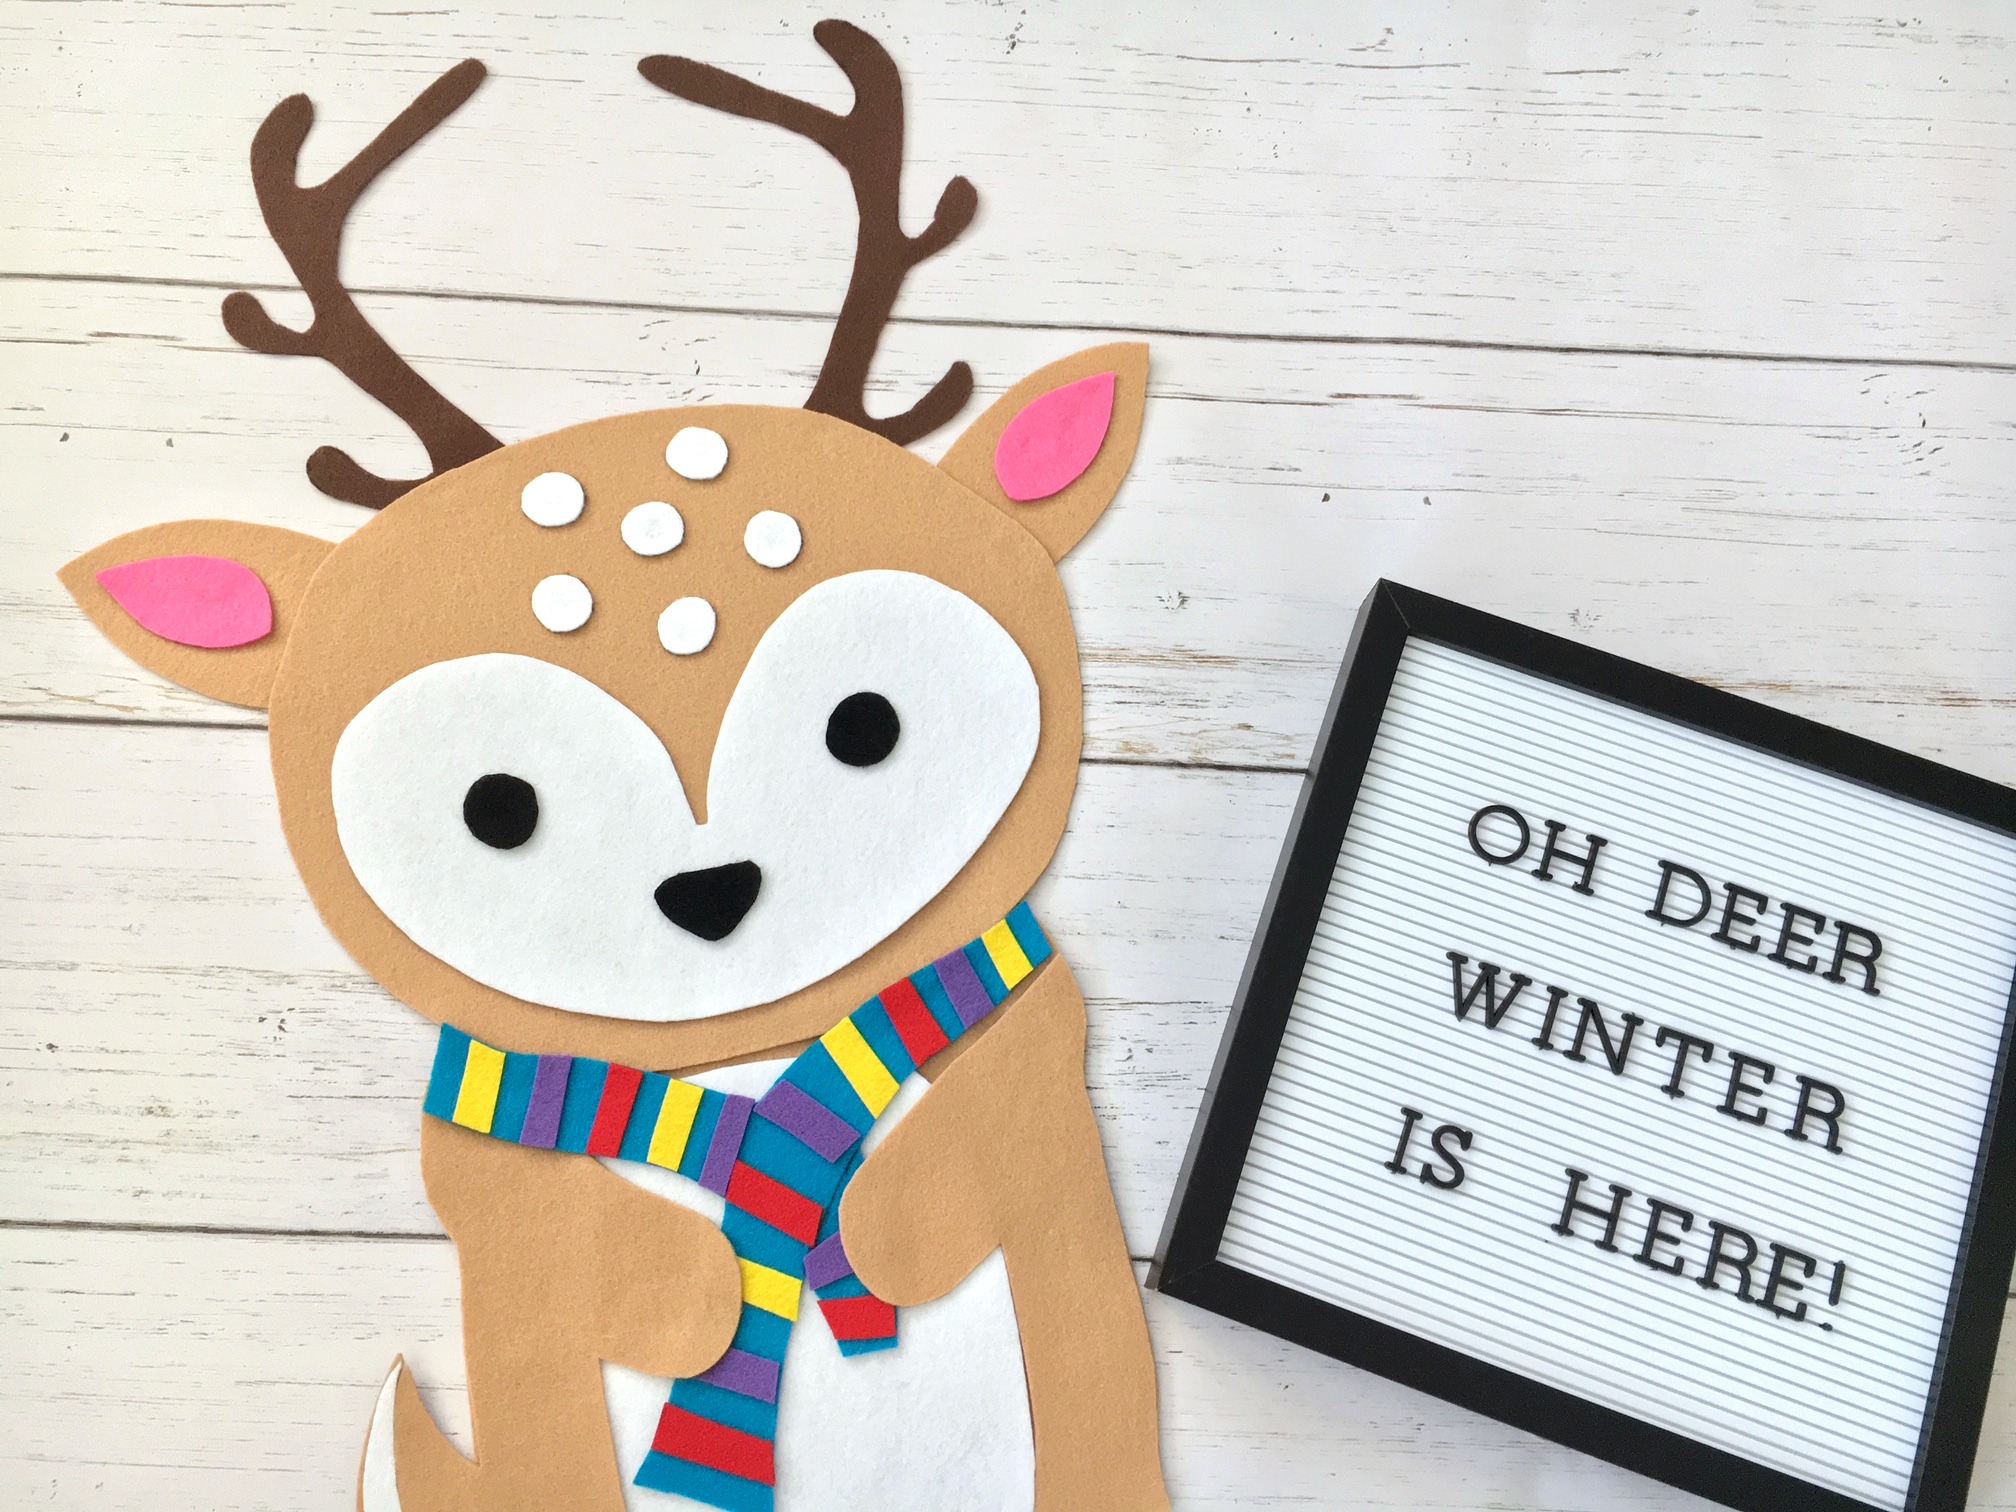
Oh deer, winter is here! Creating a woodland themed classroom or bulletin board has never been so easy with this fun and easy DIY woodland deer! If you have ever wondered how to create an oversized image for your bulletin board or to display in your classroom, then you’re in luck! Let’s grab our supplies and let’s get started!
You Will Need:
● 9″ x 12” craft cuts Kunin Classicfelt™ in Walnut Brown, White, Red, and Yellow
● 12” x 18” craft cuts of Kunin® Premium Felt in Cashmere Tan, Black, and White
● 9” x 12” craft cuts of Kunin® Premium Felt in Violet Sky and Peacock
● Scissors
● Adhesive (hot glue preferred)
● Sharpie marker
● Cardstock
● Printer
● Woodland Hipsters Clip Art by Lovely Clementine
Here’s How to Make it:

Step 1:
After browsing online, I found this adorable Woodland Hipsters Clip Art by Lovely Clementine. I decided to use this as my inspiration for creating my own DIY woodland deer; however, I wanted to make this felt woodland creature extremely large for one of my bulletin boards. I found a website called The Rasterbator. This website enlarges images to multiple pages, making it easy to print and combine them into a large pattern for this project. I uploaded the deer image from the Woodland Hipsters clip art set to the website and chose the appropriate size for my bulletin board.
Step 2:
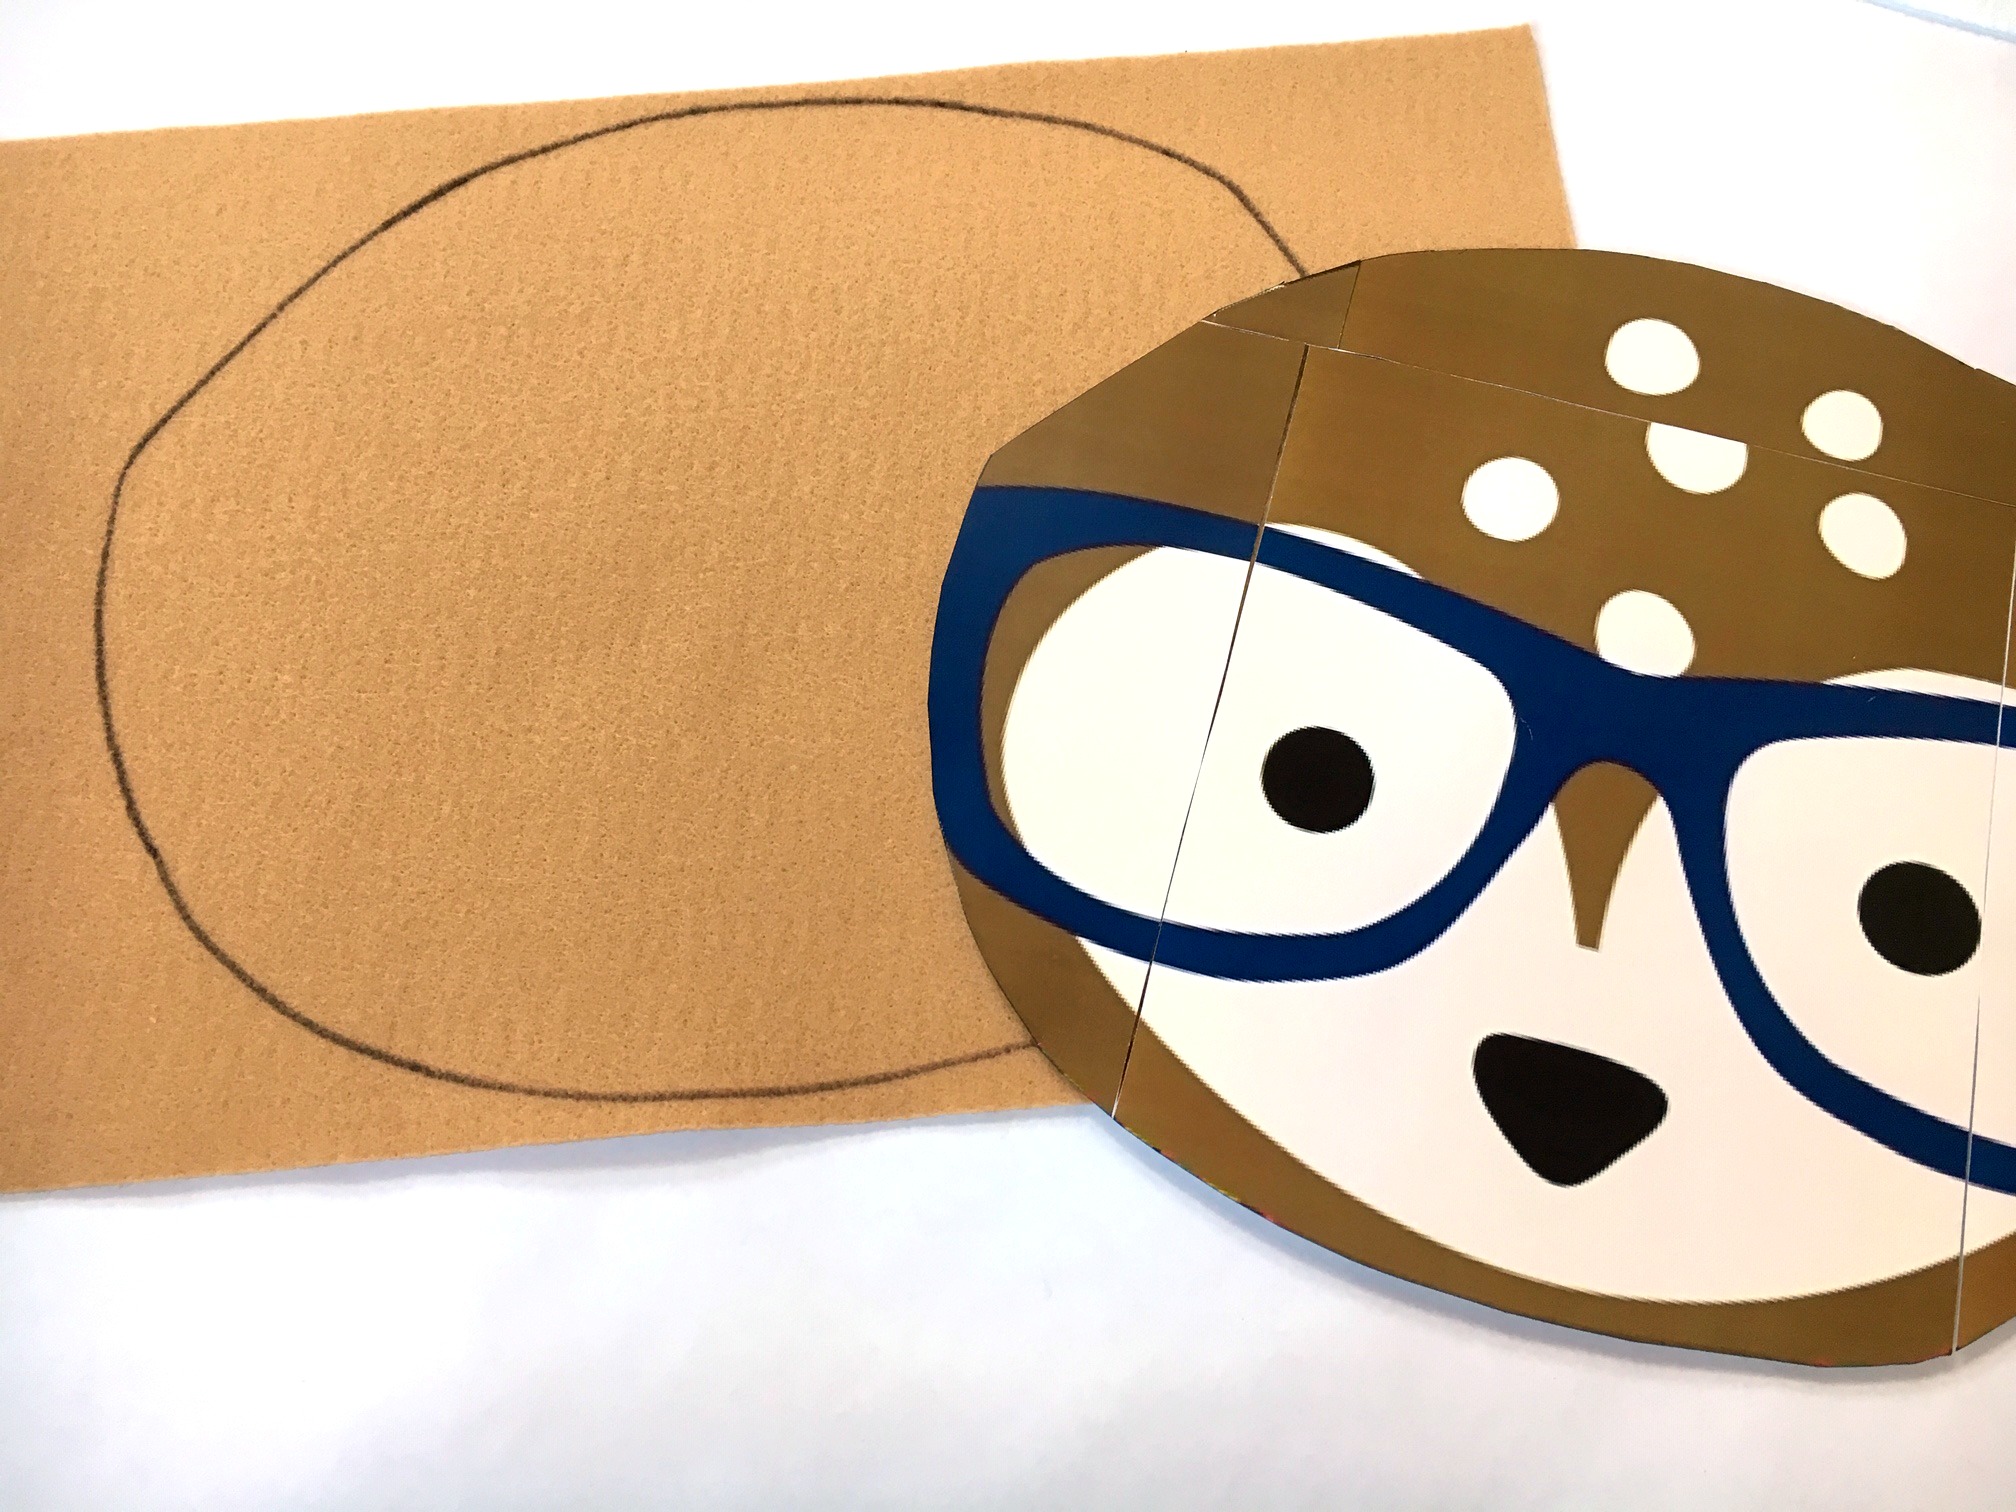
After printing and cutting out each page, I taped each page together to make a large pattern. Cut around the outer edge of your printed clip art design to make it easy to trace onto the felt base.
Step 3:
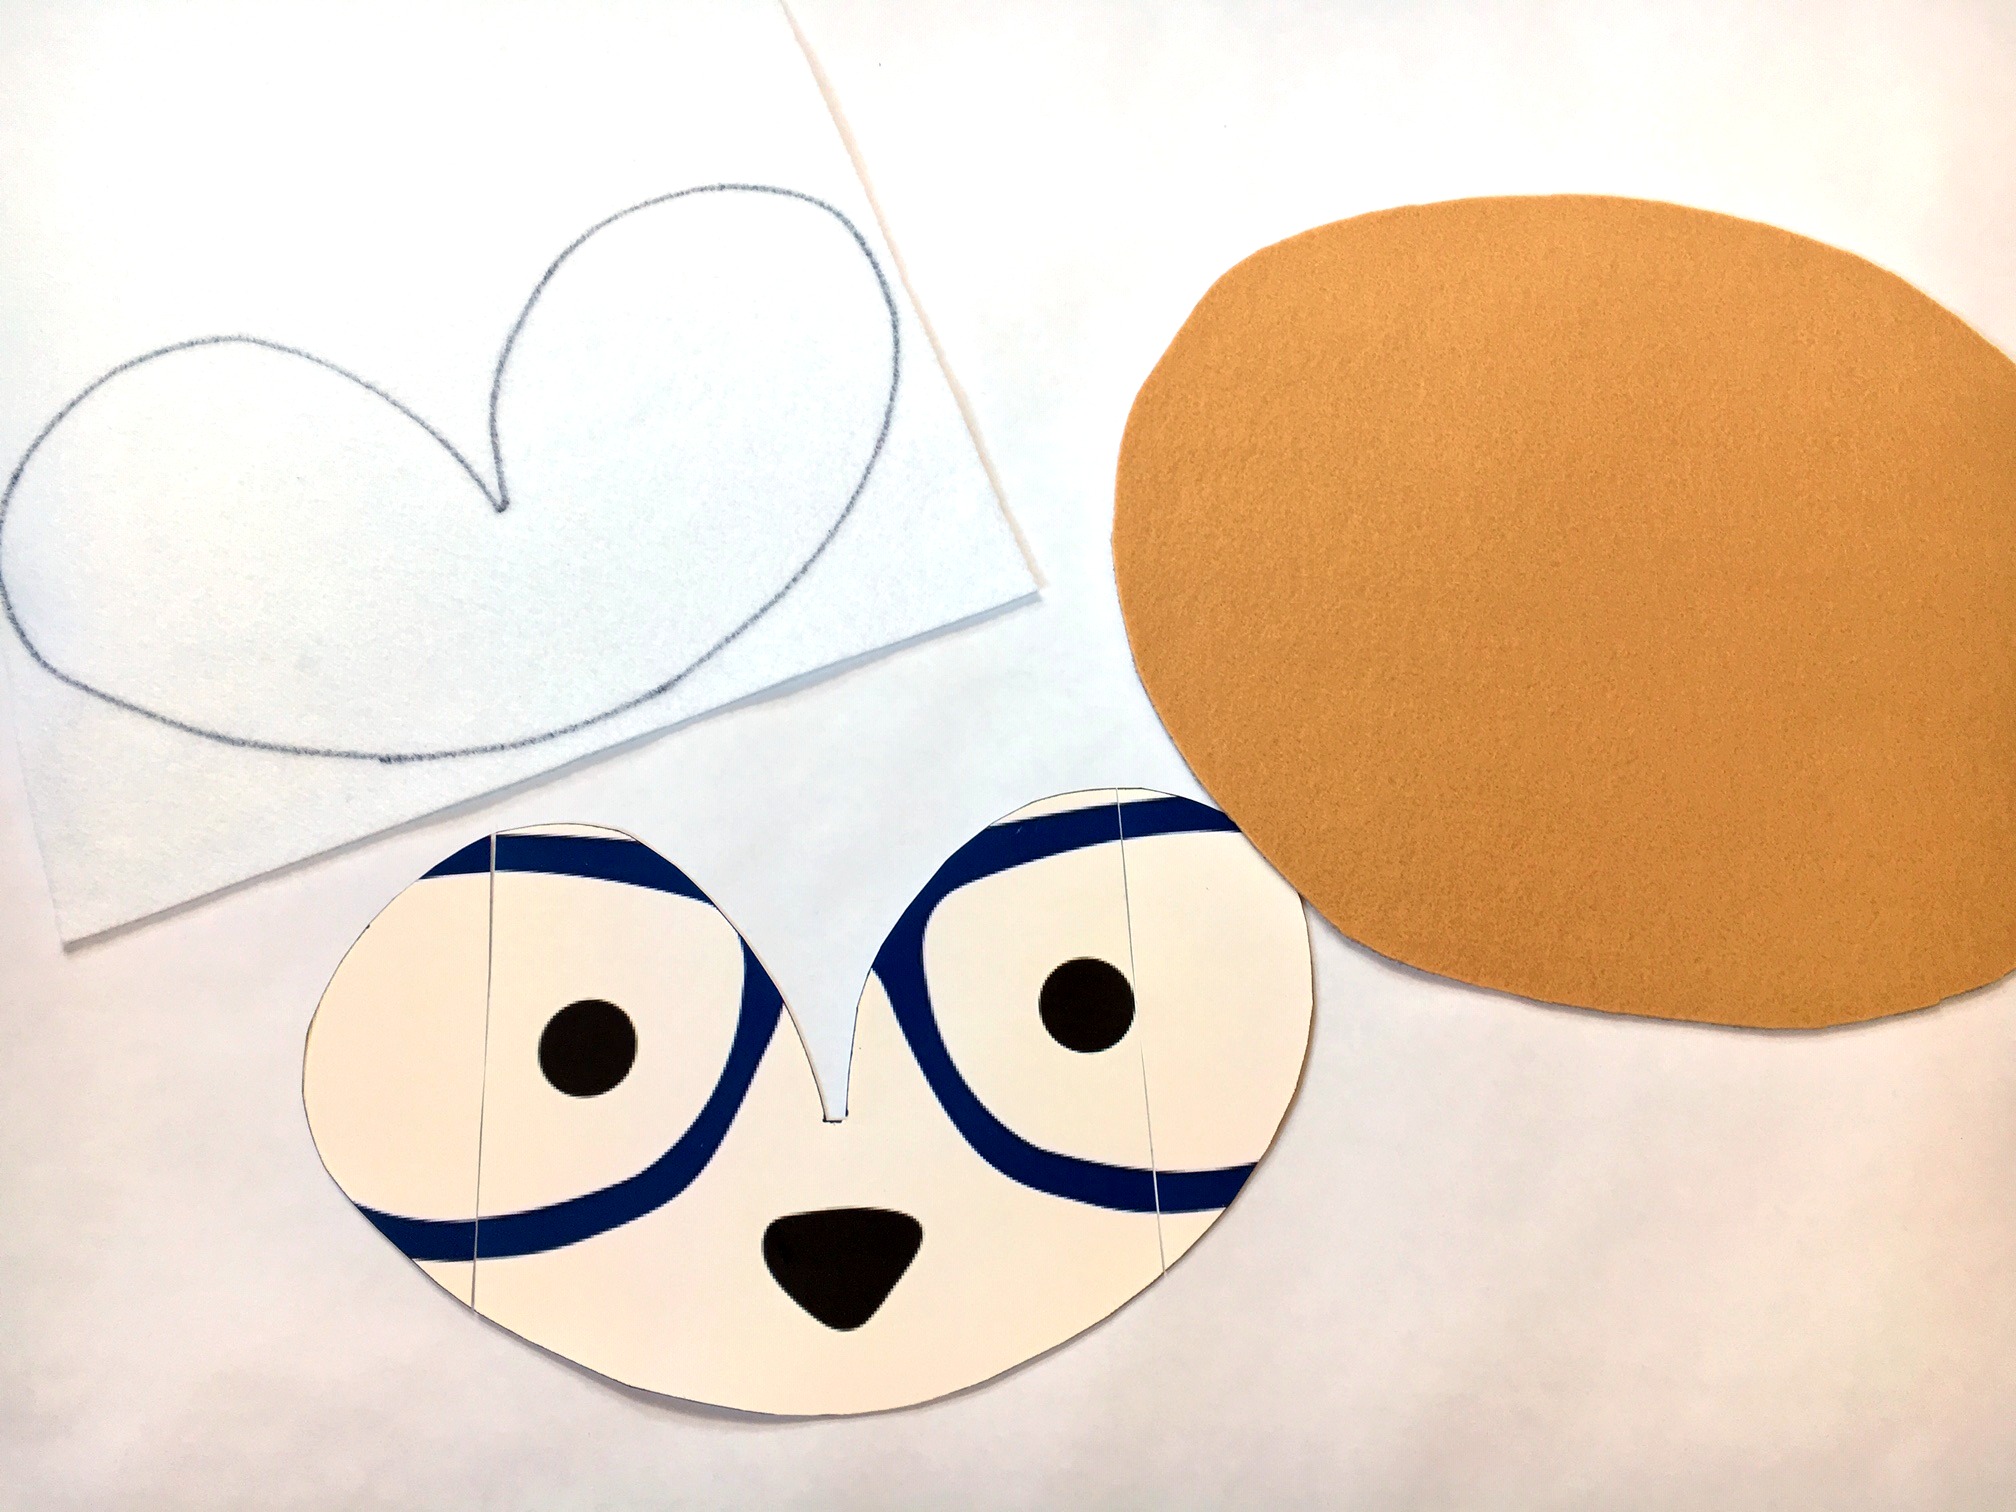
I used 12” x 18” craft cuts of Kunin® Premium Felt in Cashmere Tan, Black, and White for the base of the DIY woodland felt deer. I also used 9″ x 12” craft cuts Kunin Classicfelt™ in Walnut Brown and White for the project as well. After choosing the appropriate felt colors for your project, cut out each section for your woodland creature and trace onto felt using a Sharpie marker or pen. Cut out each section. Continue cutting out each section with the appropriate color of felt. Designer Tip: Be mindful of what parts you will need to cut out when creating your woodland felt animal. Start from the base and work inward to capture all of the details in your woodland animal.
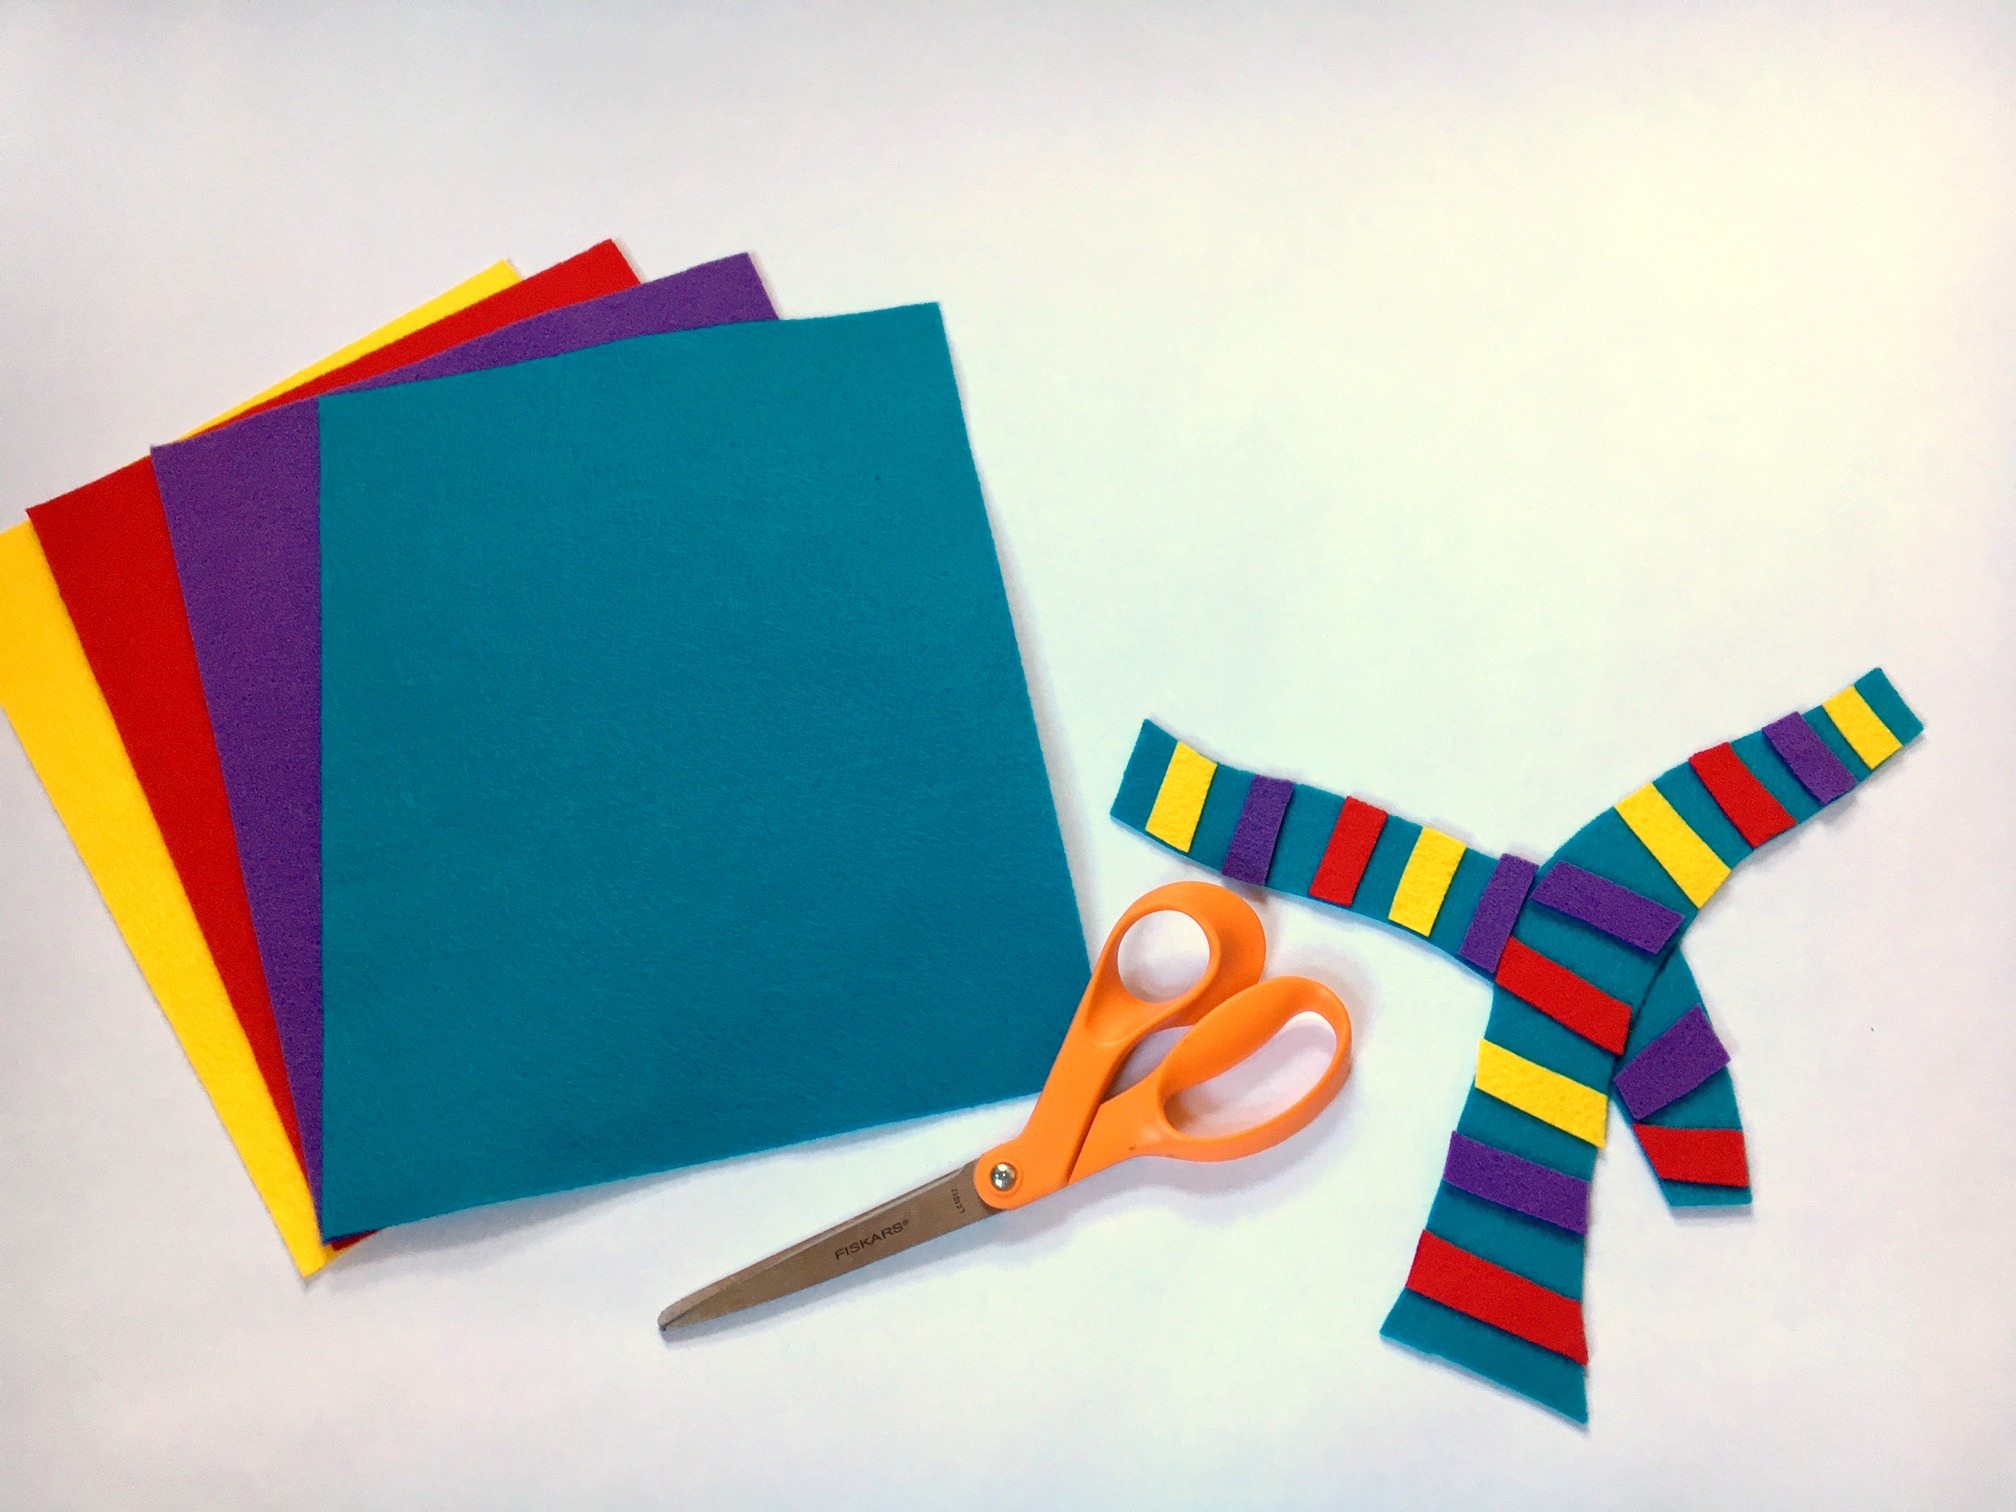
Step 4: After you have completed your DIY felt woodland creature, add details to your enlarged woodland creature. I added a fun and colorful scarf using 9″ x 12” craft cuts Kunin Classicfelt™ in Red and Yellow, and 9” x 12” craft cuts of Kunin® Premium Felt in Violet Sky and Peacock. Adhere with hot glue or felt glue.
You can now find an expanded color line of Kunin® Classicfelt; Kunin® Premiumfelt and Corduroy non-wovens fabrics in cut by the yard at your local Walmart; please inquire as to what is available in your area.
Happy Crafting,
Chad Boender
http://www.MaleKindergartenTeacher.com
FB: Male Kindergarten Teacher
IG: @MaleKindergartenTeacher