As promised more from CHA, the Craft and Hobby Trade show (www.craftandhobbyshow.org) held recently in Anaheim. It is a place where creative professionals from all over the world come to learn how to use the newest products, improve their business, connect with the industry talents and shop for their stores at major manufacturer’s booths. The booths are colourful, creative and filled with products and eye catching samples. To get an in depth look at the show visit my designer friend Julie McGuffee’s blog, Life in the Craft Lane. She covers the show thoroughly with great photos!
(http://juliemcguffee.blogspot.ca/2014/01/cha-mega-show-2014.html)
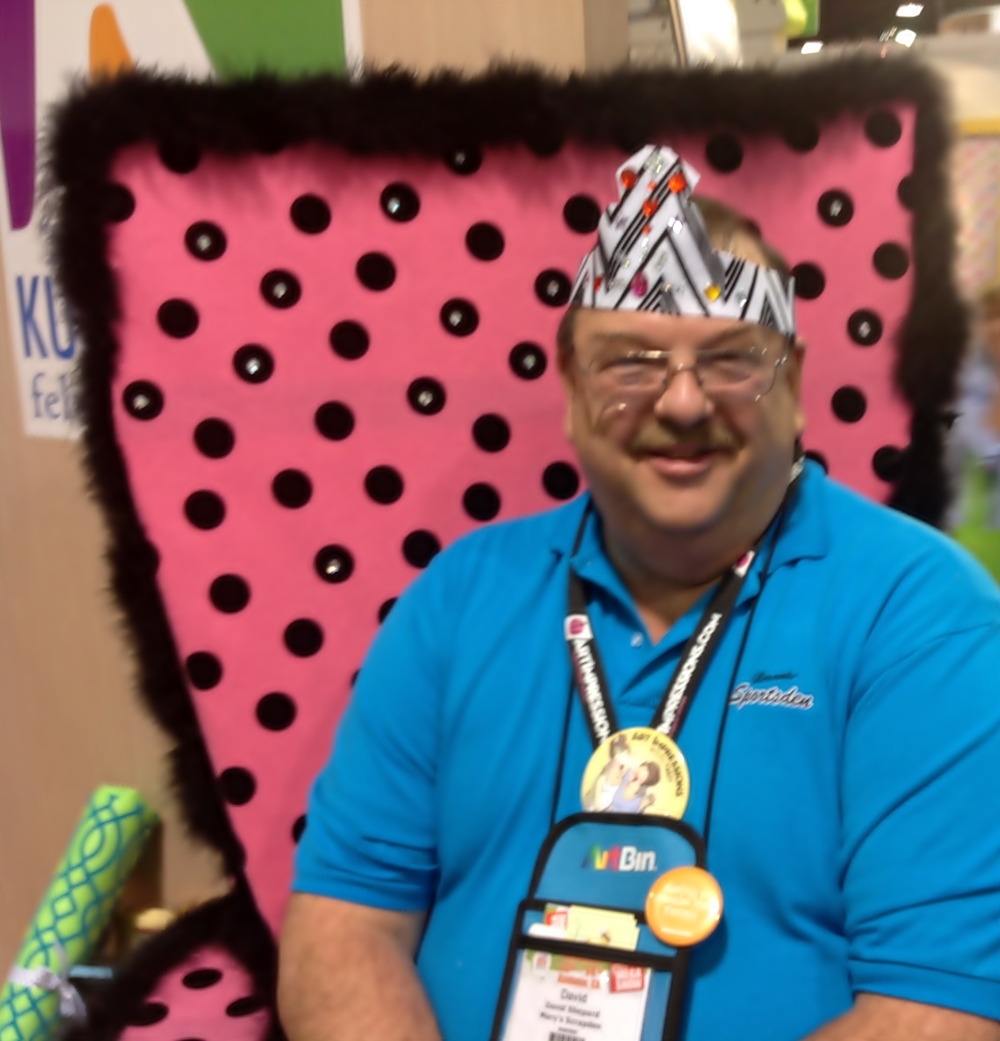
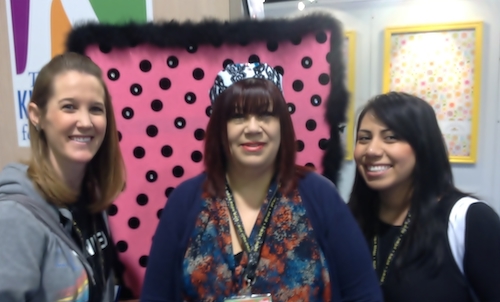
The Kunin booth was located in the front of the show floor. Filled with bolts of felt and tons of cute samples show attendees were drawn to our booth. We met store owners and teachers from all over the world. They enjoyed making crowns. One group of four young college girls who stopped by to make a crown taught craft classes in elementary schools. How cool is that? Of course felt is a number one go to for their classes. Other attendees made crowns as a gift for someone else or a store sample to teach.
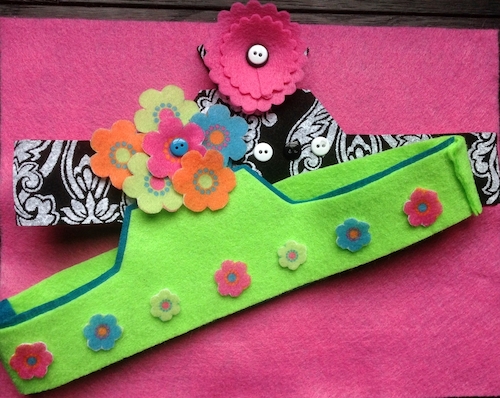
The crown is quick and easy, fun to personalize with color and embellishments. We used Laura Kelly’s bright button line in the booth and lots of blingy gems. If you looking for a class project for any age or for a group, girls night in, birthday parties a crown making party is ideal!
For Each Crown you will need: (pattern found here)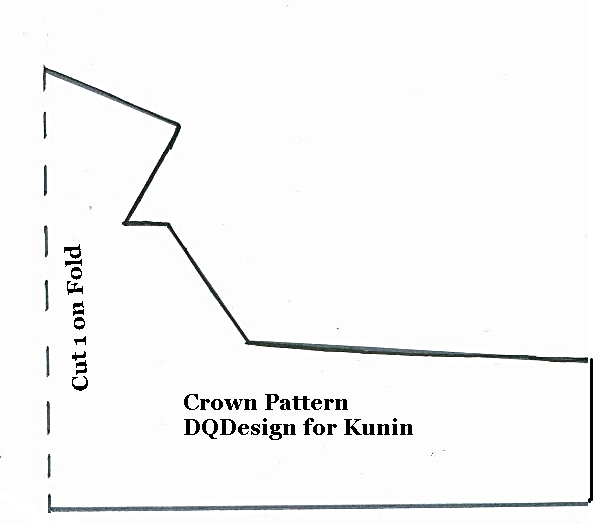
1-9″ by 12″ pieces of felt
Embellishments
Fabri-tac Glue
Fabric Scissors
Pins
1. Print pattern.
2. Choose main color for crown. Cut from felt.
Tip: Place crown pattern along one straight edge of felt.
3. Glue crown 1/4″ in from one edge of second piece of felt.
4. Cut around entire crown 1/4″ larger.
5. Cut from main felt piece a 2 1/2″by 12″ strip for back of crown.
6. Glue one end of strip to crown end.
7. Pin opposite sides together.
8. Try on head. Trim off excess. (If you need to add extra cut first strip to half needed.)
9. Embellish crown before gluing ends together. It is easier to decorate while it is laying flat.
If your crown is heavily embellished you made need support for the center peak, add a small strip of felt cut from a scrap and glue to the center back of peak. How quick and easy is that?! It is also an economical craft to make especially if you are working with a large group.
Next time on the blog more felt goodness from CHA and a final wrap up from the show! Keep creating! Debra