
by Katie Berry
The baseball season has started for my oldest son as his middle school club team has started practicing and getting ready to take on other local middle schools. We are a big baseball family. My husband grew up playing and both of my sons play. Sometimes kids have the same baseball bags so what better way for a baseball player to keep up with his bag than to add a bag tag. I made this felt bag tag so that Landon knew just exactly which bag was his.
Level: Easy-Medium + Basic Sewing
Time to Complete: 1 hour
Materials:
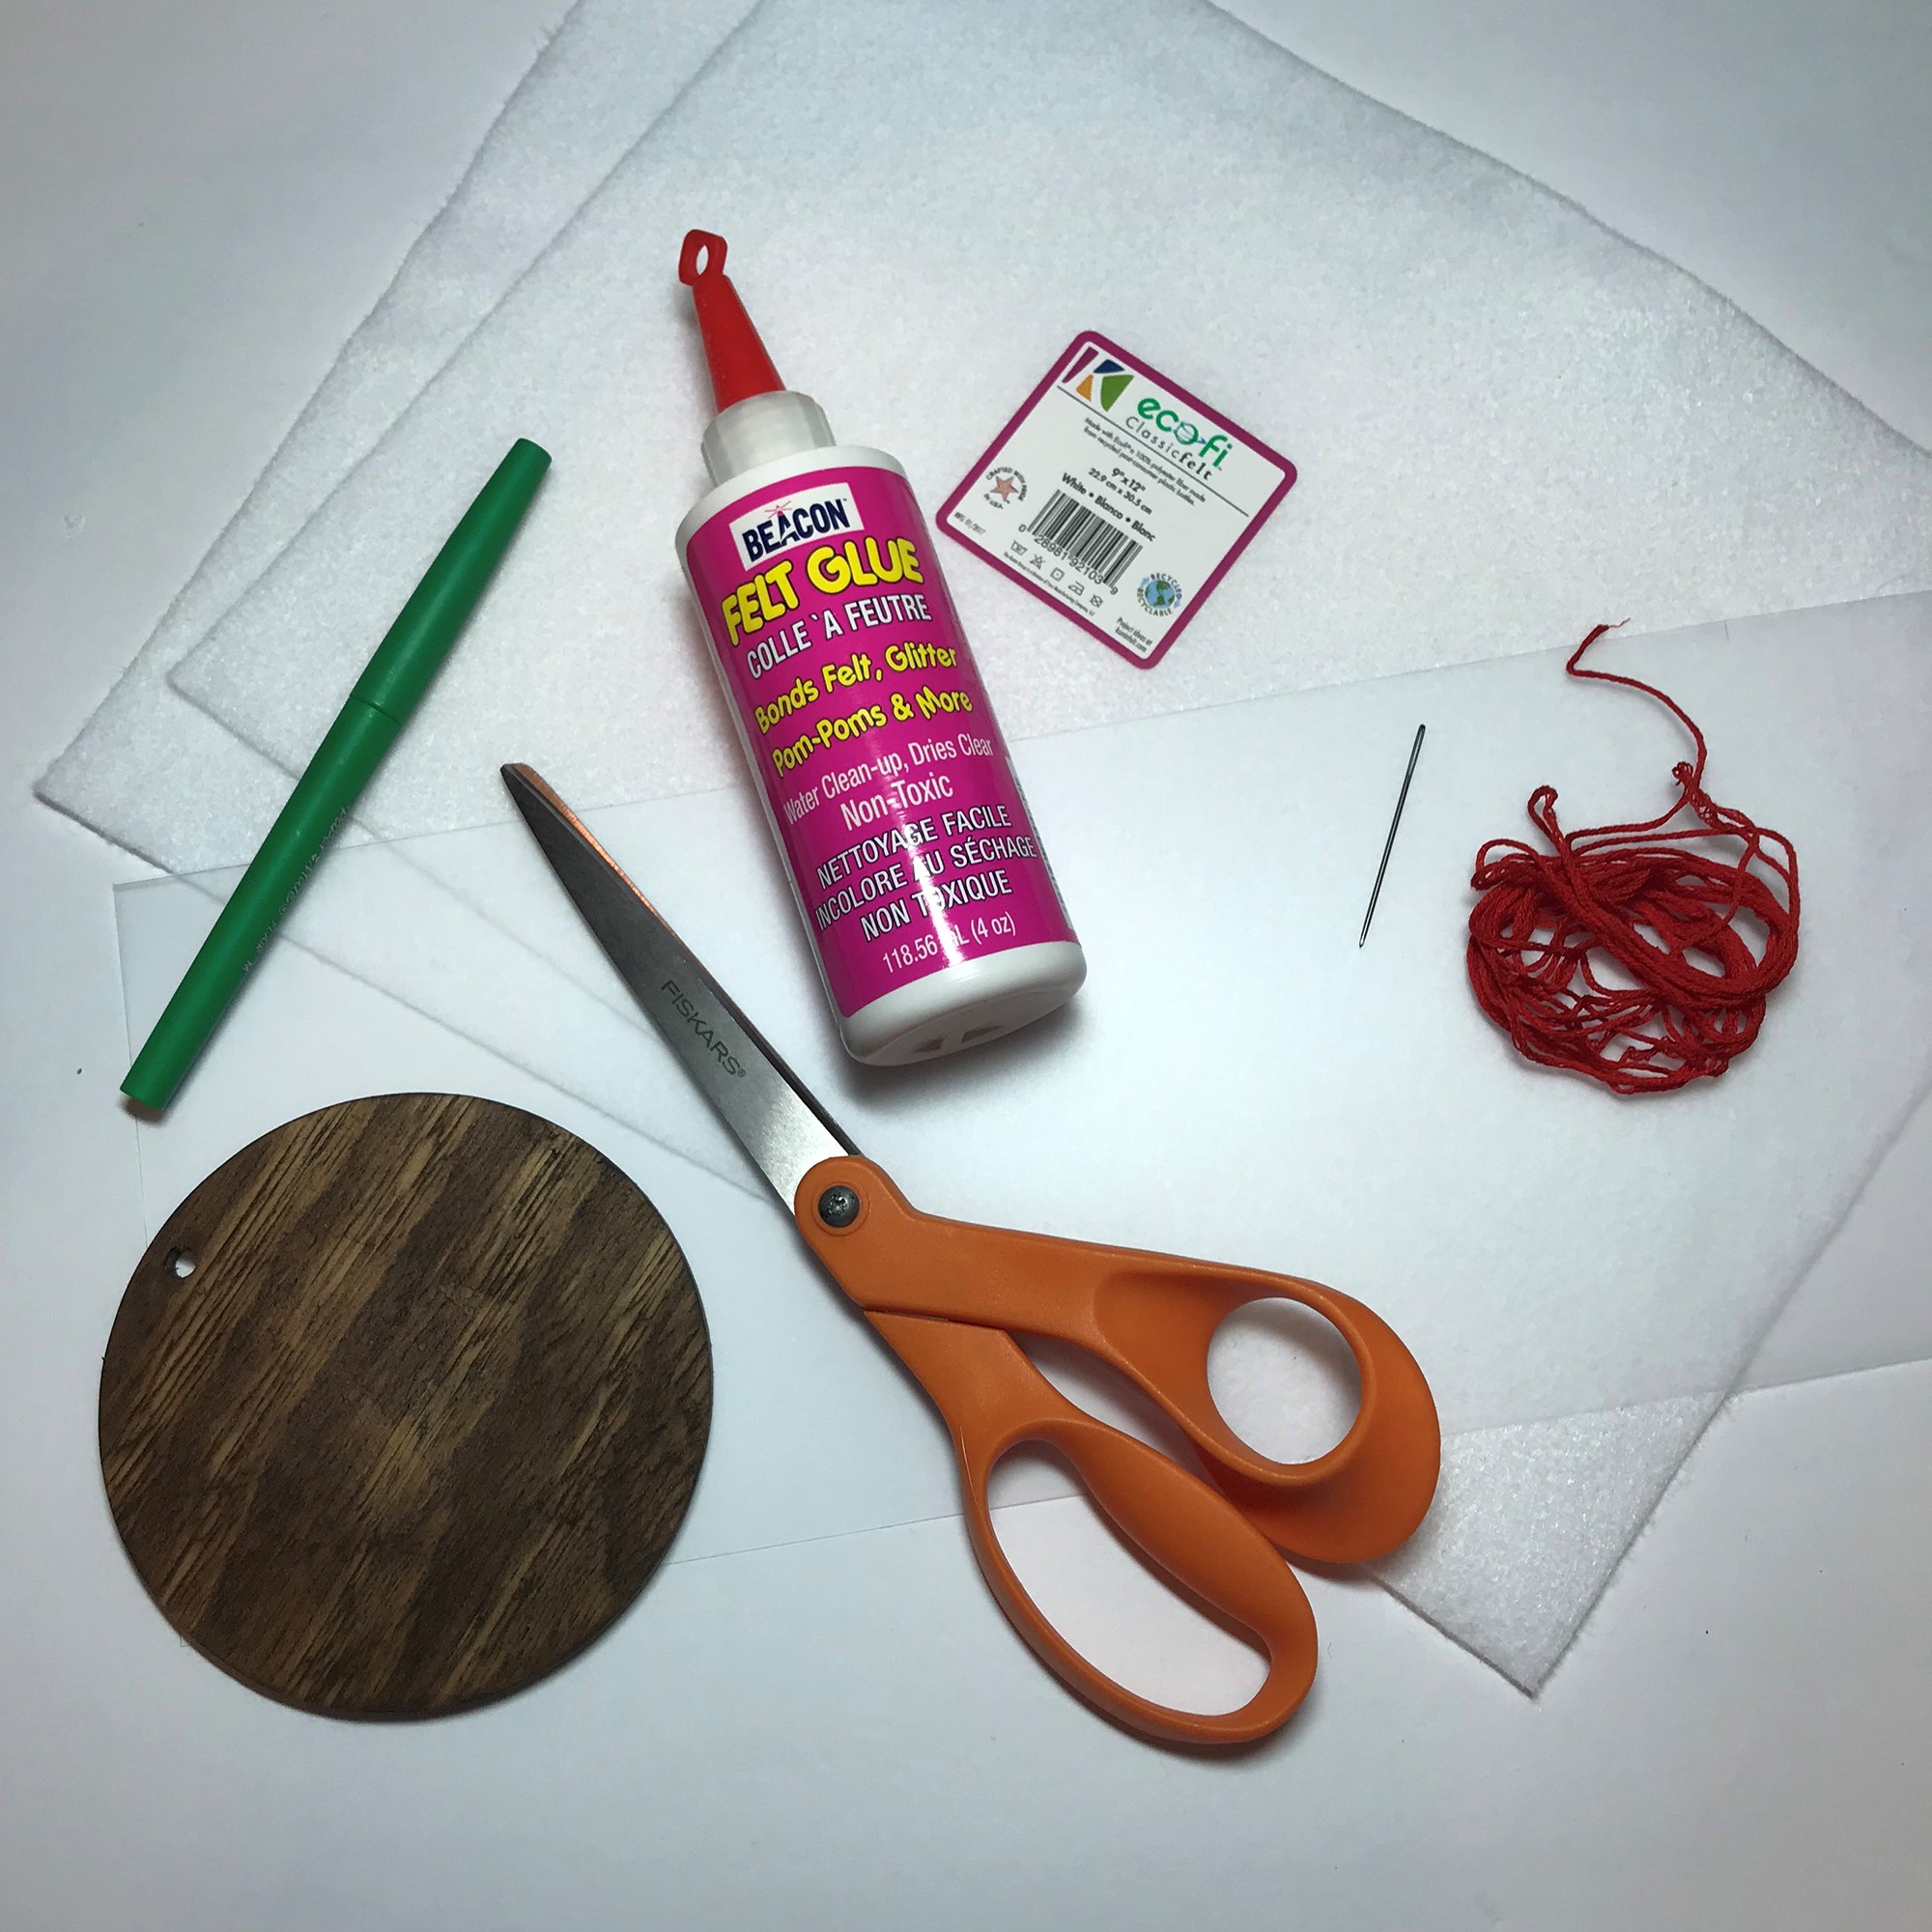
9”x12” Craft Cut of Kunin Classicfelt: (2) White
Clear Plastic or Vinyl
Red Embroidery Floss
Embroidery Needle
Scissors
Felt Glue
Sewing Machine with white thread
Marker
A round stencil or a round object
Cardboard
Red Ribbon
Using a round object or stencil, trace five circles on the felt and cut them out.
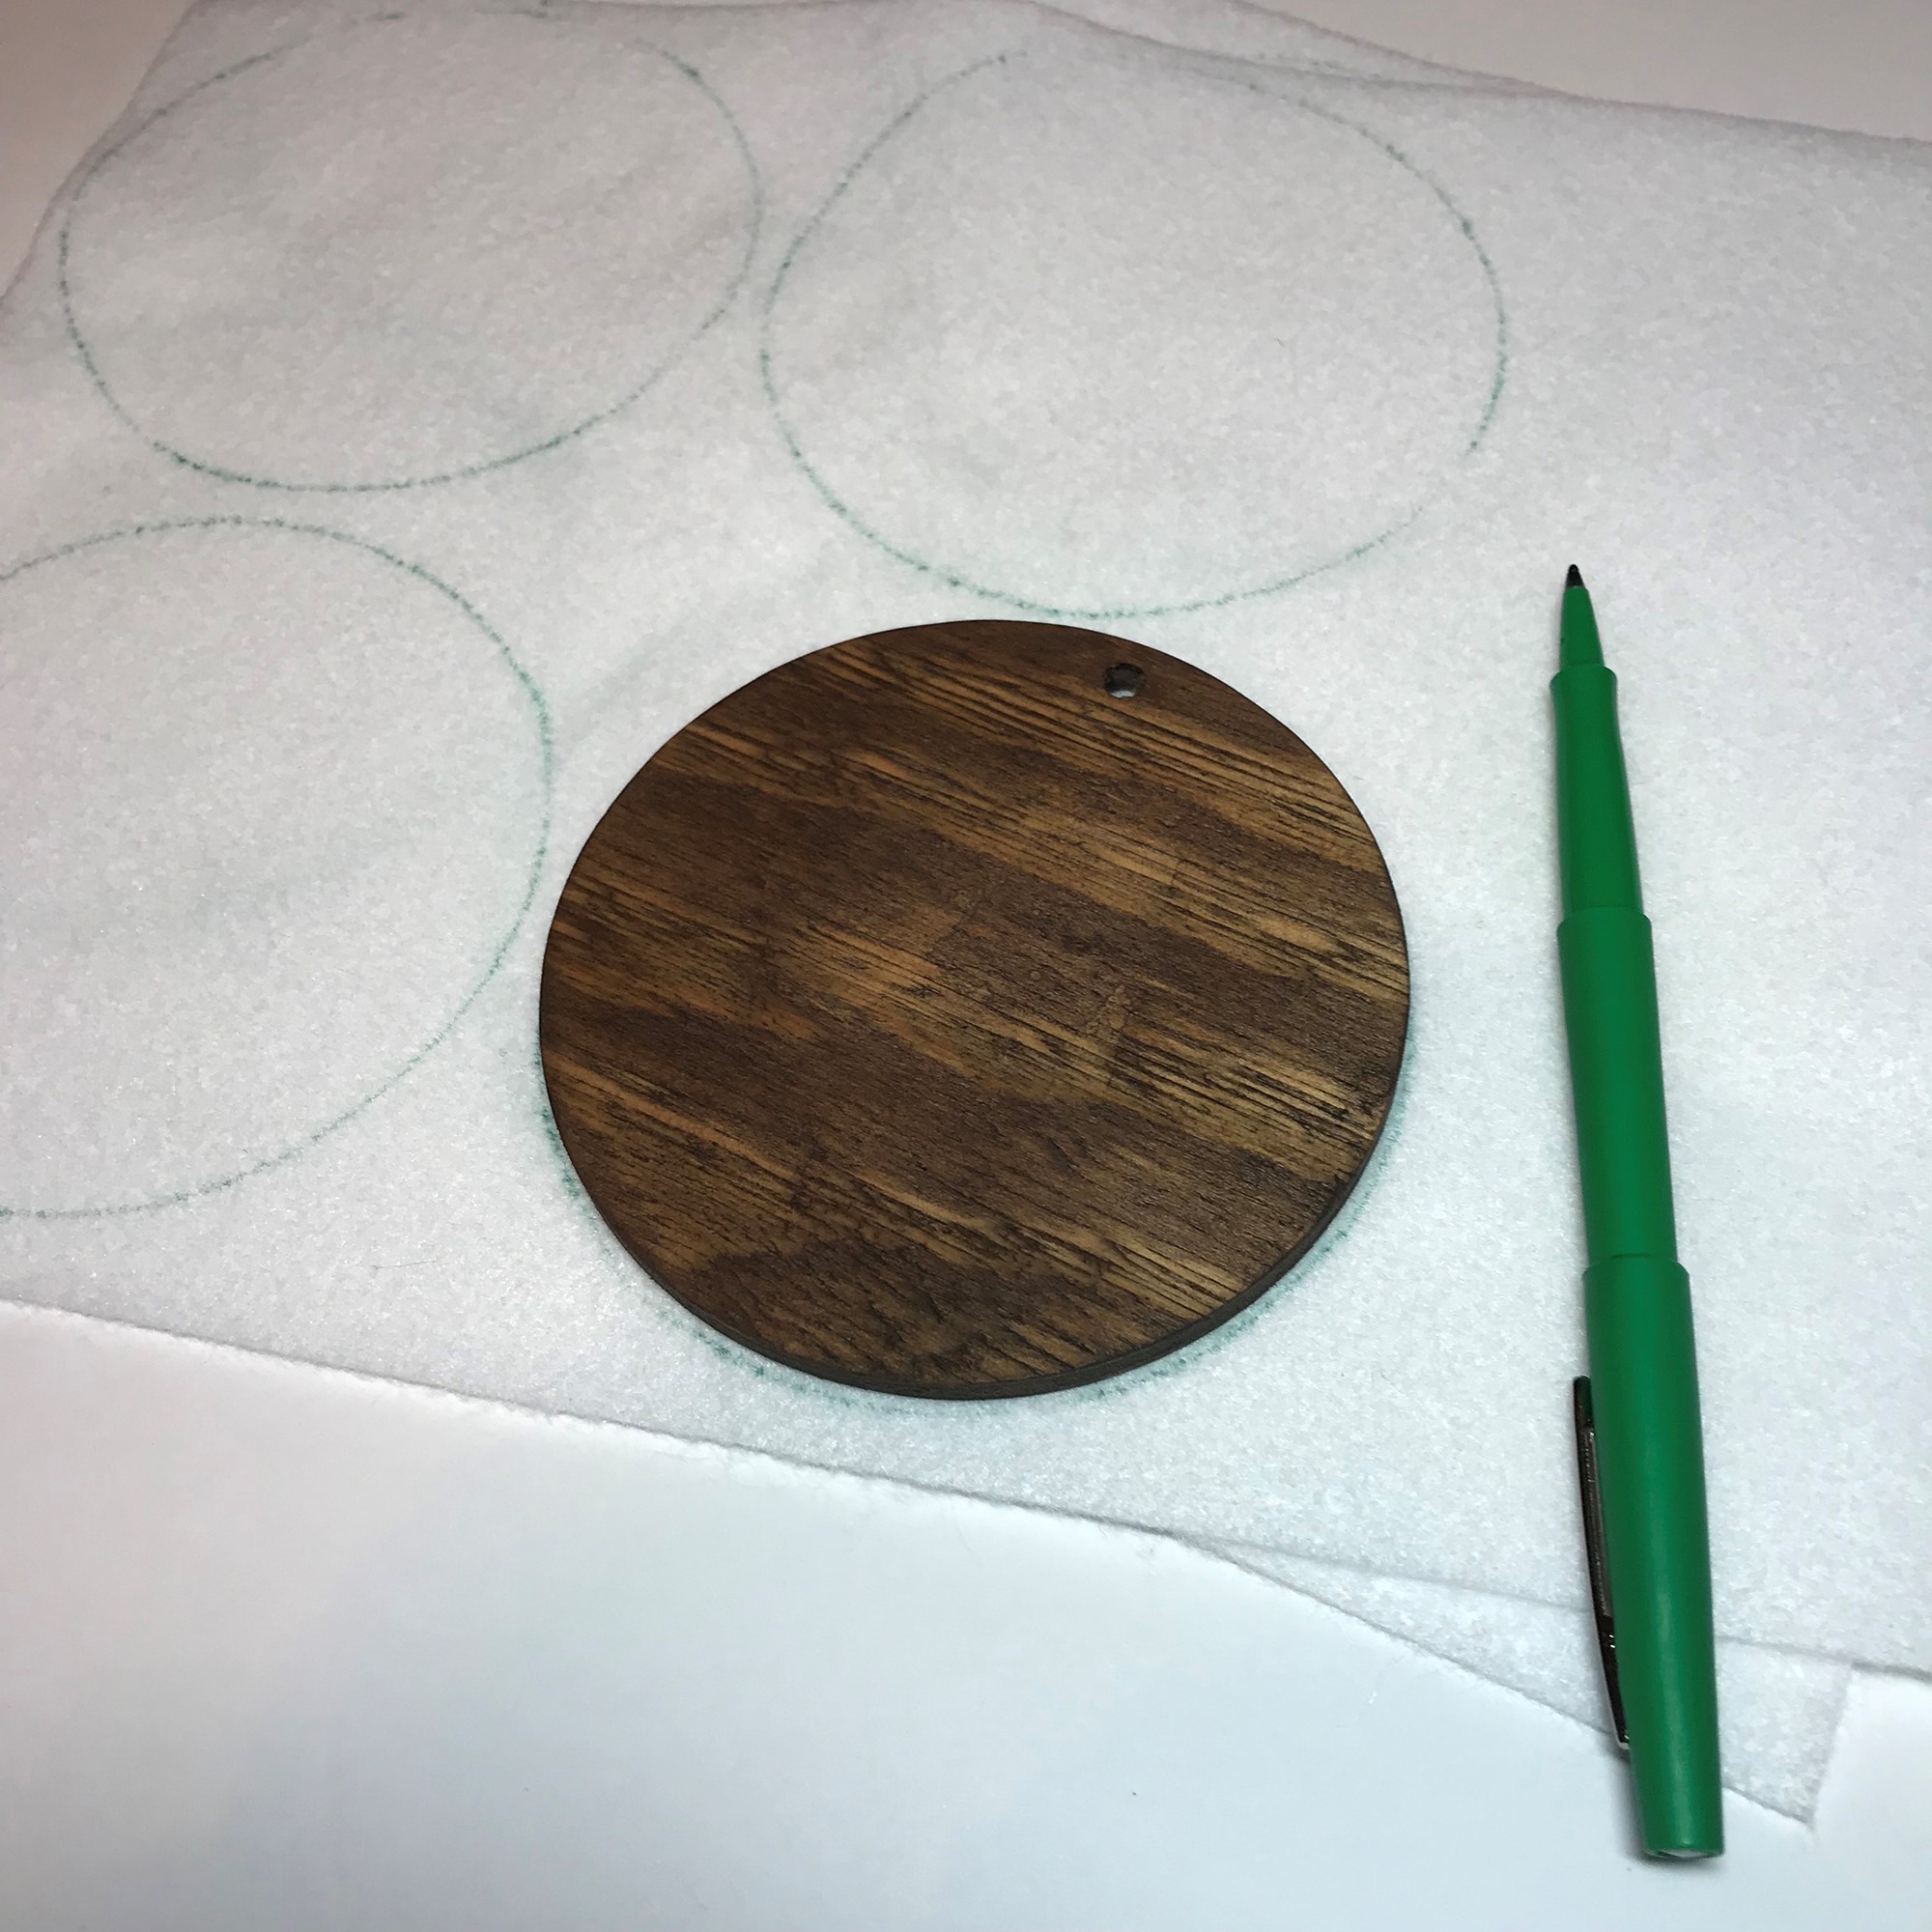
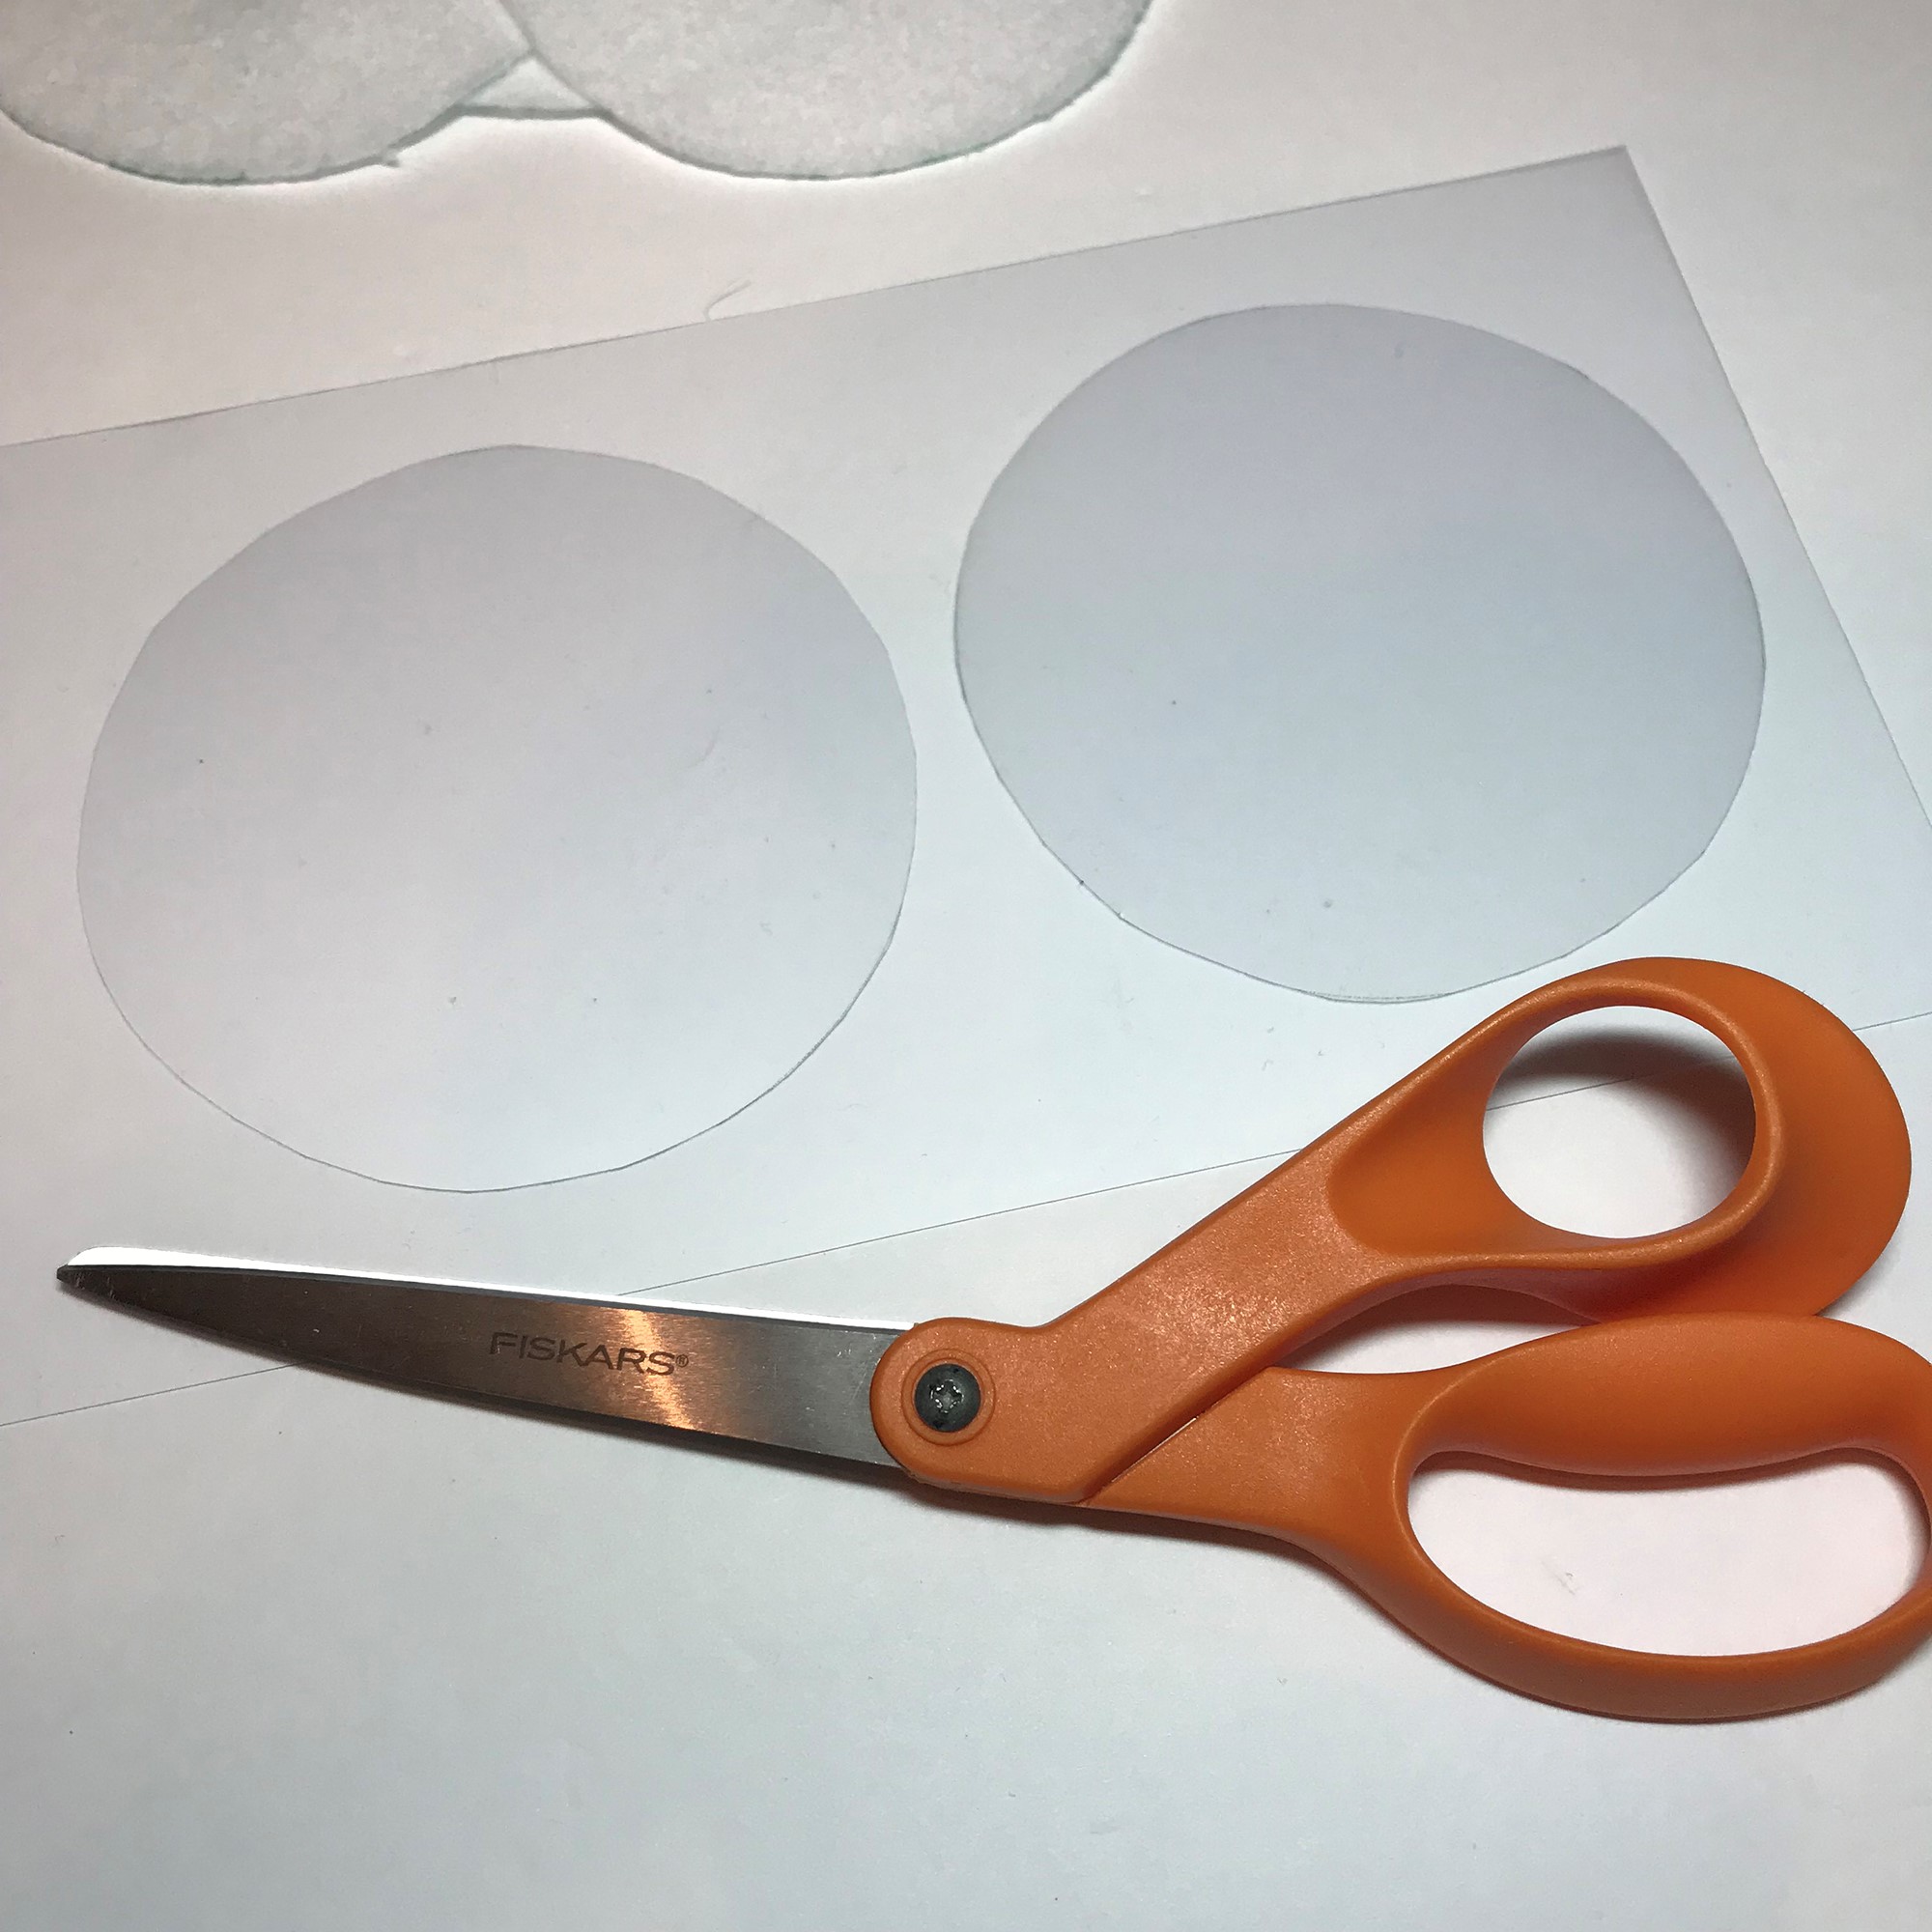
Trace a circle on the plastic or vinyl and cut it out.
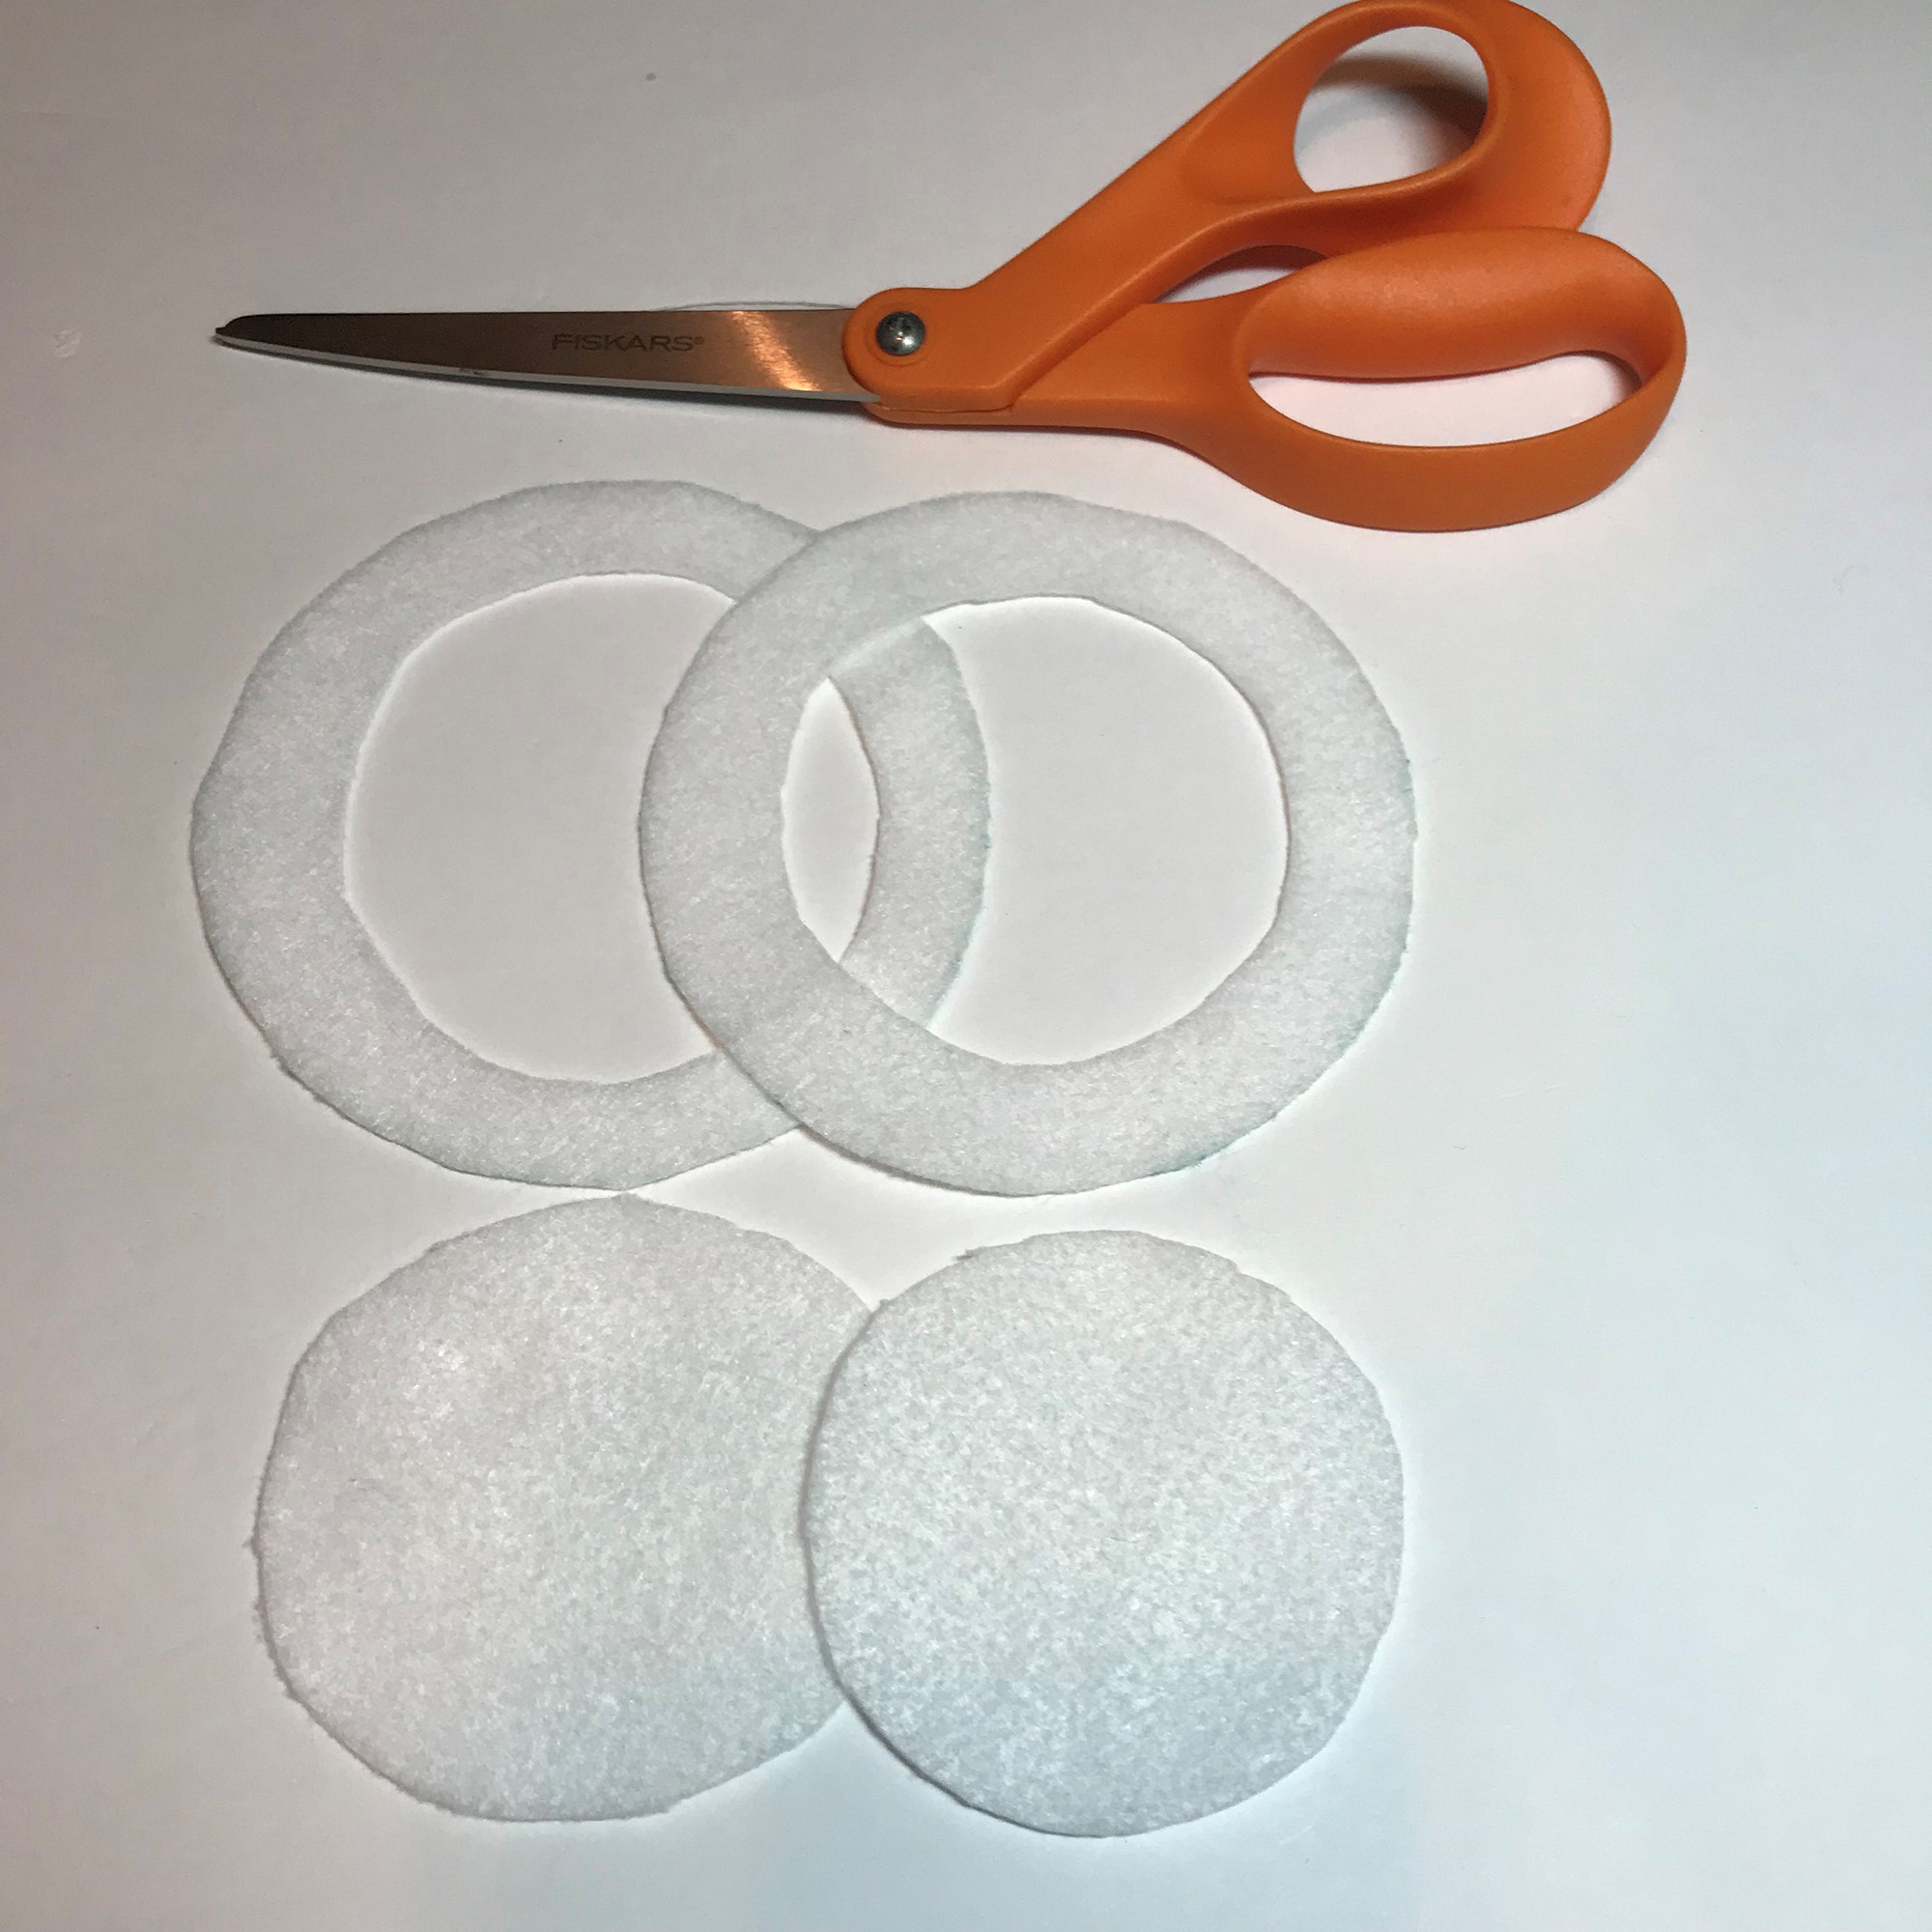
Take two of the felt circles, fold them in half and cut out a circle from the inside, leaving a half inch border.
Using felt glue, glue the plastic/vinyl circle between the two circle without the middle.
Using the sewing machine, stitch around the circle so that everything stays in place.
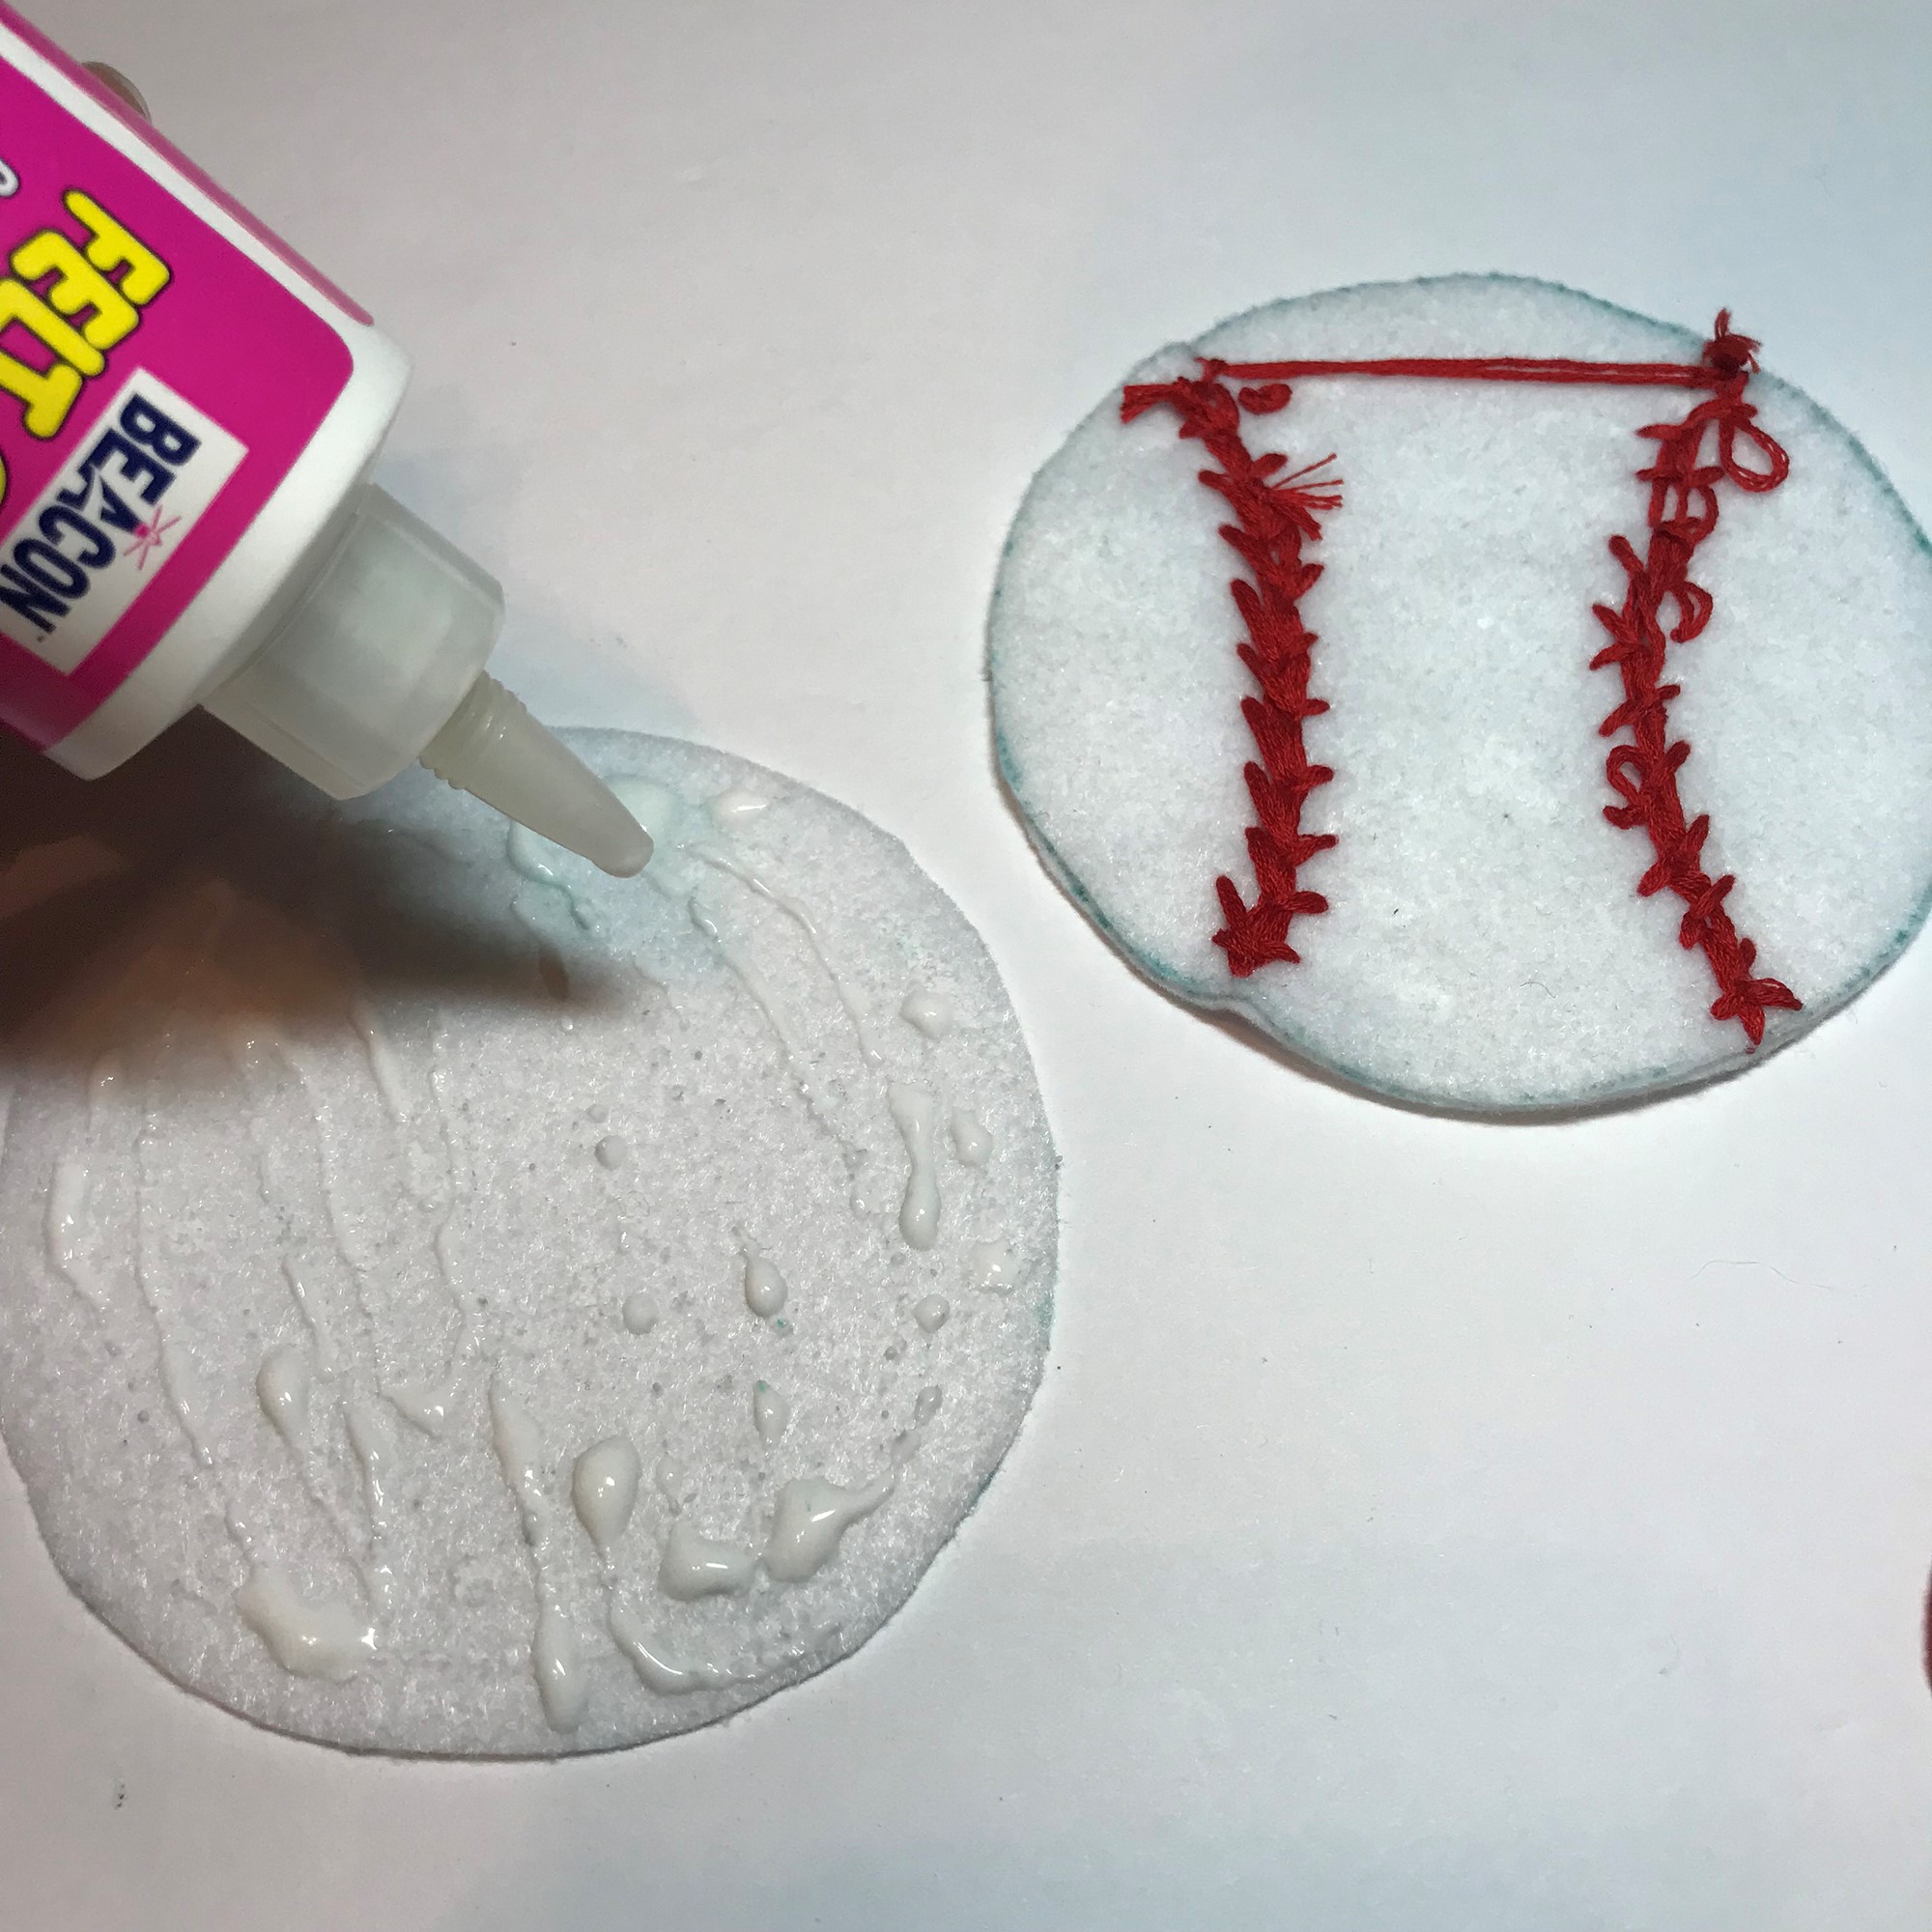
On one of the extra three felt circles, use the marker and draw what looks like the laces of a baseball. Put glue on another circle and glue it to the circle with the marker lines.
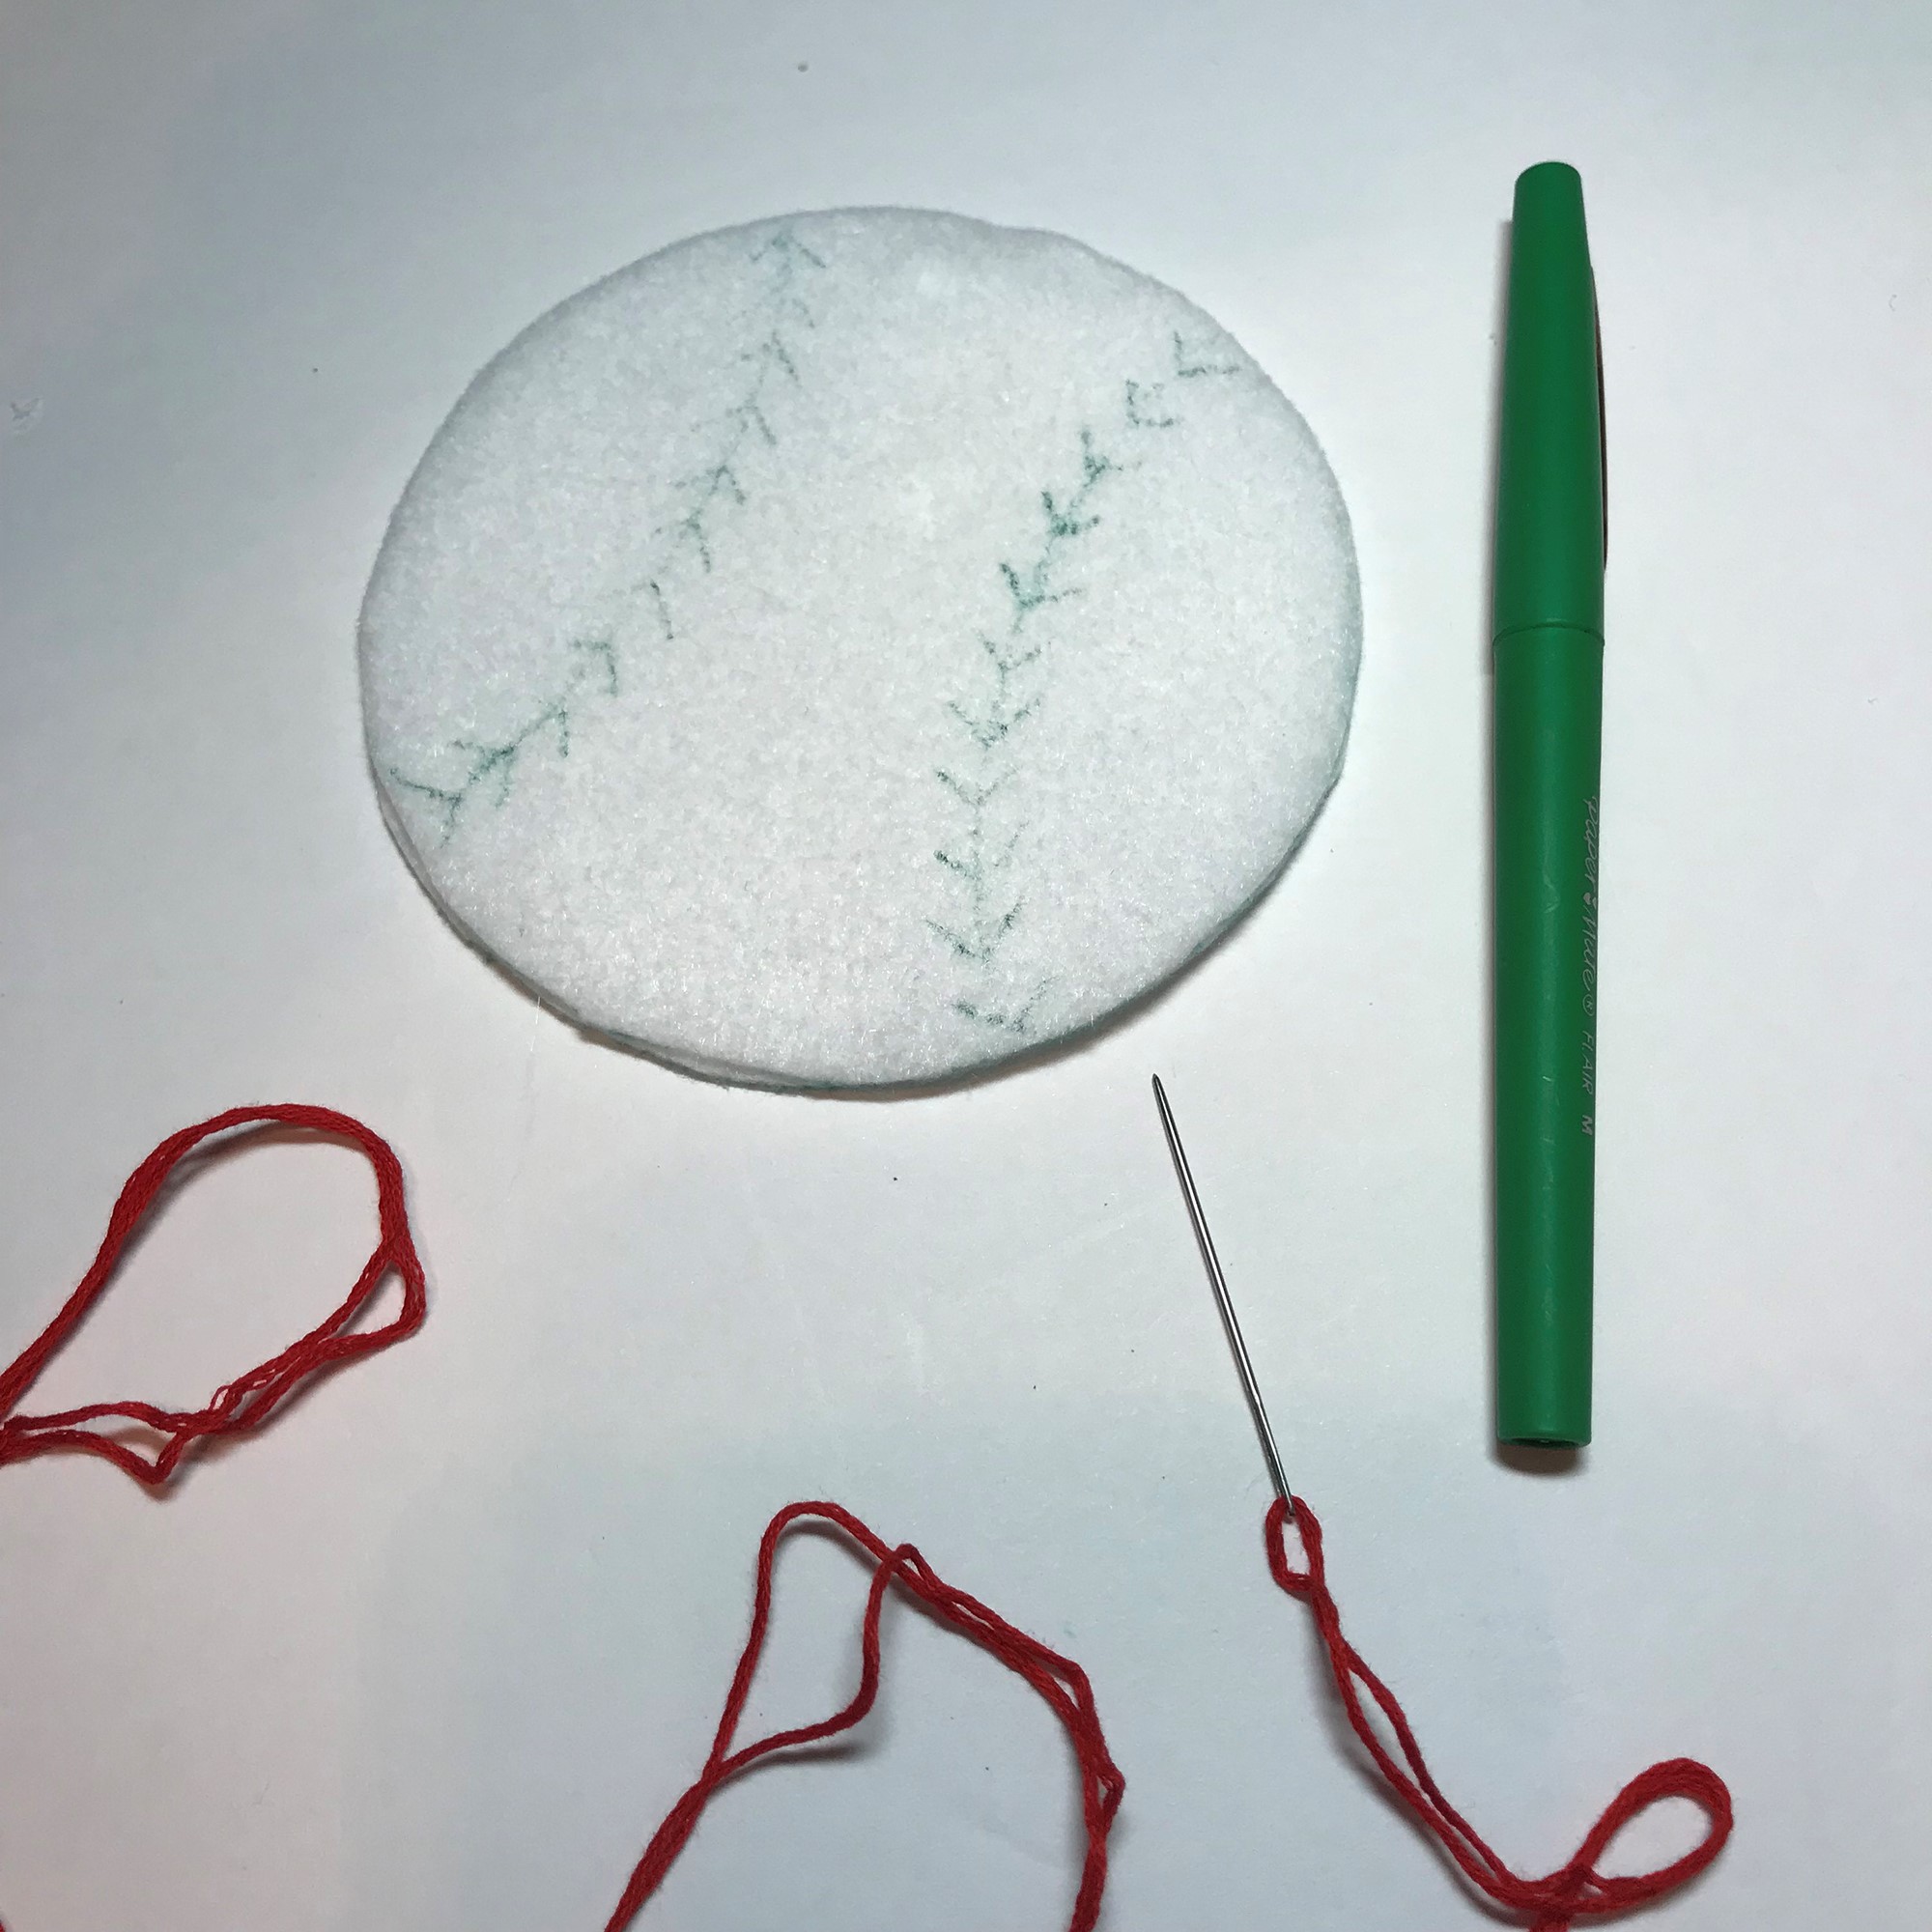
Thread your needle with the red embroidery floss and stitch over the marker lines. DESIGNER TIPS: I doubled the thread so the laces looked full and I used a basic backstitch.
Once you have finished stitching the laces, glue a third circle to the back so that you cover the stitches.
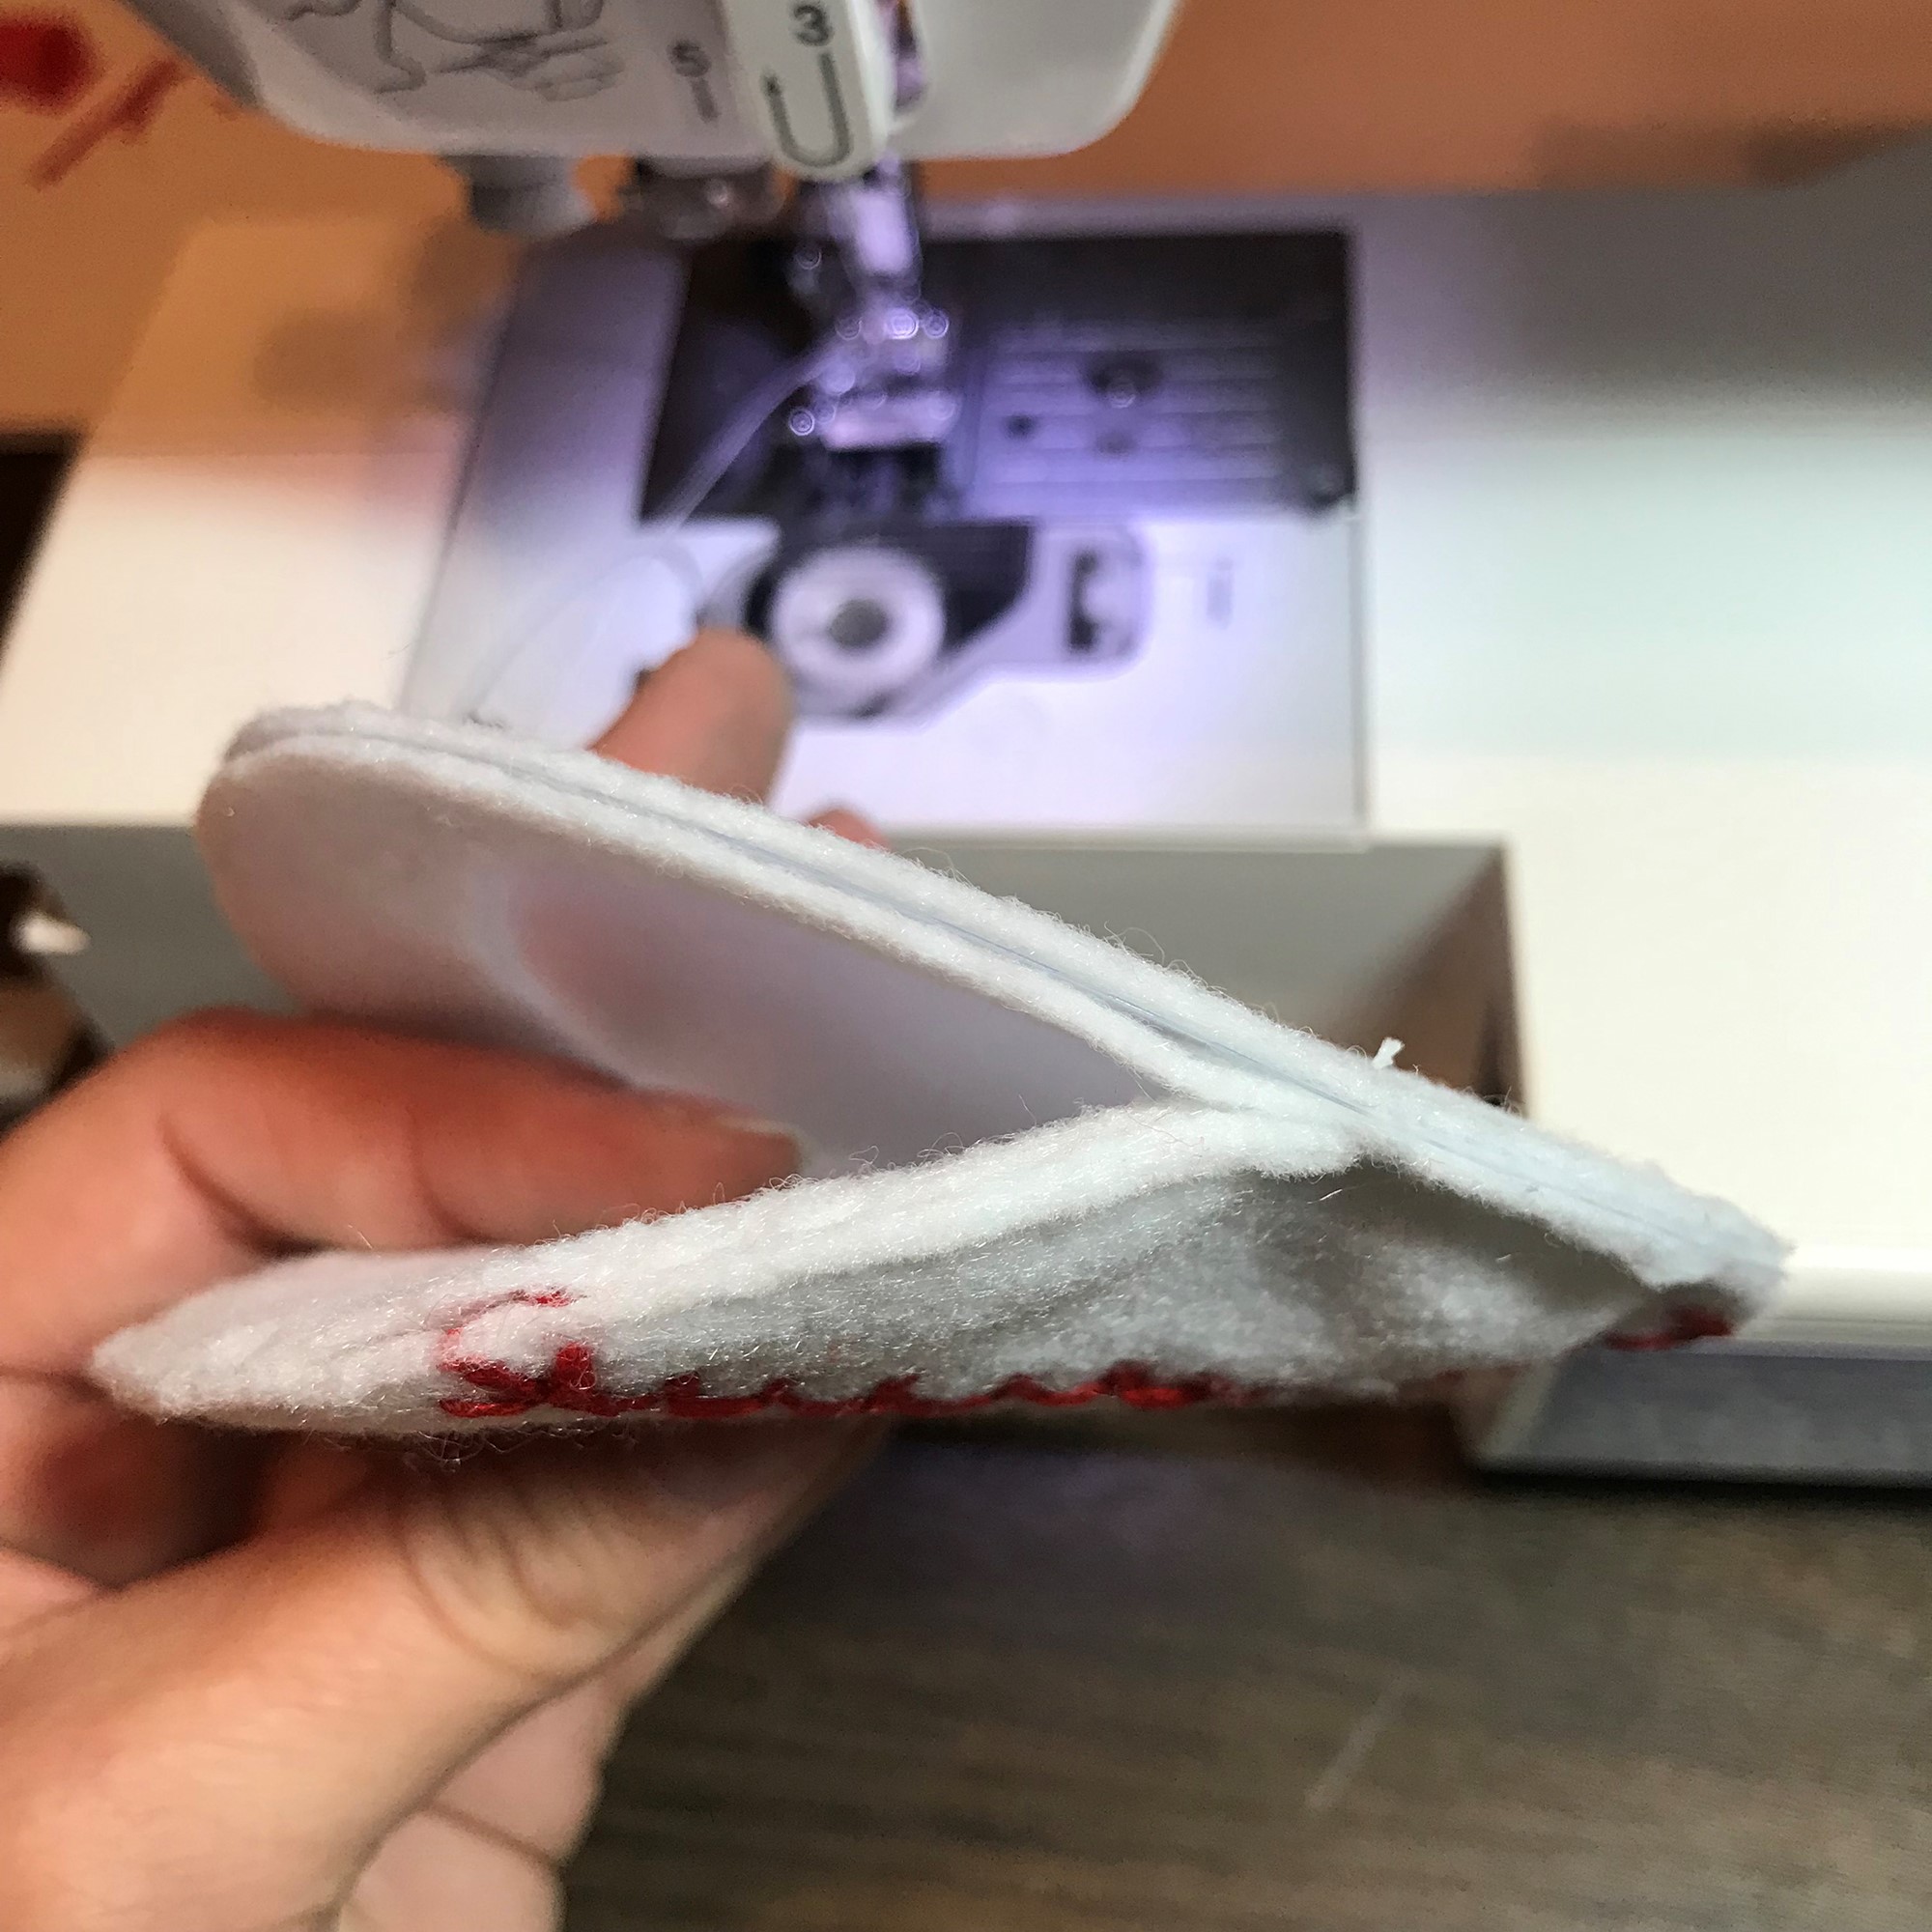
Use the sewing machine and stitch all three pieces together. Now place the piece with the plastic/vinyl to the back of the three layers and get ready to stitch it together. DESIGNER TIP: Only stitch the bottom half of the pieces so that you have an opening for a name card.
Using a zigzag stitch, start on the side and stitch around to the other side leaving the top part open. DESIGNER TIP: I skipped the laces of the ball so that they weren’t covered up with the zigzag stitch.
Cut two pieces of ribbon. Stitch one on the inside of the front and inside of the back pieces.
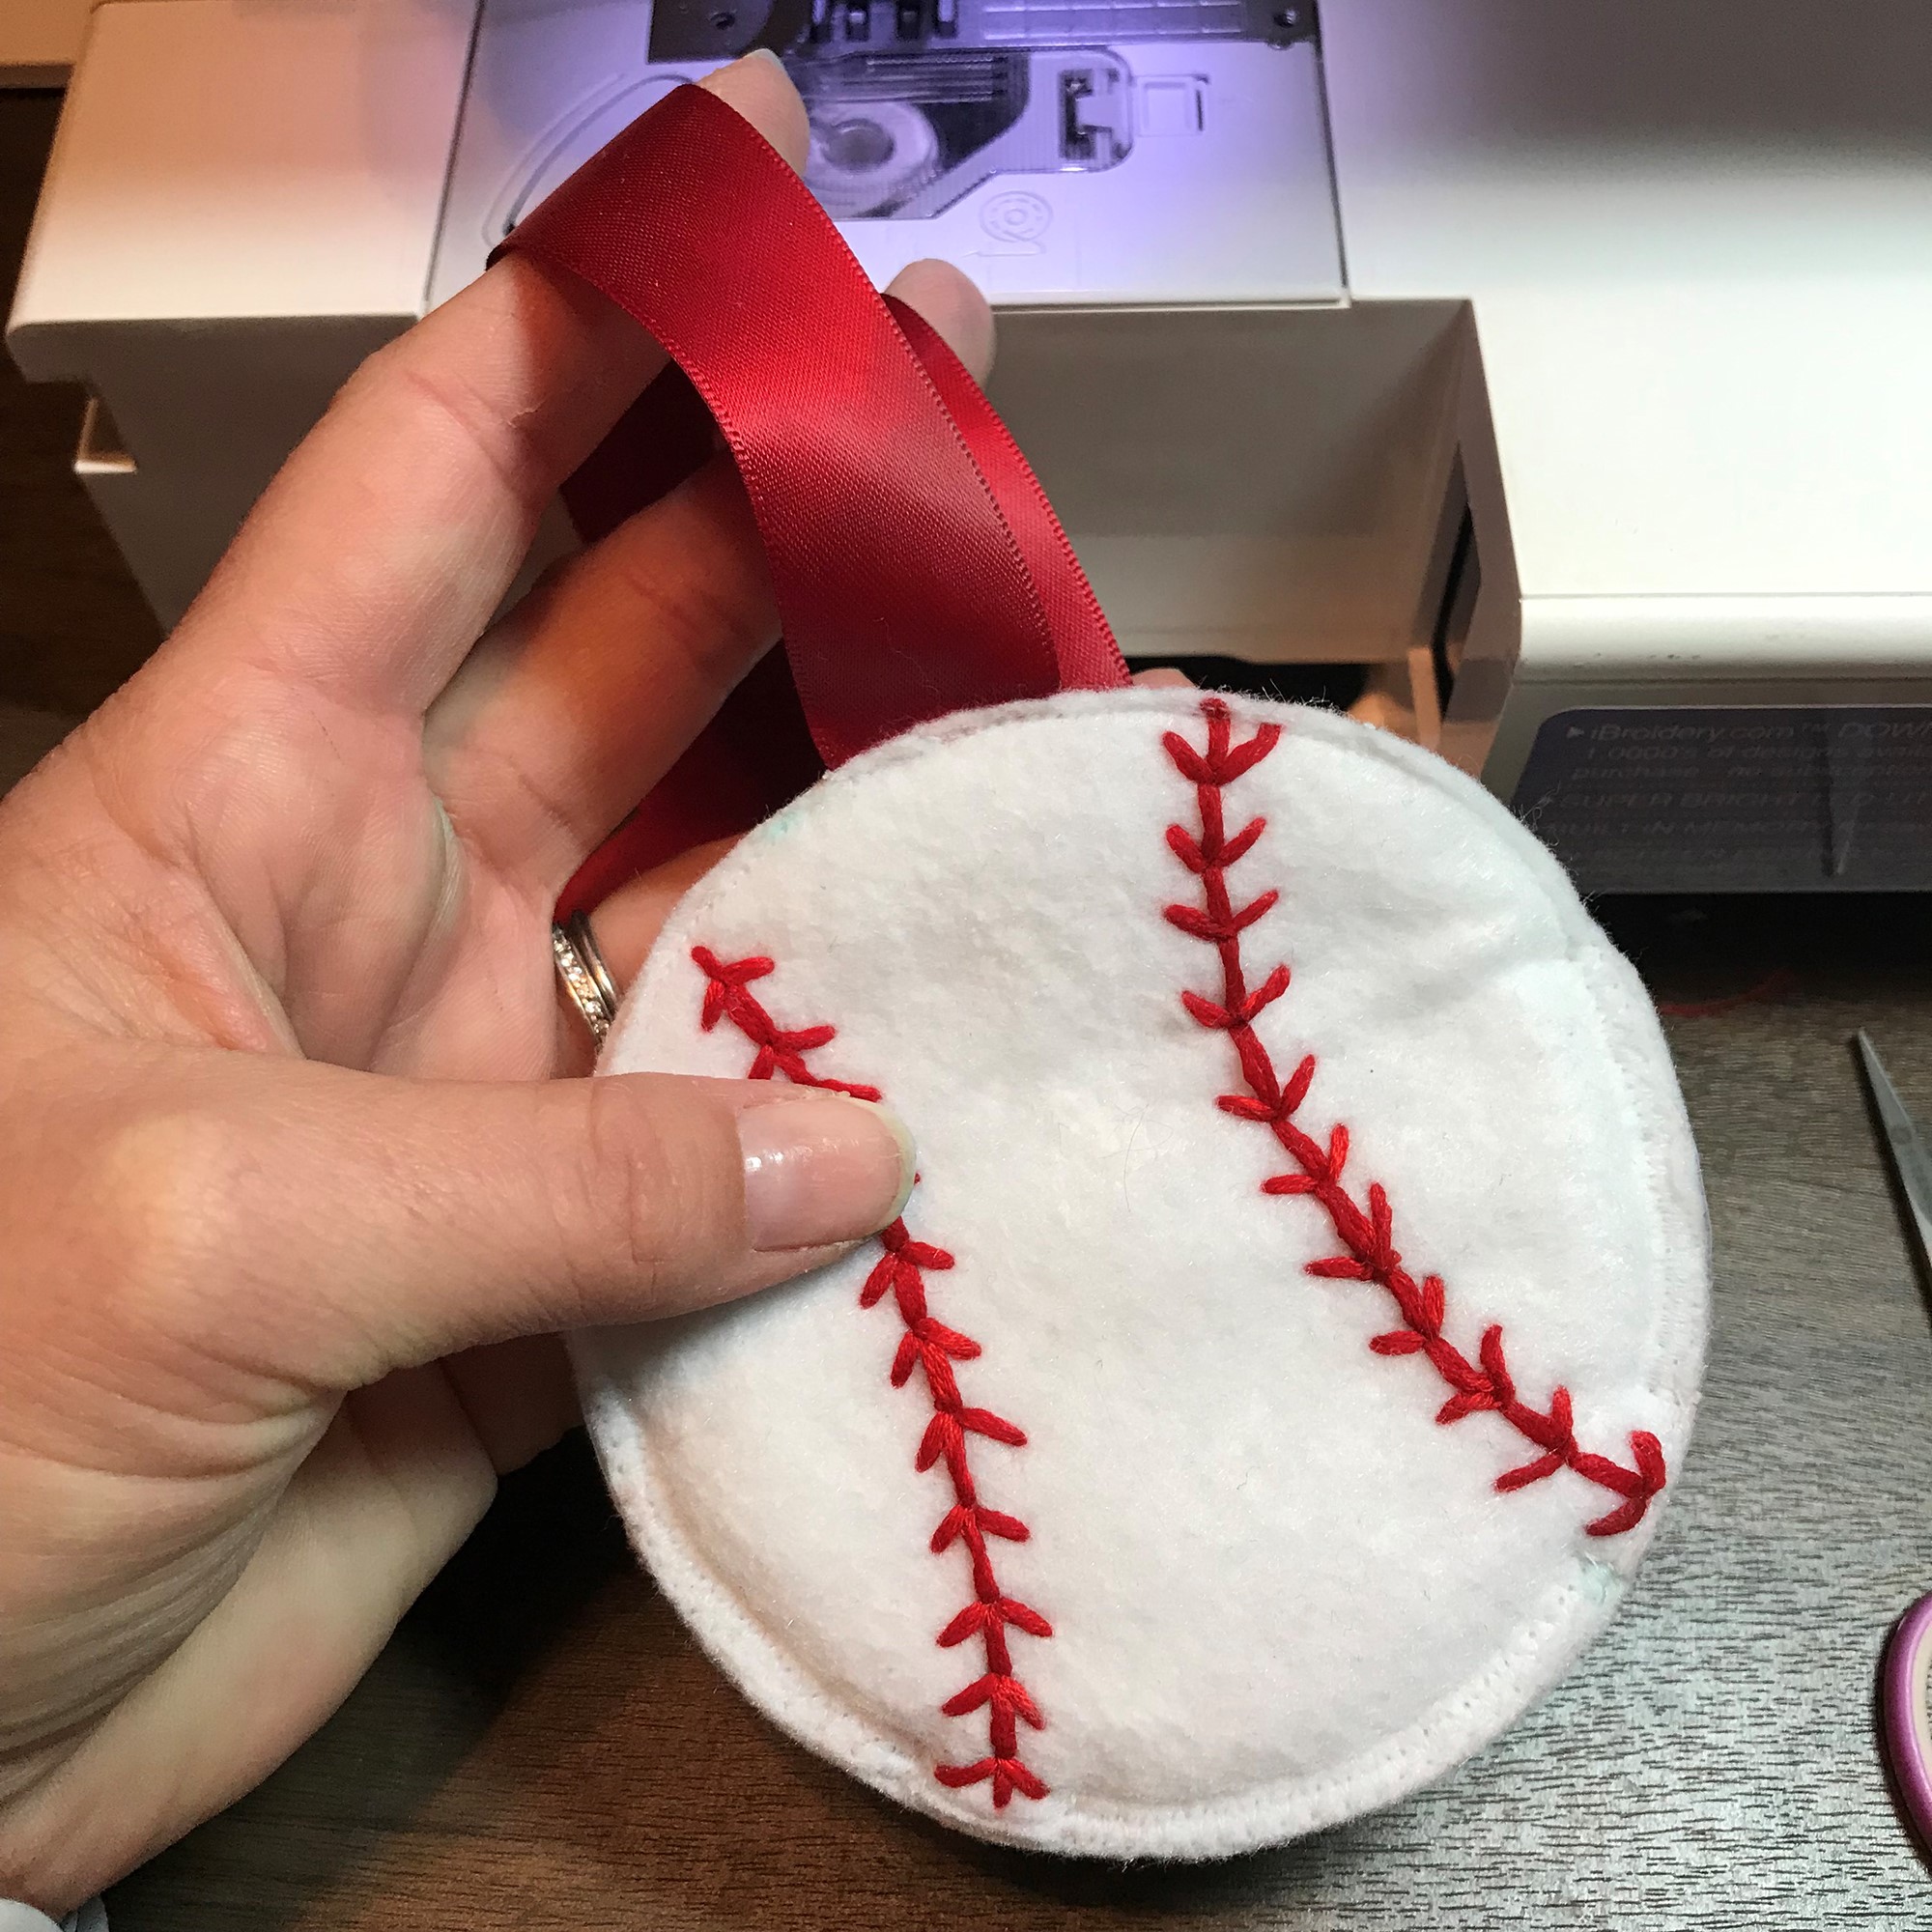
Cut a circle from the cardboard so that it will fit into the slot between the front and the back of the bag tag. Add a name and whatever other information you’d like to the cardboard and insert in the bag tag!
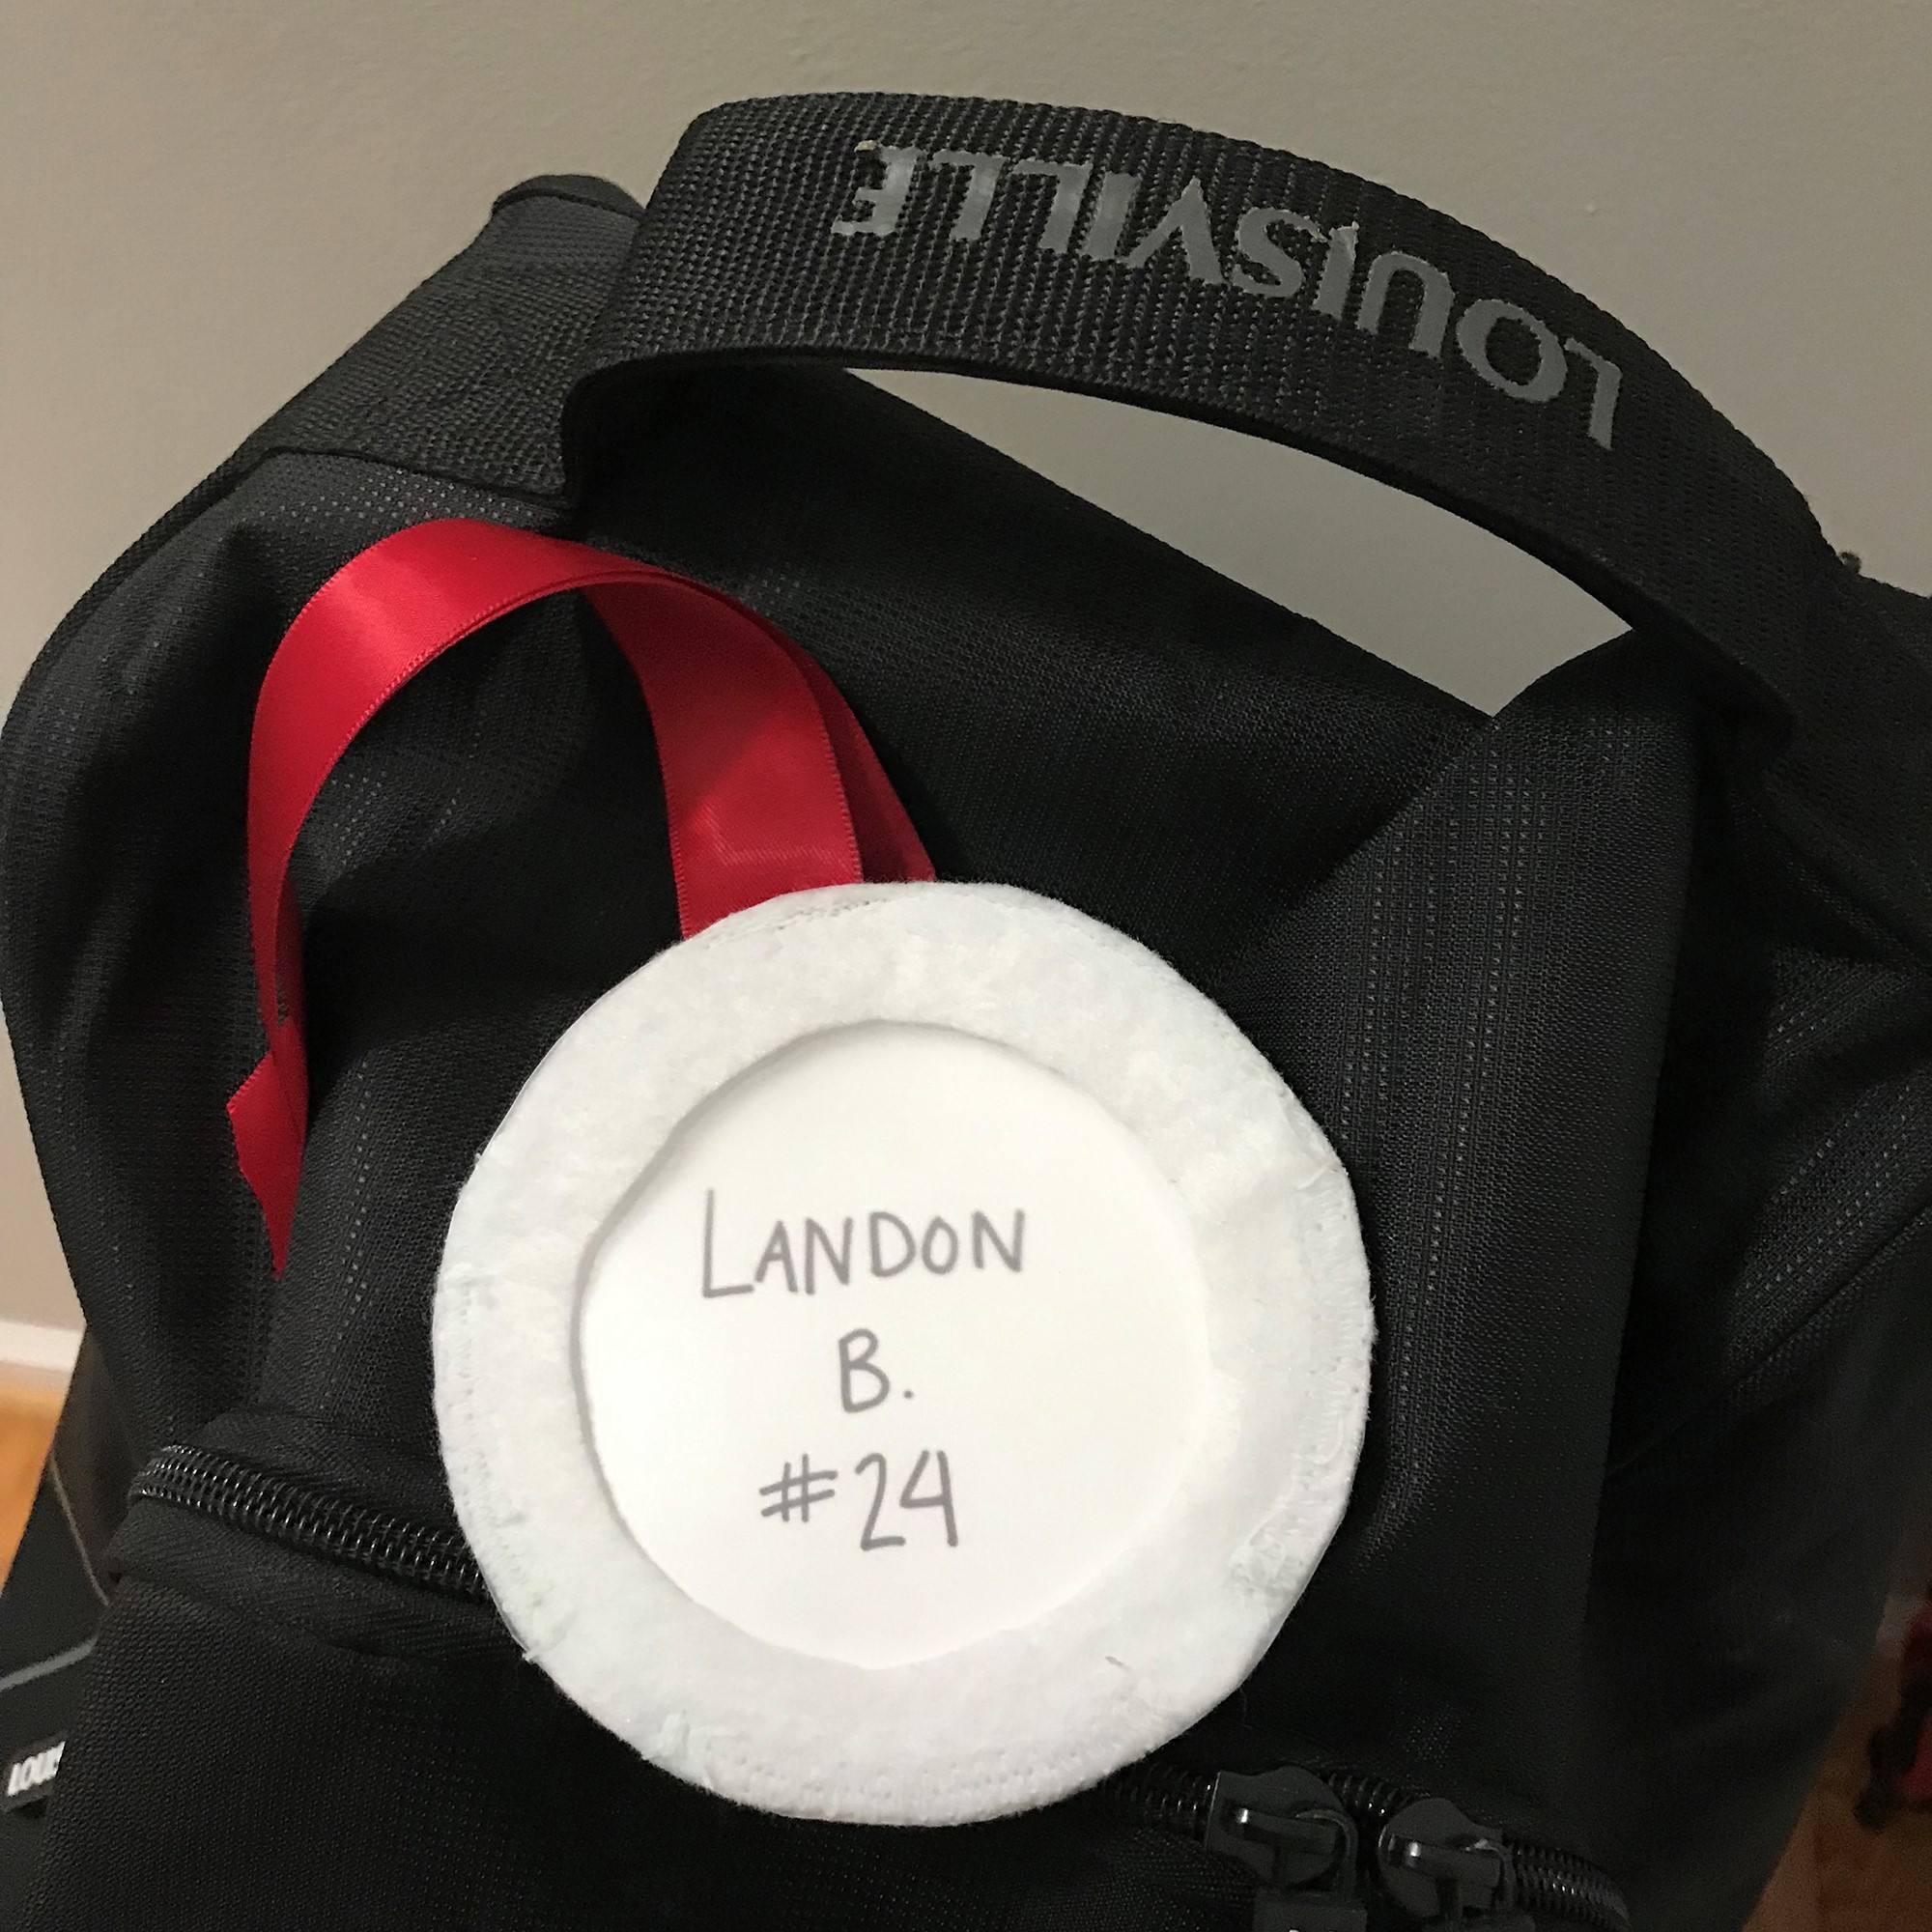
Now it’s ready to be tied onto a baseball bag!
You can now find an expanded color line of Kunin® Classicfelt; Kunin® Premiumfelt and Corduroy non-wovens fabrics in cut by the yard at your local Walmart; please inquire as to what is available in your area.
Happy Crafting,
Katie Berry
A Sweet Berry Designs
www.asweetberrysblog.com
FB: A Sweet Berry Designs
IG: asweetberrydesigns