
by Chad Boender
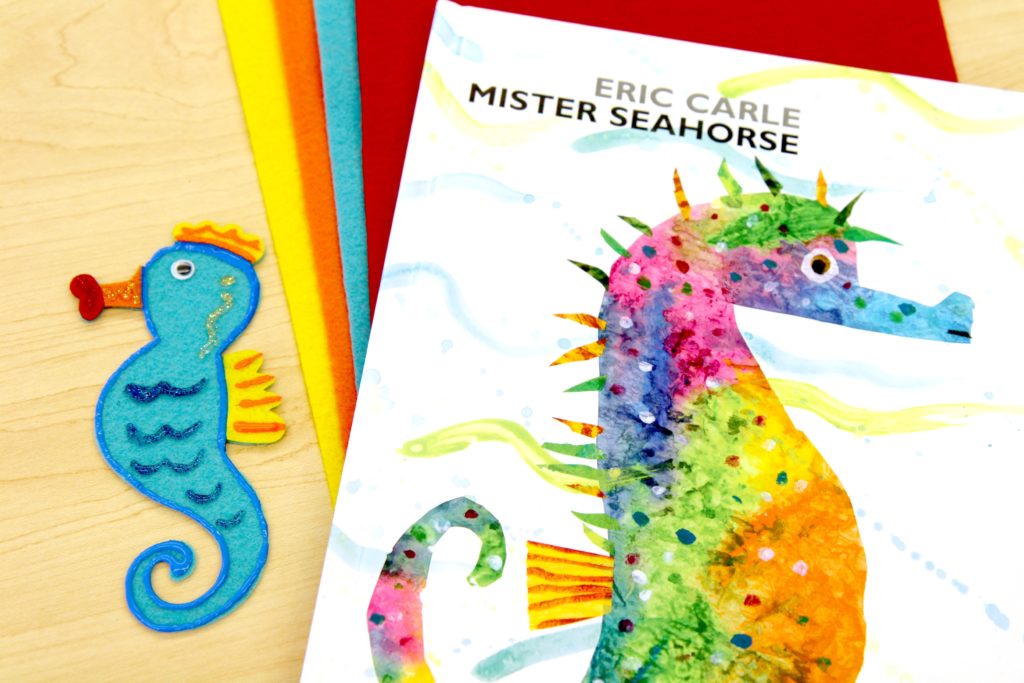
One of my favorite childhood books is Mister Seahorse by Eric Carle. This DIY seahorse felt craft is the perfect craft to pair with this amazing story. Let’s grab our supplies and let’s get started!
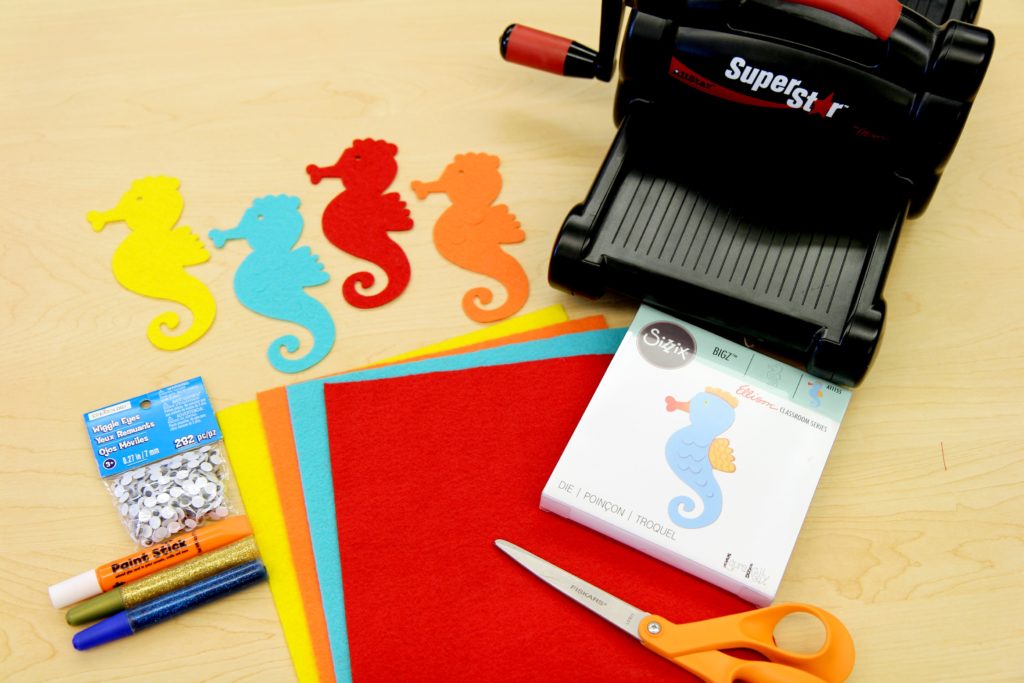
You Will Need:
- 9″ x 12” craft cuts Kunin Classicfelt™ in Lagoon, Yellow, Red, and Orange
- Googly Eyes
- Scissors
- Adhesive (Hot glue and Felt glue)
- Glitter glue
- Ellison Superstar Machine
- Sizzix Bigz Die – Seahorse #2
- Mister Seahorse by Eric Carle

Step 1:
Using a variety of colors of 9″ x 12” craft cuts Kunin Classicfelt™ felt, creating this DIY seahorse felt craft is easy! I used my Ellison Superstar Machine and the Sizzix Bigz Die – Seahorse #2 die cut to cut the seahorse base out of 9” x 12” craft cuts of Kunin Classicfelt™ in lagoon, yellow, orange, and red.
Step 2:
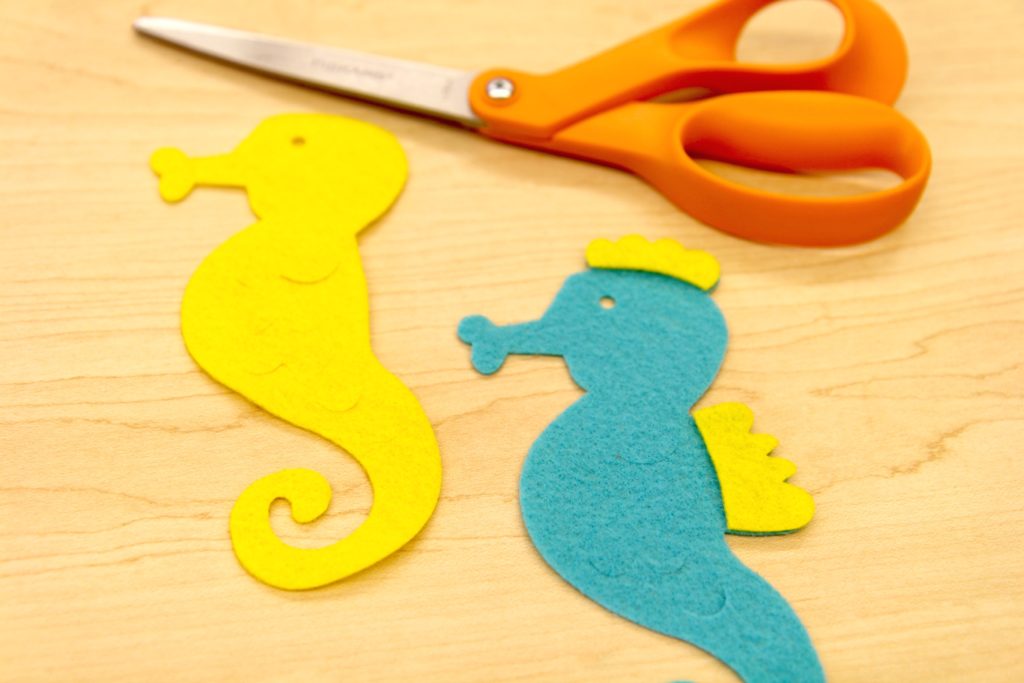
Using a pair of scissors, remove the side and top fin of the yellow seahorse. This will be used as a layer on top of your seahorse base. Adhere the top and side fin to the seahorse craft cut in the color lagoon.
Step 3:
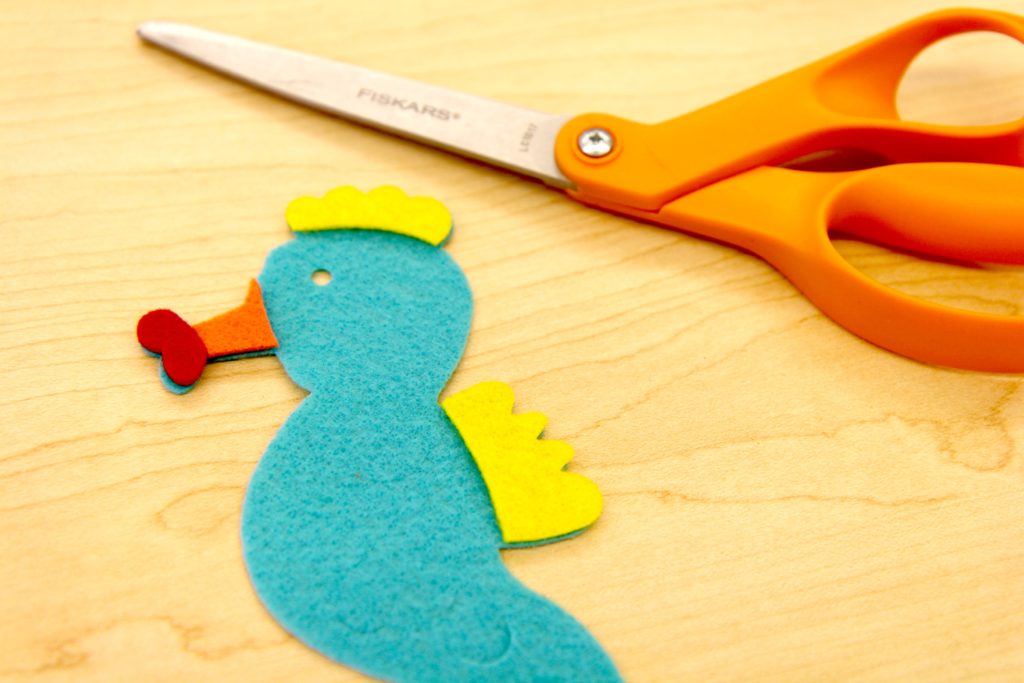
Using a pair of scissors, remove the long snout and mouth from the orange and red seahorse. This will be layered on top of your seahorse base in the color lagoon. Adhere the long snout and mouth to the seahorse die cut in the color lagoon.
Step 4:
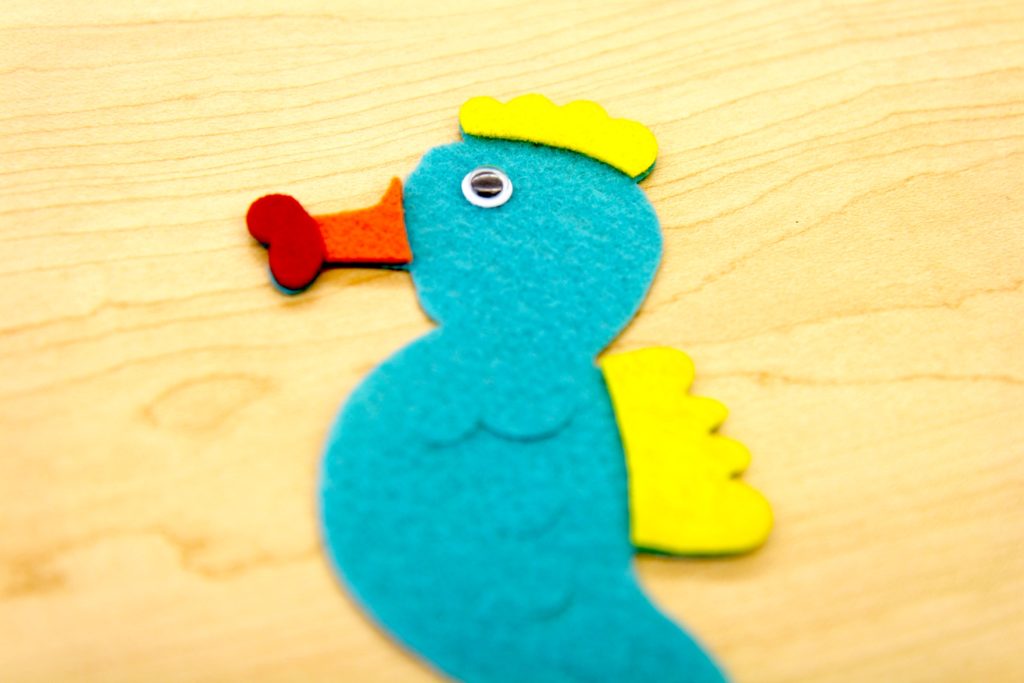
Adhere a googly eye to your felt seahorse!
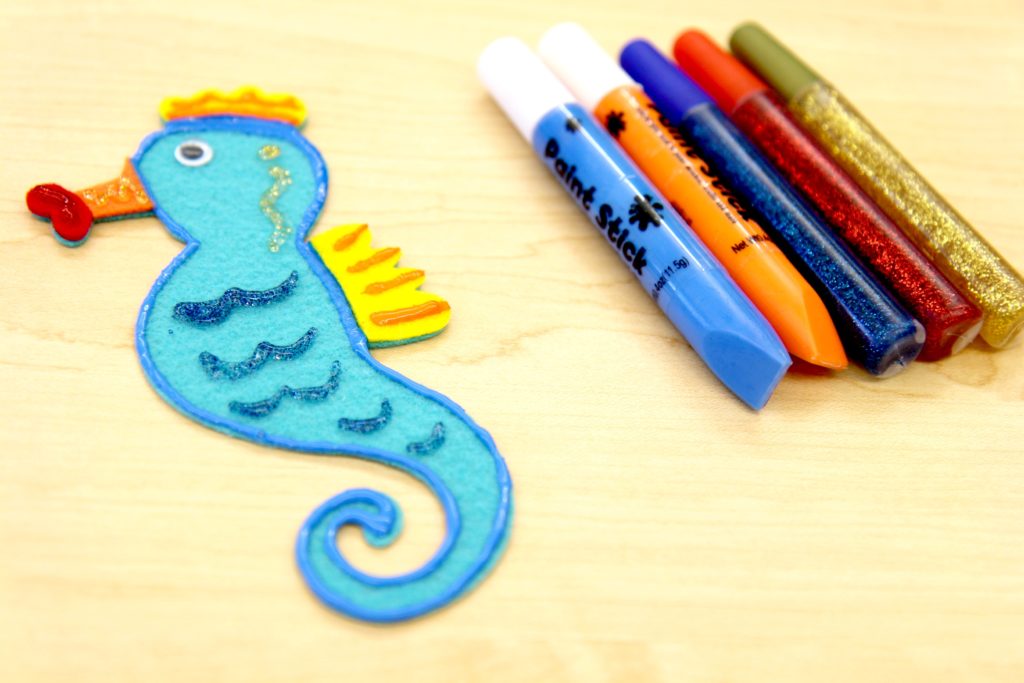
Step 5:
Add detail to your seahorse using glitter glue or a paint stick.
You can now find an expanded color line of Kunin® Classicfelt; Kunin® Premiumfelt and plush felt fabrics in cut by the yard at your local Walmart; please inquire as to what is available in your area.
Happy Crafting,
Male Kindergarten Teacher
FB: Male Kindergarten Teacher
IG: @MaleKindergartenTeacher
Love these Chad! So colorful.