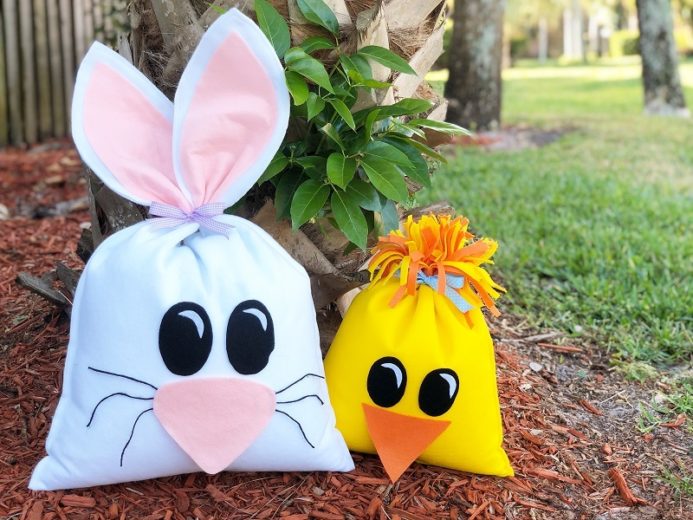
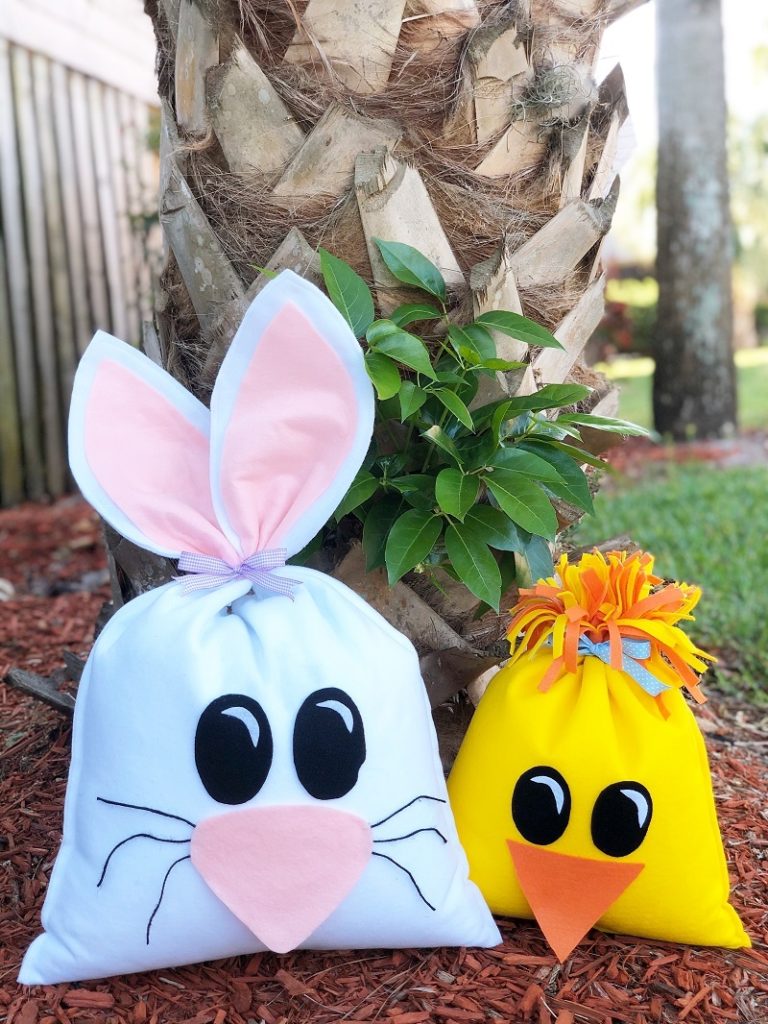
Spring has sprung down here in Florida and I can’t wait for Easter to get here! Holiday crafting is my all-time favorite type of crafting to do. Doesn’t matter what holiday is next, you can bet I’m crafting up something special! These DIY Big Bunny and Chick Bean Bag are perfect for yard décor!
Time: 1 Hour
Skill Level: Beginner
YOU WILL NEED:
- Kunin Classic Felt™ 9” x 12” Craft Cuts – Orange (3), Black (1), and Baby Pink (3)
- Kunin Classic Felt™ Cut by the Yard – White and Yellow (1/2 yard each)
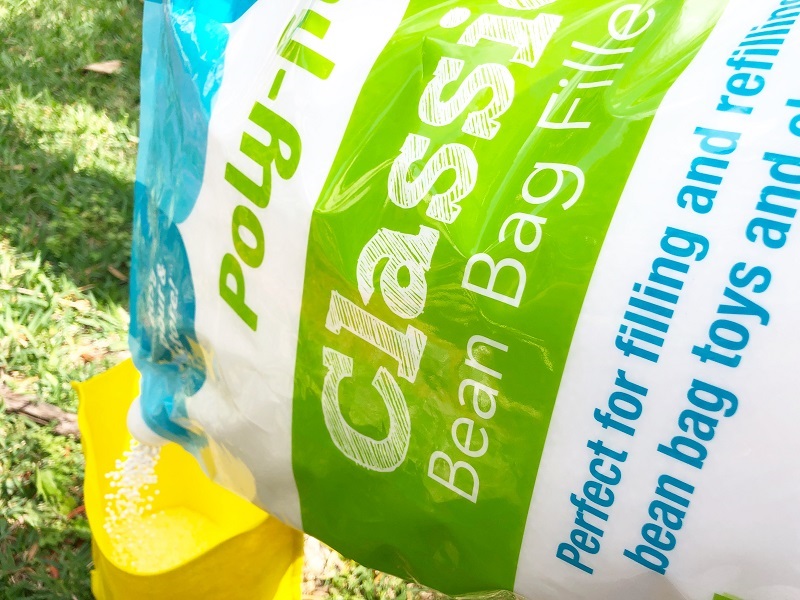
- Poly-Fil® Classic Bean Bag Filler by Fairfield World
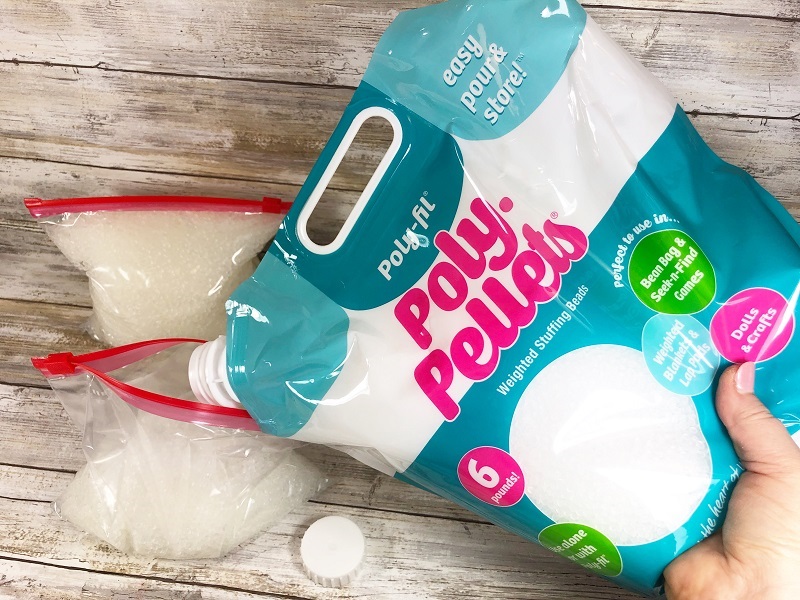
- Poly-Fil® Poly Pellets® Weighted Stuffing Beads by Fairfield World
- Tombow MONOTWIN Permanent Marker
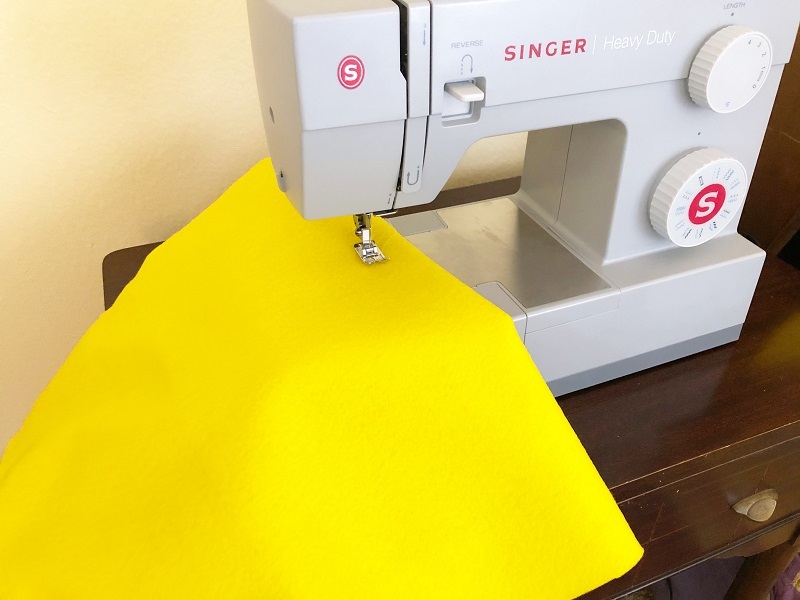
- Sewing Machine – I love my Singer!
- Glue Gun and Glue Sticks
- Ribbon – Aqua, Bright Green, and Lavender
- Twine – Black
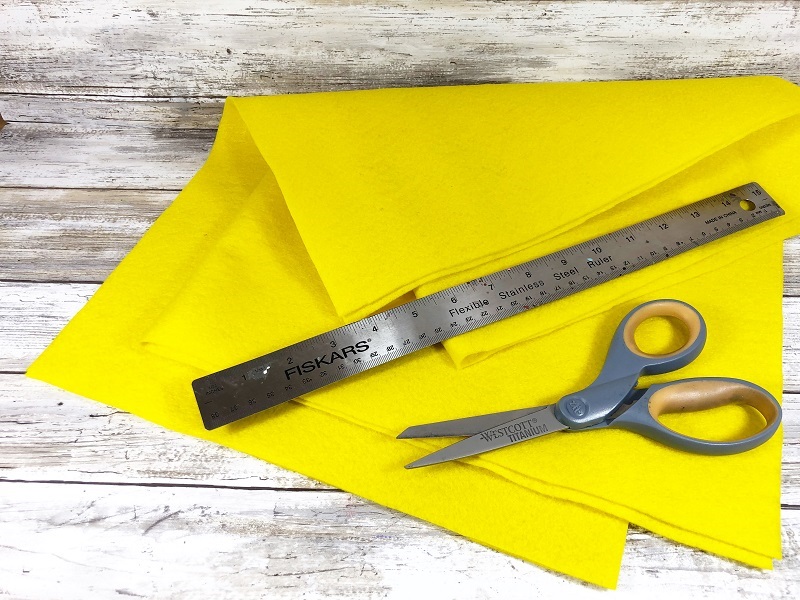
- Ruler or Yardstick
- Scissors
- Plastic Zipper Bags – Quart Size (2) and Sandwich Size (2)
- Rubber Bands – one for each bean bag
- Playful Bean Bag Bunny and Chick Patterns
- Kunin Classic Felt™ 9” x 12” Craft Cuts – Orange (3), Black (1), and Baby Pink (3)
- Kunin Classic Felt™ Cut by the Yard – White and Yellow (1/2 yard each)
- Poly-Fil® Classic Bean Bag Filler by Fairfield World
- Poly-Fil® Poly Pellets® Weighted Stuffing Beads by Fairfield World
- Tombow MONOTWIN Permanent Marker
- Sewing Machine – I love my Singer!
- Glue Gun and Glue Sticks
- Ribbon – Aqua, Bright Green, and Lavender
- Twine – Black
- Ruler or Yardstick
- Scissors
- Plastic Zipper Bags – Quart Size (2) and Sandwich Size (2)
- Rubber Bands – one for each bean bag
- Playful Bean Bag Bunny and Chick Patterns
STEP ONE
Measure and cut two rectangles of Yellow Felt by the Yard 14 inches wide by 18 inches tall for the Chick. Measure and cut two rectangles of White Felt by the Yard 18 inches wide by 30 inches tall for the Bunny. Line up yellow rectangles and pin together, if desired. Since felt is textured, it sticks to itself, I don’t use pins.
Sew the Chick’s yellow felt rectangles together down the long edge, across the bottom short edge, and then up the other long edge. Leave the top of the bag open for stuffing later.
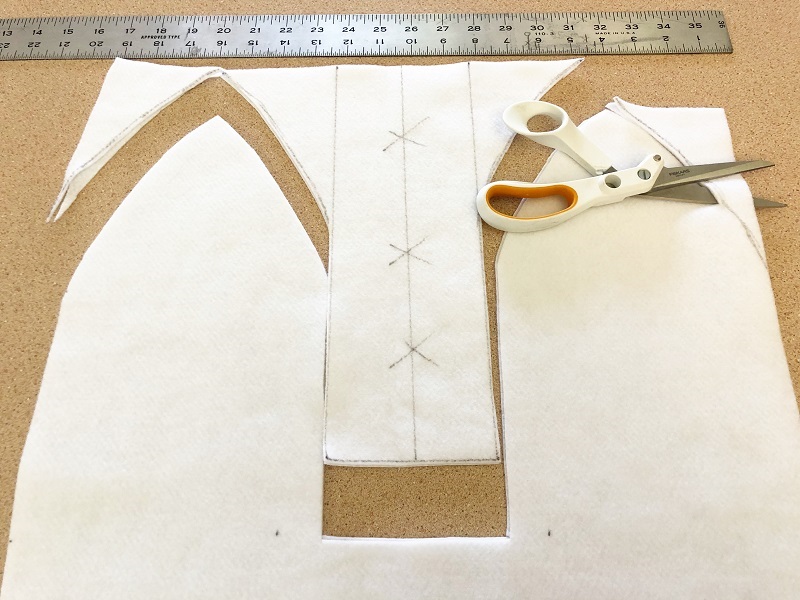
For the Bunny, line up both white rectangles, measure down 12 inches from the top of the 30-inch length and draw a horizontal line. With a ruler, measure and draw a vertical line at the center point of the 18-inch width. Then measure and draw additional vertical lines 7 inches in from both edges. Sketch in Bunny ears and cut away the excess felt.
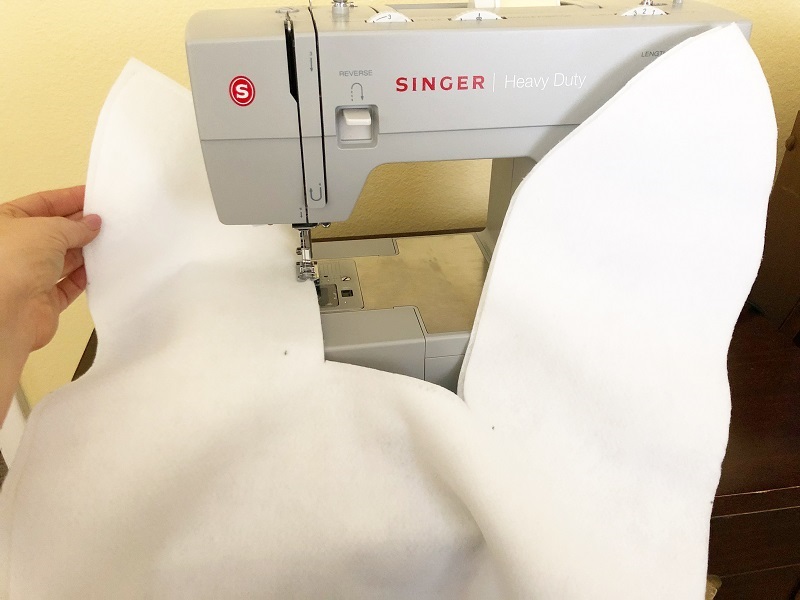
Sew all edges of the Bunny bag together leaving the 4-inch gap between the ears open for stuffing later.
STEP TWO
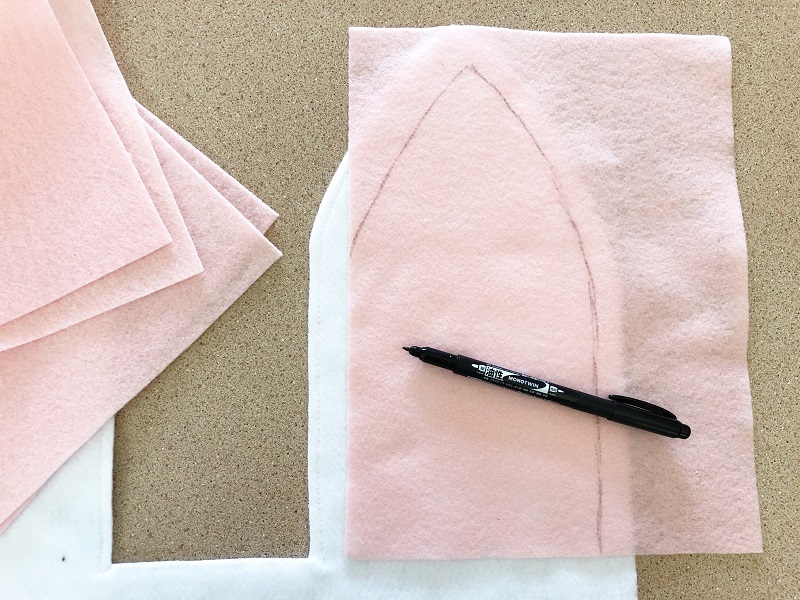
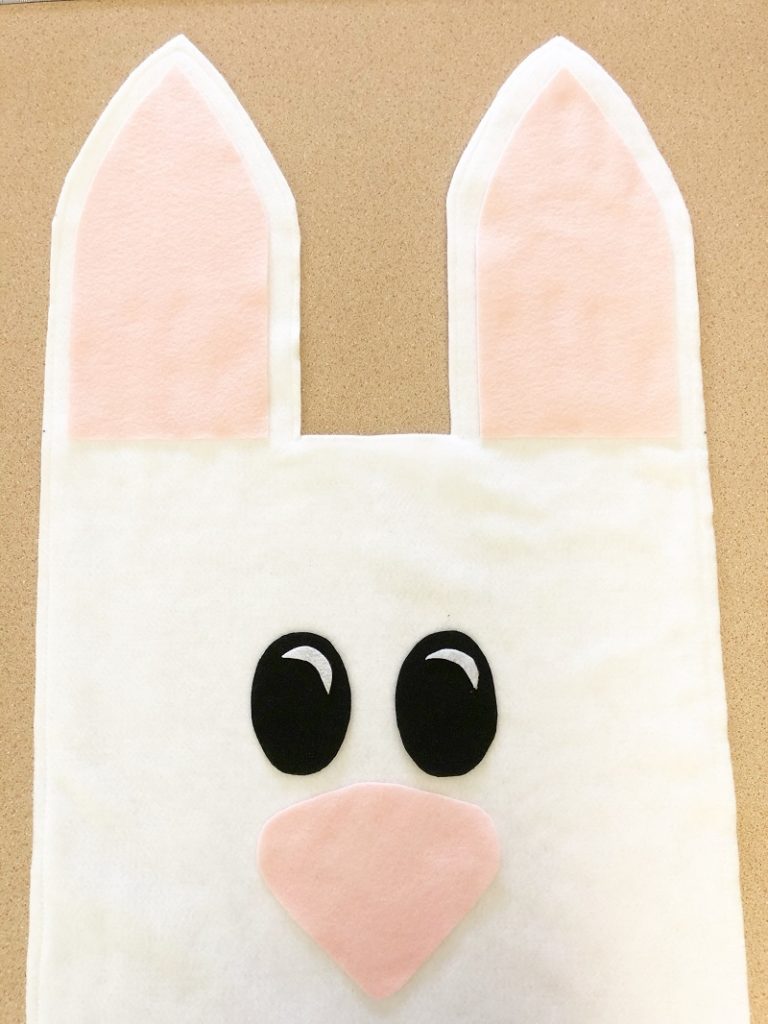
Place Bunny bag on a flat surface and lay Baby Pink Craft Cuts Felt over the ear, then draw the shape of the bunny ear, one-inch smaller on all sides. Repeat with the second Bunny ear.
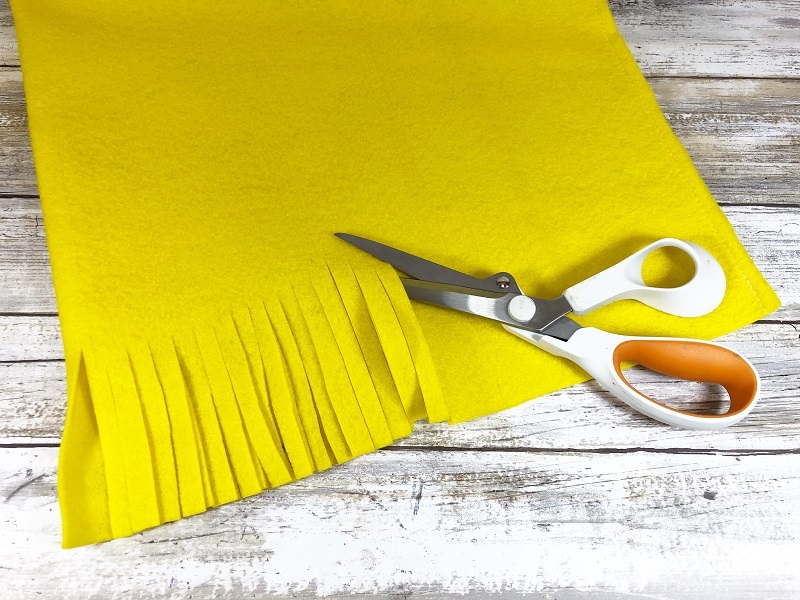
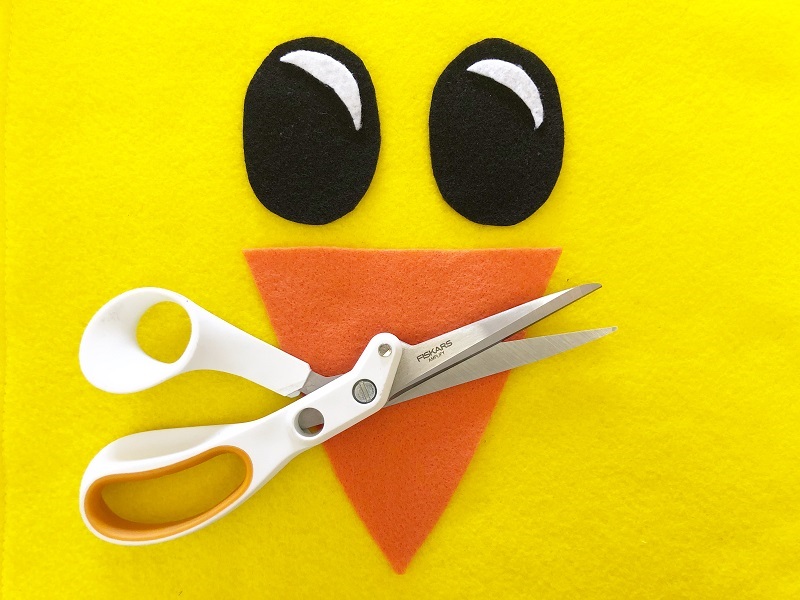
Place Chick bag on a flat surface and fringe open edge 4 inches deep with scissors. Fold and cut Orange Craft Cuts Felt in half length-wise, stack rectangles on top of each other and fringe length-wise 4 inches deep with scissors. Glue one section of fringed Orange Felt to each side of the fringed Chick bag. I like to use a hot glue gun for projects like this because it sets up quickly and bonds permanently. Tacky craft glue will work, but it takes longer to set up.
Download, print and cut out Bunny and Chick Patterns. Trace and cut from Kunin Craft Cuts and Yardage according to directions on download.
Dry fit all features on Bunny and Chick bean bags according to photos but don’t attach them yet.
STEP THREE
Fill both quart size zipper bags with 16 ounces each of Poly Pellets and then fill both sandwich size zipper bags with 8 ounces each of Poly Pellets. Remove air and zip closed.
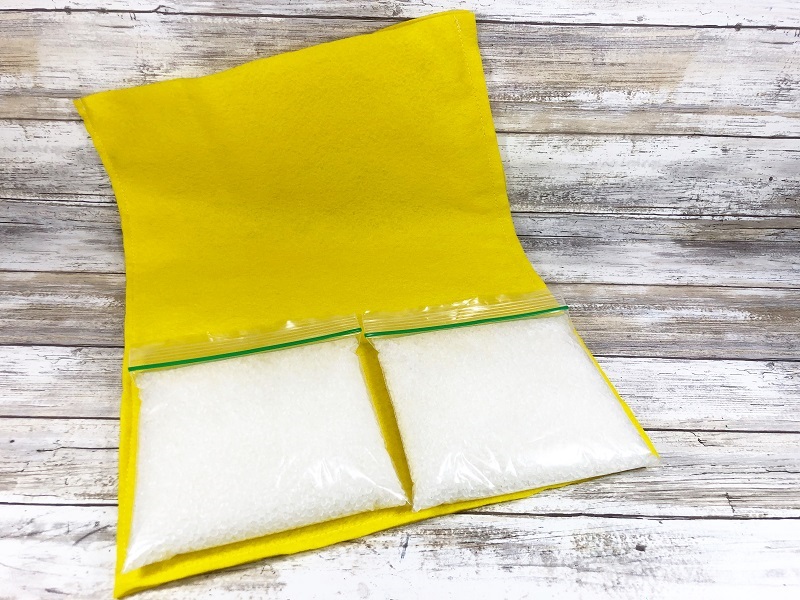
Place filled quart zipper bags into the bottom of the Bunny bag and the sandwich bags into the bottom of the Chick bag.
STEP FOUR
This next step should be completed outside on a tarp. I know this from the experience of sweeping up a ton of tiny bean bag filler pellets from my studio floor. Prop the Chick bag open against something sturdy like a tree, or have a friend help hold the bag open and steady. Unscrew the cap from the spout of the bag of Poly-Fil Classic Bean Bag Filler.
Pour into the Chick bag until the pellets are 6 inches from the top.
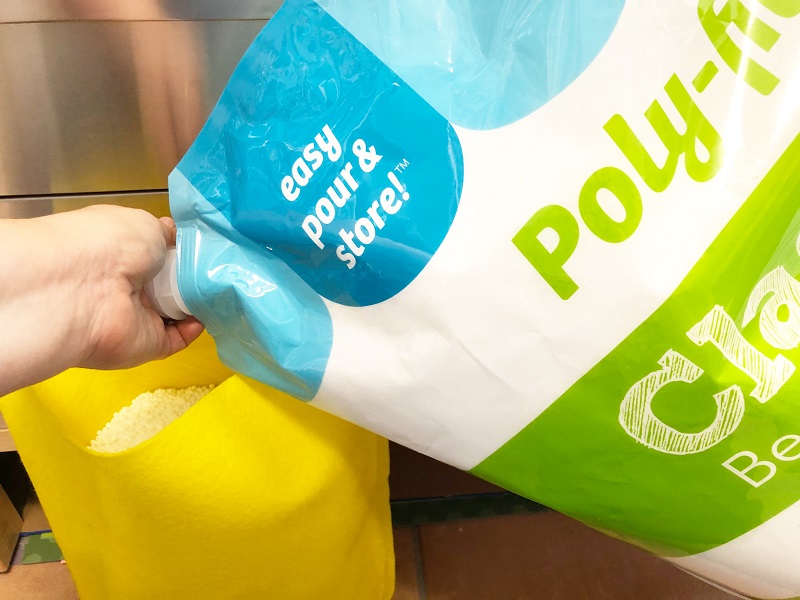
To stop the flow of pellets, I put my hand over the spout and placed the bag back on the floor, and then I remove my hand. Screw the lid back onto the bag of filler pellets. The pour spout and cap make using and storing the Repeat above steps, filling the Bunny bag. Secure the opening in the Bunny bag with a glue gun.
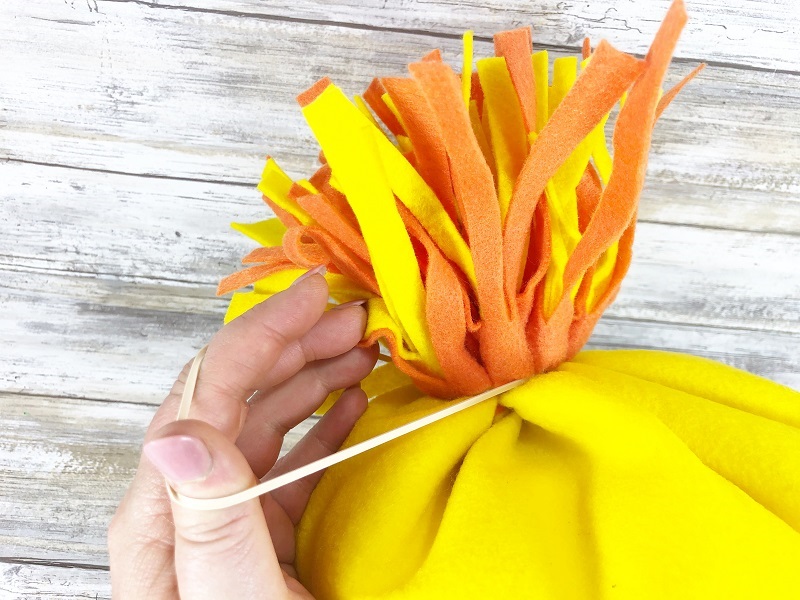
Gather and secure the tops of the Bunny and Chick bags with a heavy-duty rubber band. Pulling and looping as tight as possible.

STEP FIVE
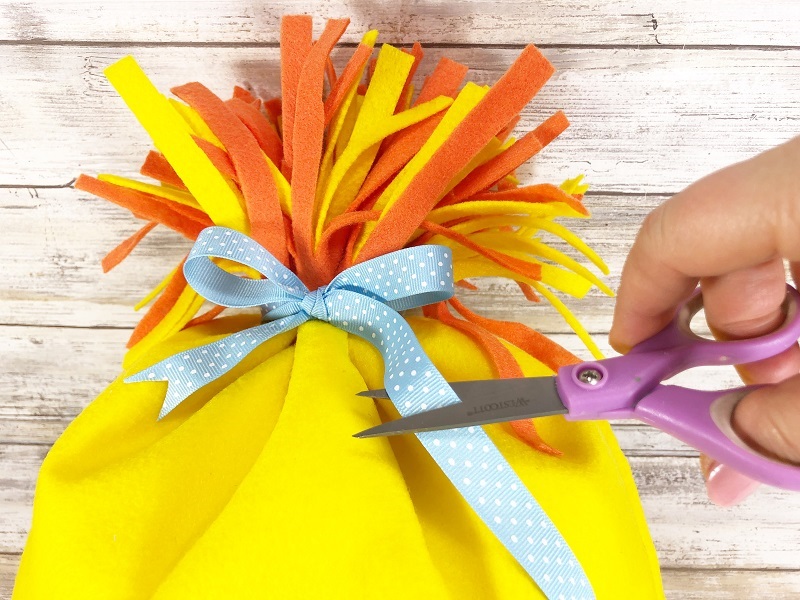
Measure and cut two 20-inch lengths of ribbon, wrap around the top of Bunny and Chick bean bag and then tie the ribbon in a bow. Cut a fishtail from the ends of the ribbon with scissors.
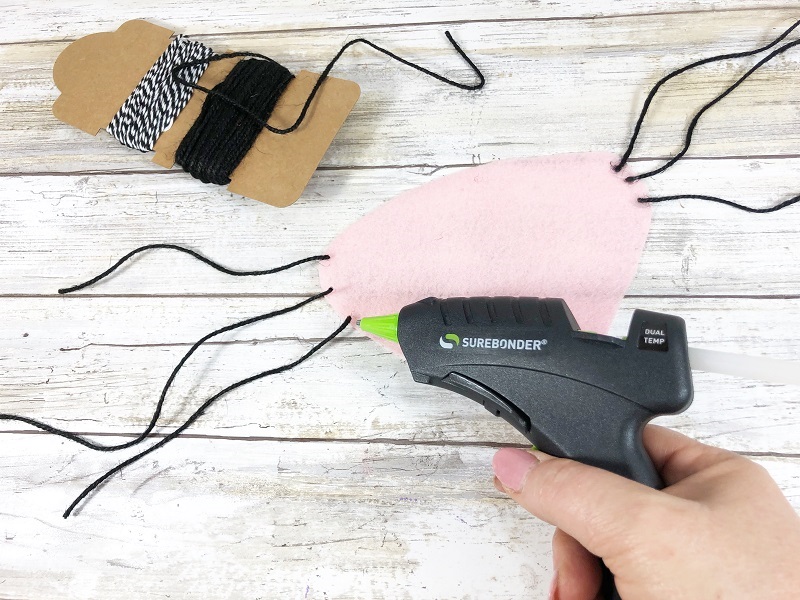
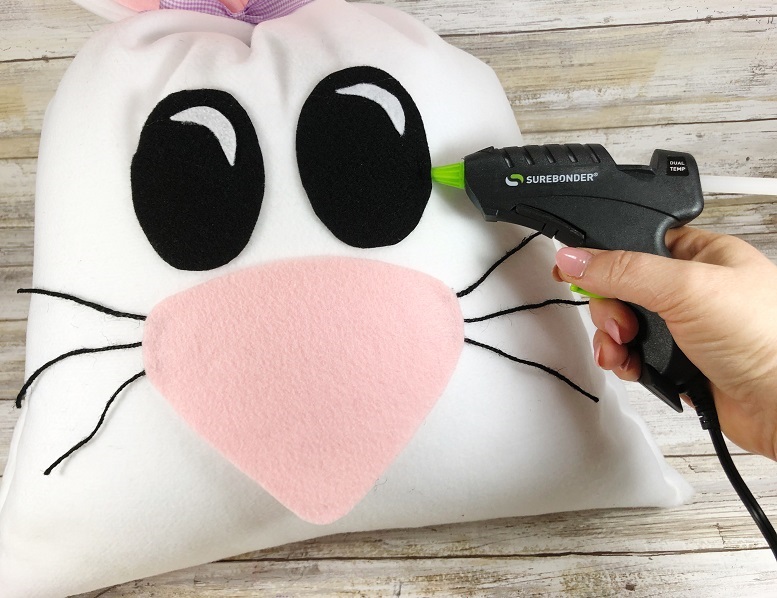
Measure and cut six 12-inch lengths of black twine and adhere to Bunny nose with a glue gun. To finish, attach features to Bunny and Chick bean bags. Trim Bunny whiskers with scissors.
I hope that you have enjoyed my DIY Big Bean Bag Bunny and Chick Yard Decor and will use it as a jumping off point to showcase YOUR Kunin Creativity! Felt is an easy, versatile and forgiving medium which allows you to create affordable but trendy projects whether you are a beginner or an expert crafter!

You can now find an expanded color line of Kunin® Classicfelt and Kunin® Premiumfelt non-wovens fabrics in cut by the yard at your local Walmart; please inquire as to what is available in your area. Find our complete collection online at Fabric.com.
Follow Kunin Group Felt on Facebook, Instagram and Pinterest for daily creative inspiration and crafty projects! Make sure to tag Kunin on social media with the hashtag #createwithkunin
Thanks for stopping by!