How to Make a No Sew Snowman Apron
by Beth Watson
The holiday season is here and that means lots of cookie baking! The kids love to measure the ingredients, decorate the cookies, taste the dough and of course EAT the cookies! Every little helper needs a custom apron to bake in, so I created this No Sew Snowman Apron

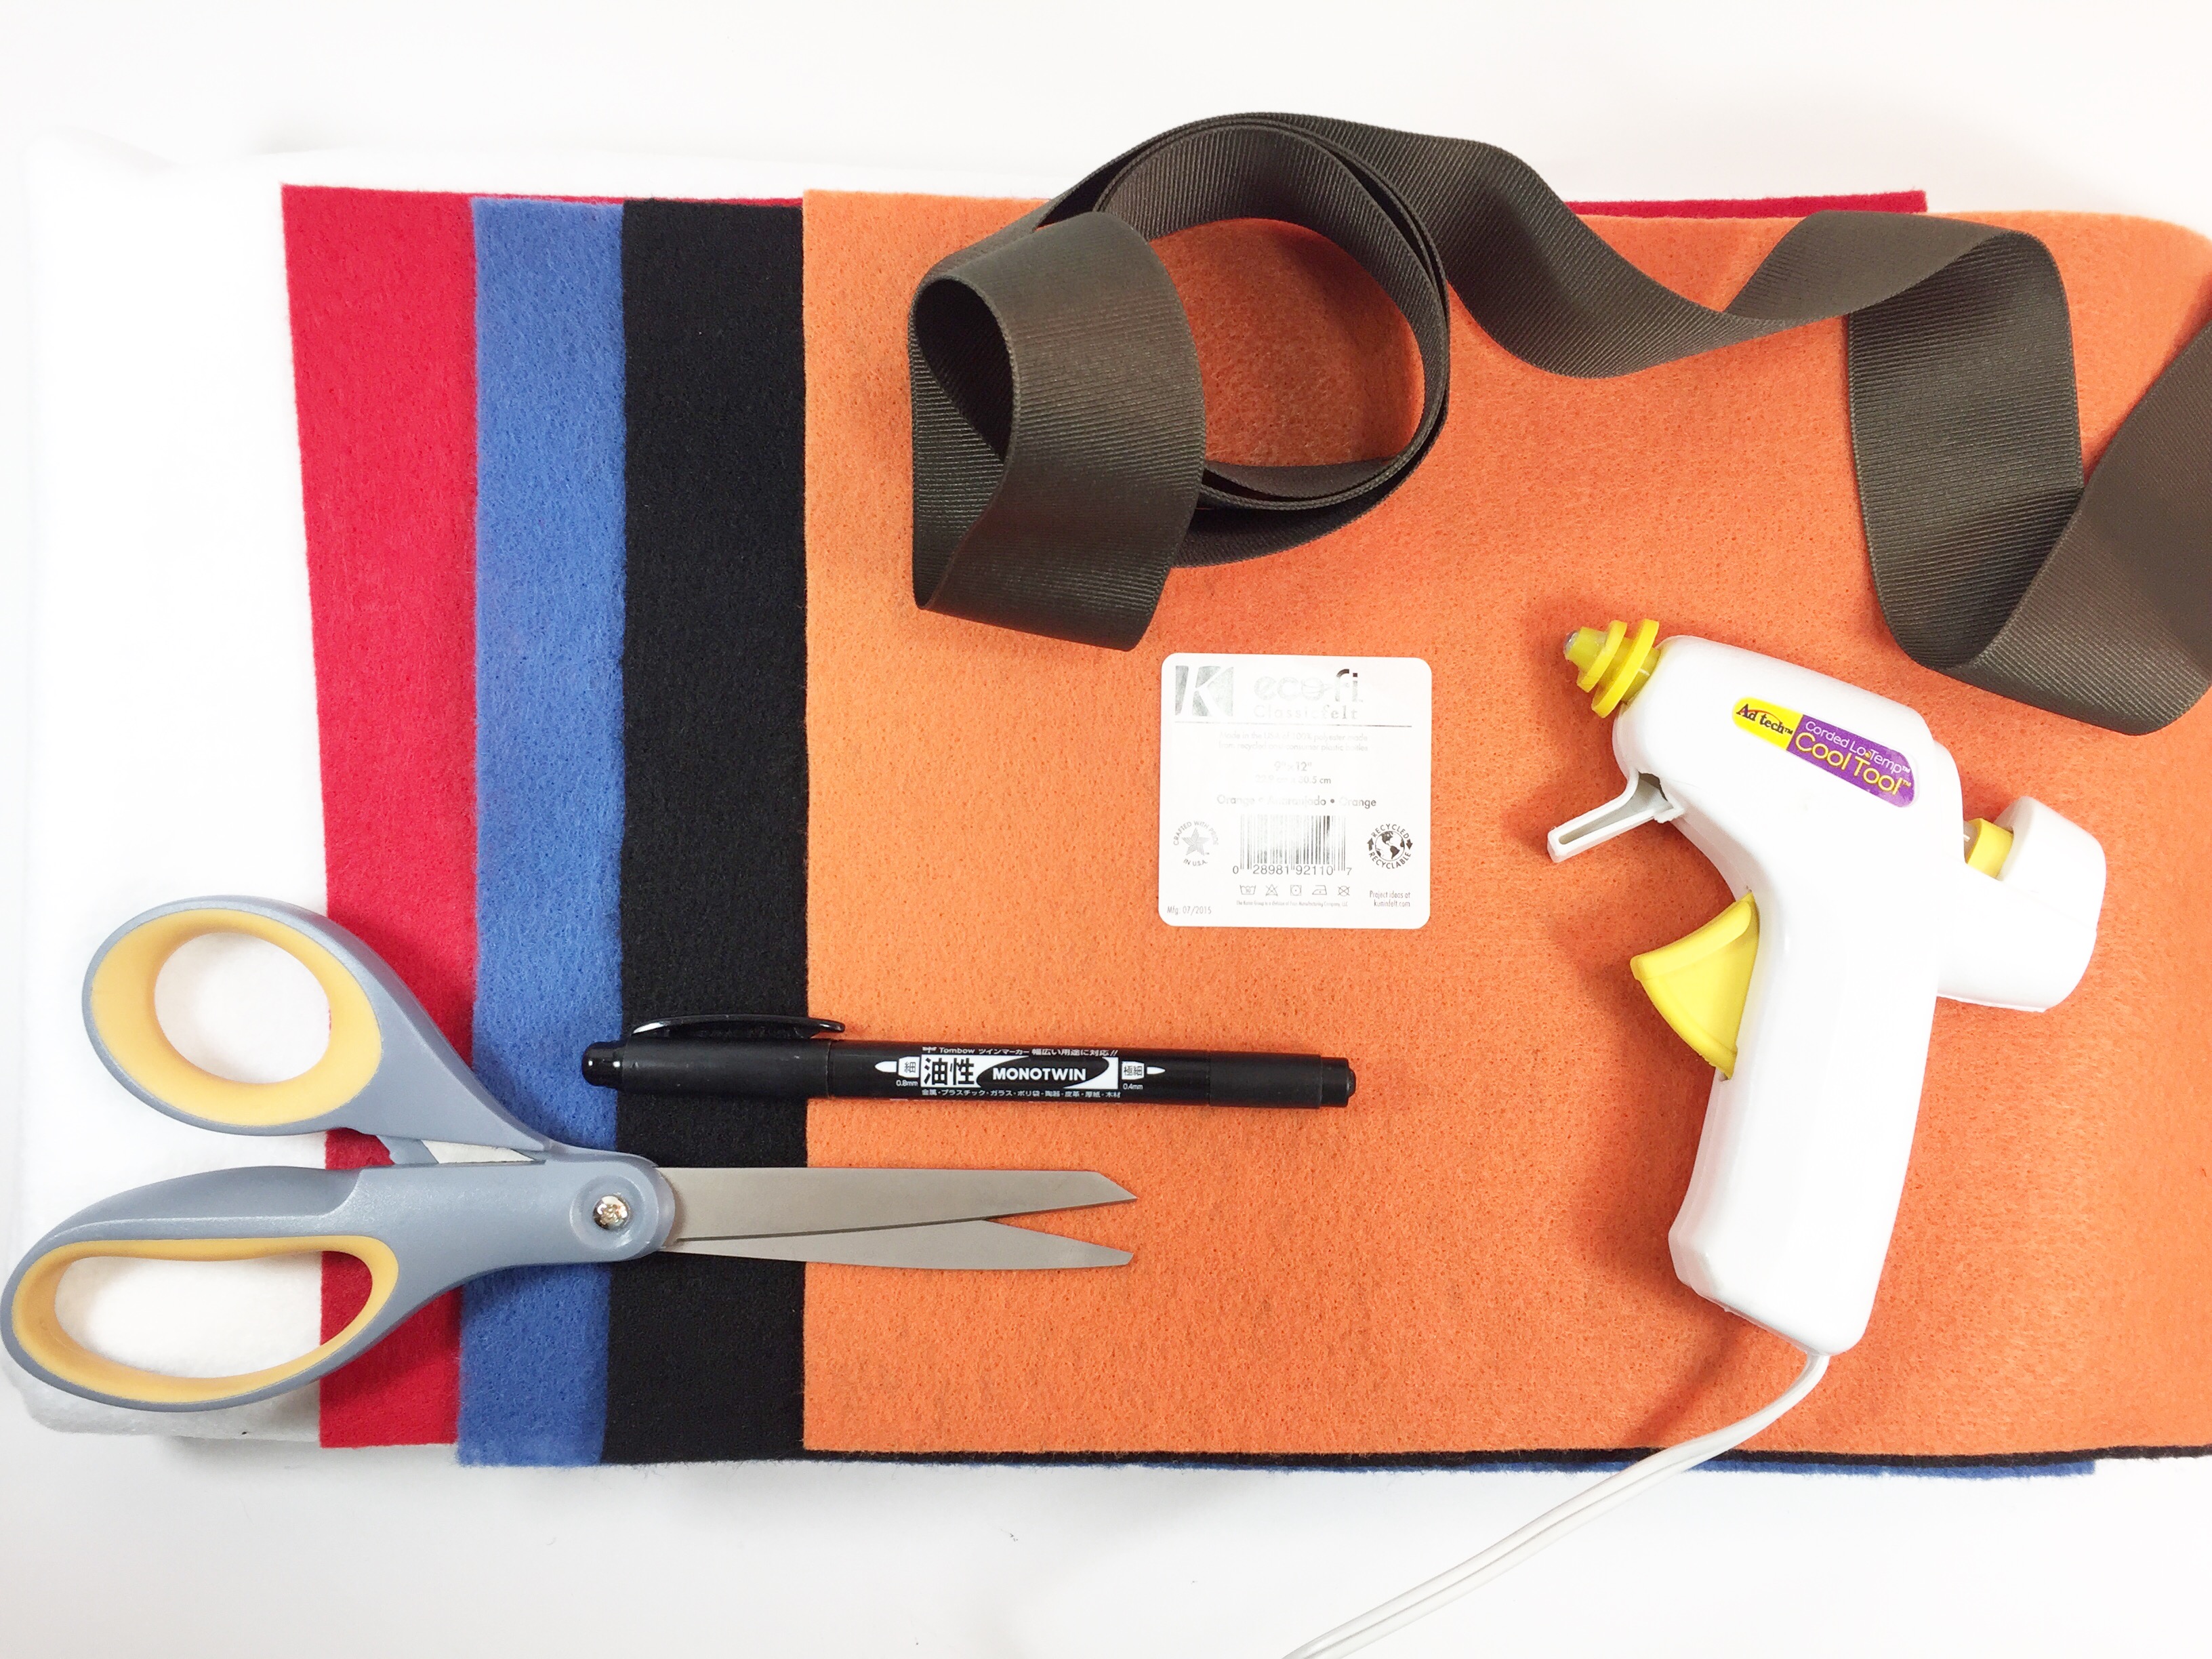
Here’s What You Will Need:
- Kunin Classicfelt™ 9” x 12” Craft Cuts – Black, Orange, Red and Cadet Blue
- Kunin Classicfelt™ 36” x 36” Craft Cuts – White
- Hot Glue Gun and Glue Sticks
- 72” length of 2” wide Brown Gross-Grain Ribbon
- 24” length of 1” wide White Cotton Twill Tape
- Pencil; Eraser; Permanent Marker Black; Stabilo Aquarellable Pencil White; Scissors; Roll of Butcher Paper; Painters Tape
Here’s How to Make it
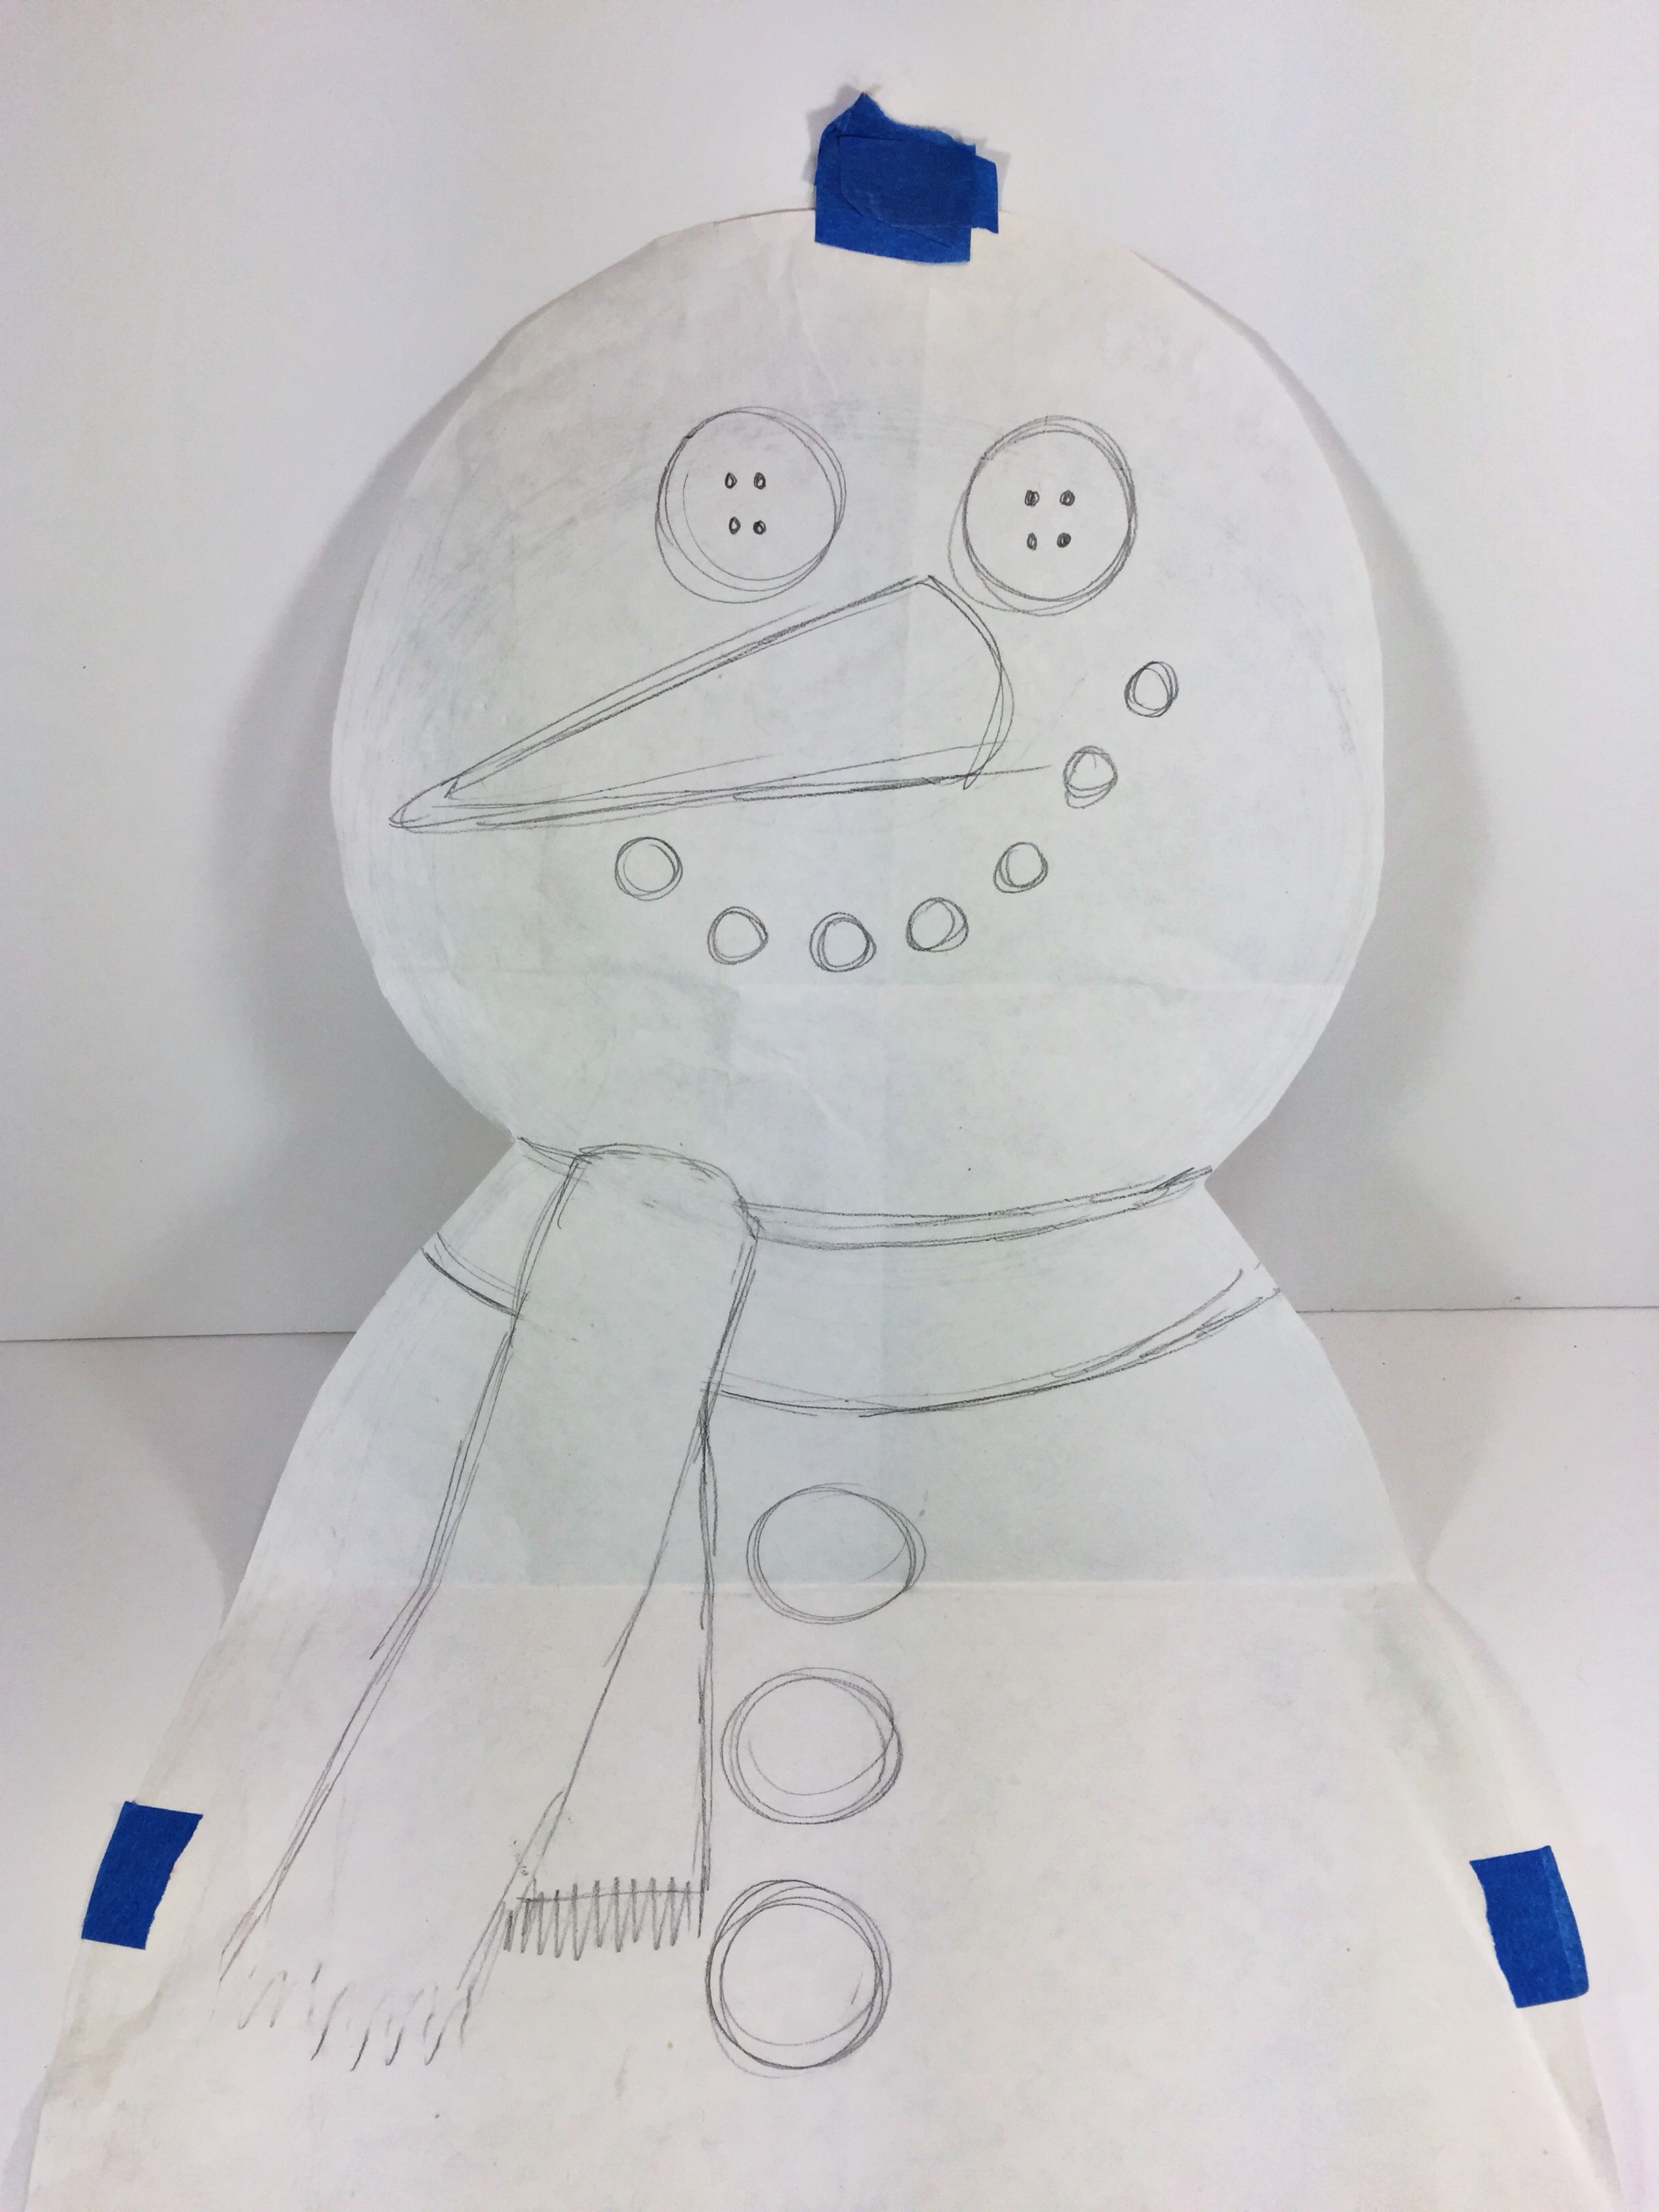
Step One:
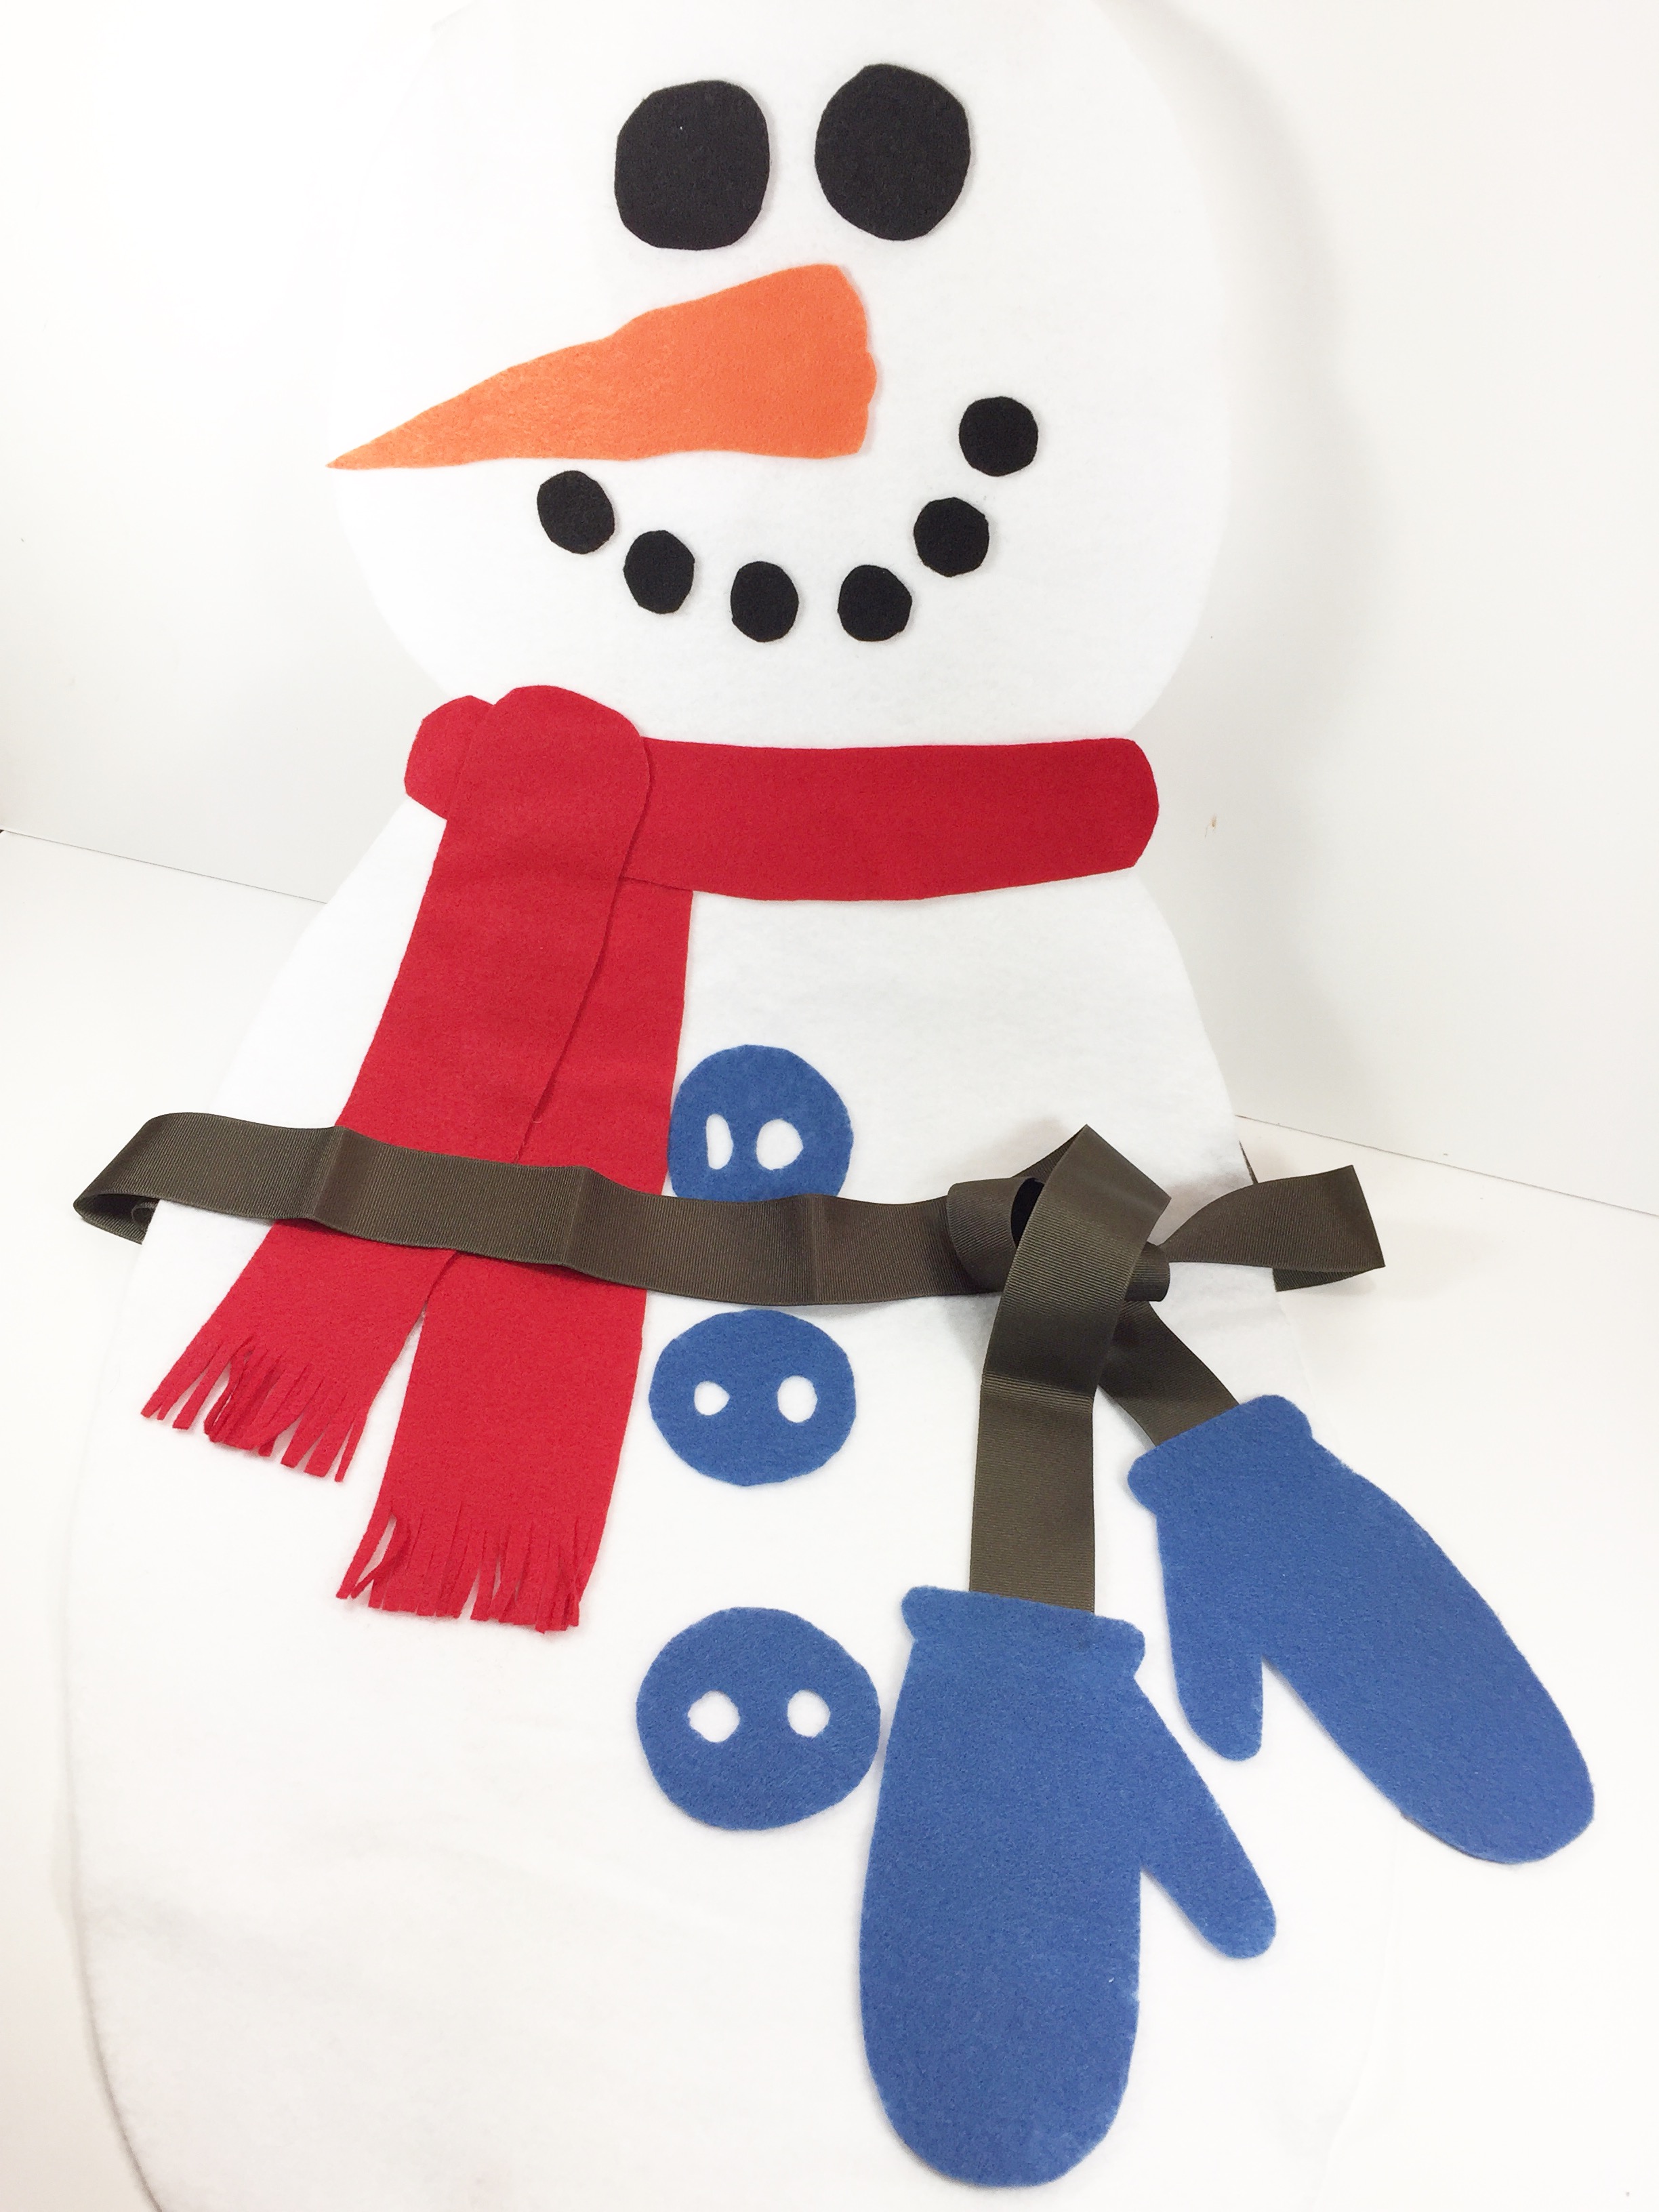
Roll out the butcher paper on the floor and have your child lay down. Trace around their body. sketch a large circle over their chest and an oval over the top ¾ of their legs. Once you are pleased with the shape, cut out with scissors. Tape the paper snowman pattern onto the Kunin Classicfelt™ White and then cut out with scissors.

Step Two:
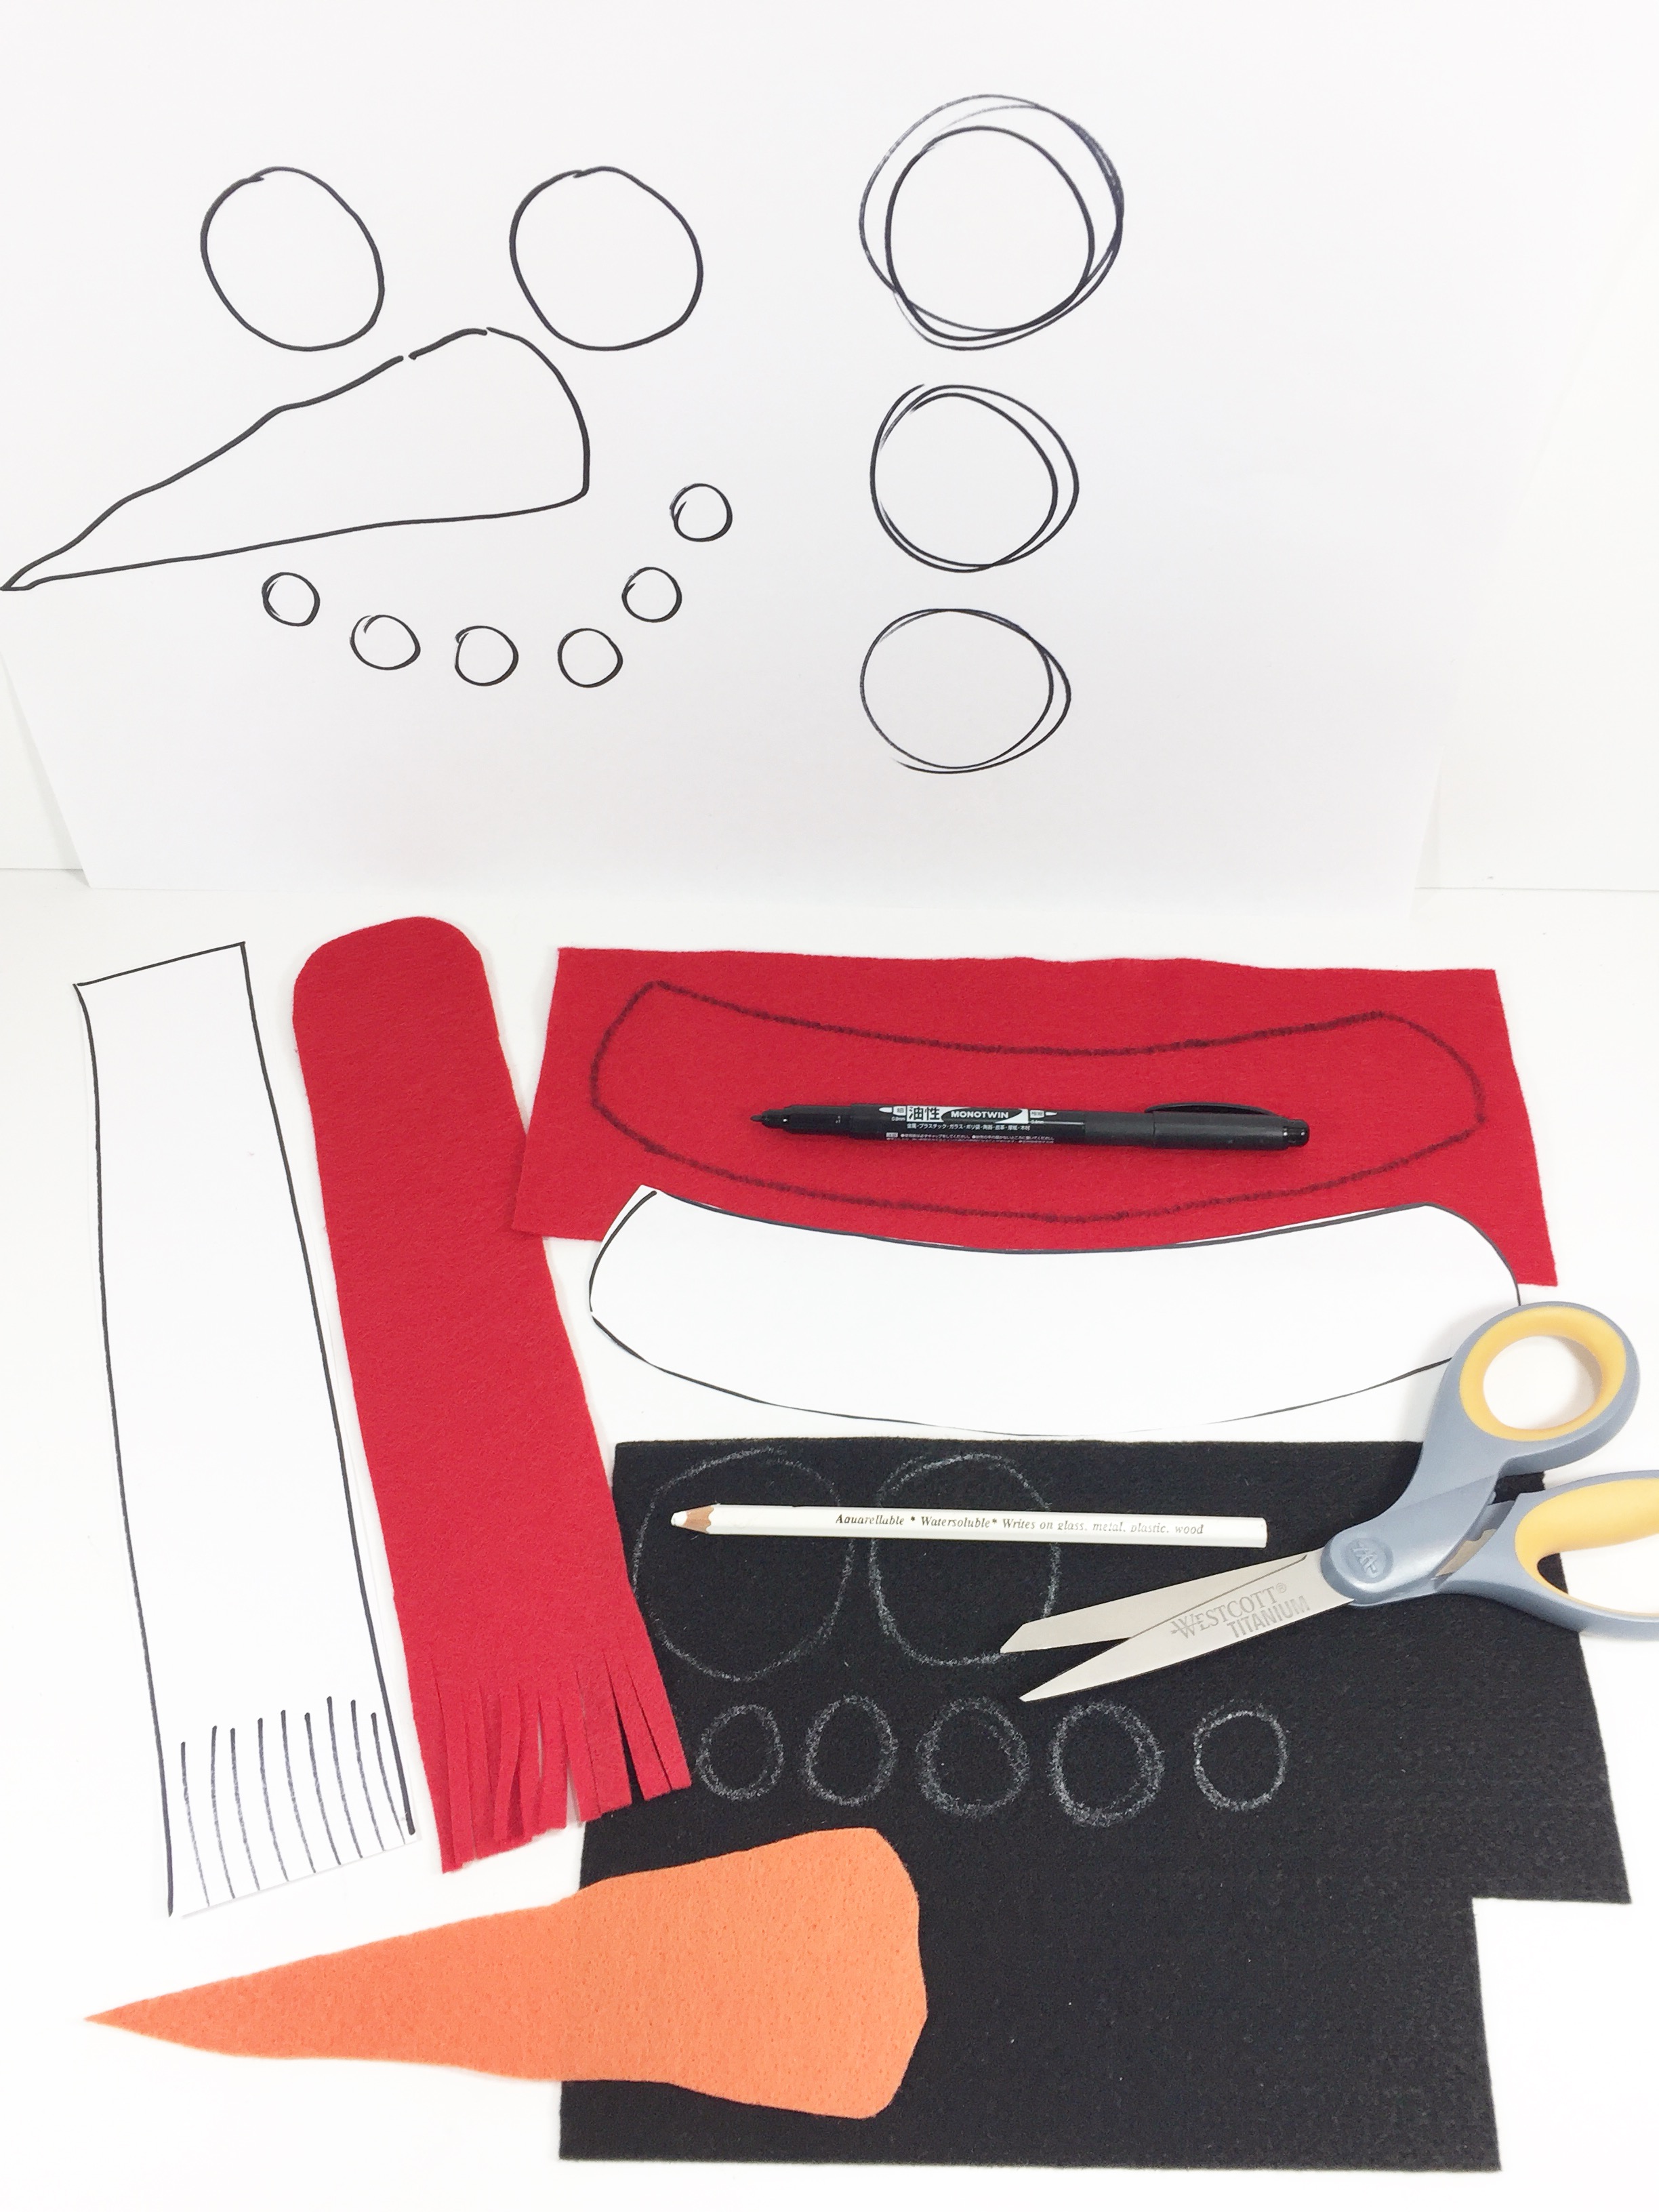
On the paper snowman pattern, draw two eyes, a carrot nose, 5-6 pieces of coal for the mouth, 3 buttons and a scarf with a permanent black marker. Trace the patterns onto additional pieces of butcher paper as necessary. Cut out patterns with scissors. Trace onto Kunin Classicfelt™ Black, Orange, Red and Cadet Blue. Use a permanent black marker to trace on the lighter colored felt and the Aquarellable white pencil to trace on the darker colored felt. Cut out felt shapes with scissors. Fringe 2” at the end of both scarf pieces. Cut 2 small holes in the center of each button.
TIP: Remember to cut INSIDE the lines for a neat and clean finished project.
Step Three:
Attach felt pieces to snowman with hot glue. Layer the red scarf pieces over top of each other to create dimension. Place child’s hand on a piece of butcher paper and trace around it to create a mitten shape. Cut out the pattern with scissors. Trace two mittens onto Kunin Classicfelt™ Cadet Blue, cut out with scissors.
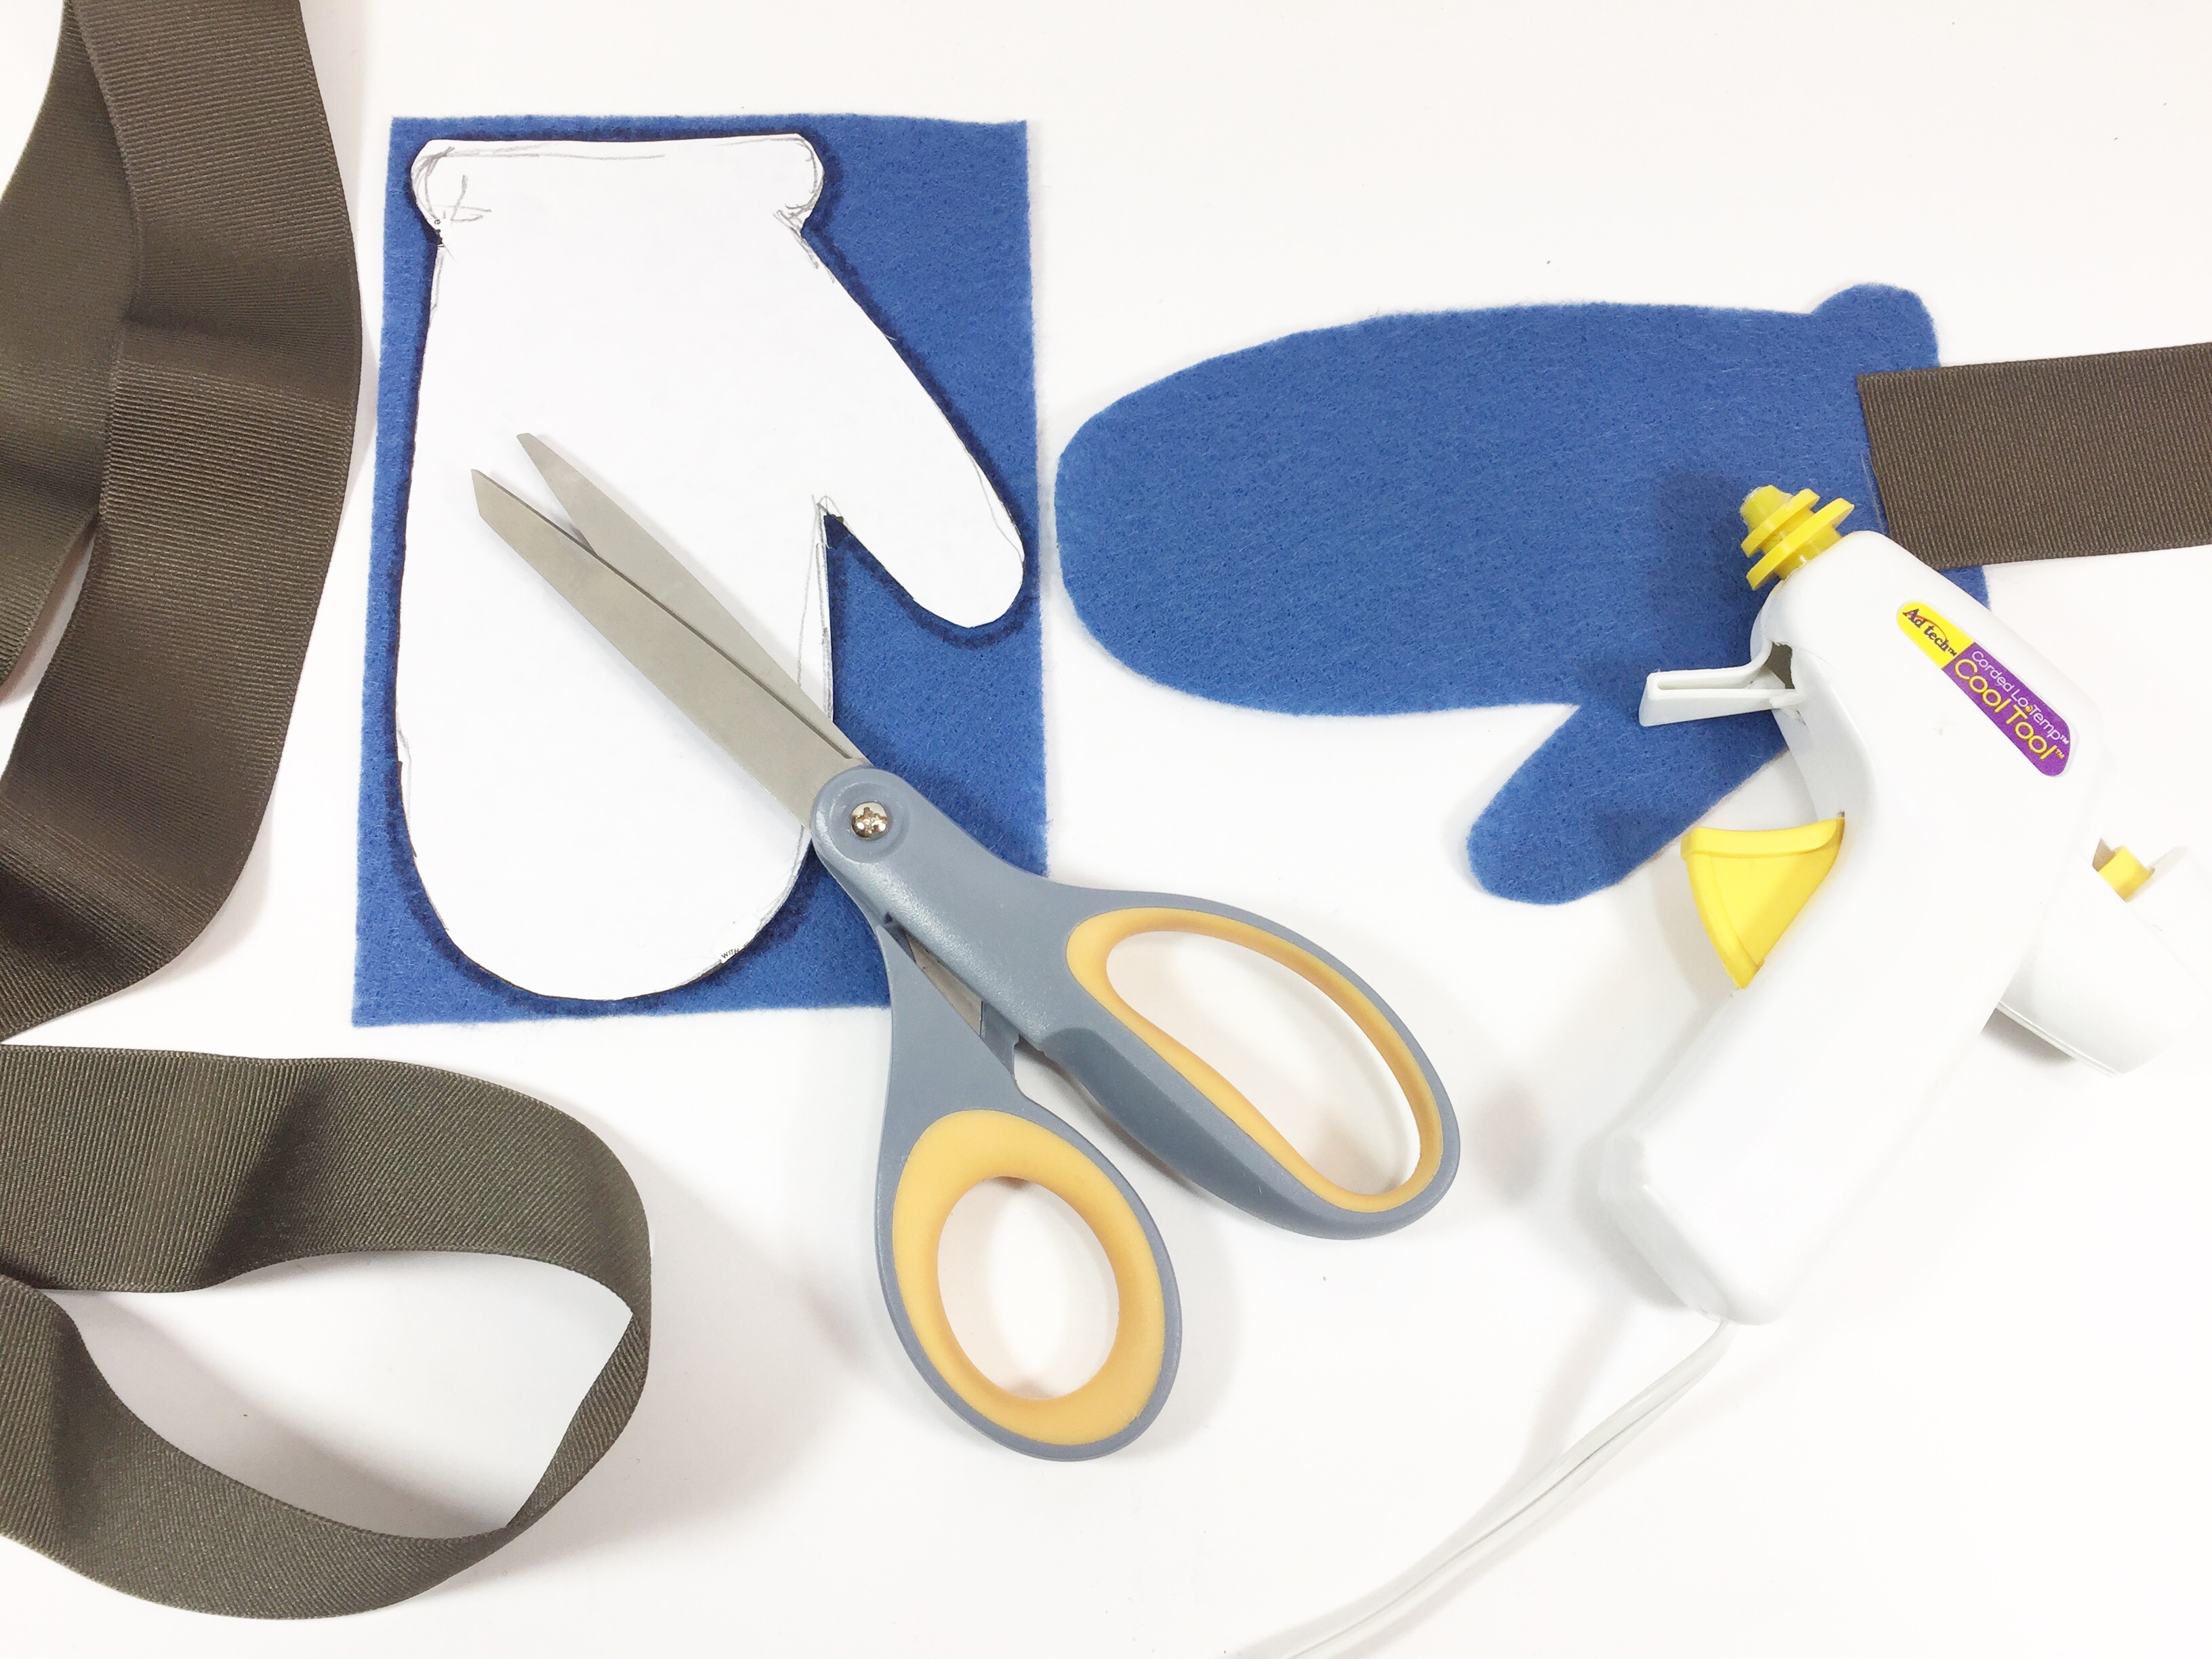
Step Four:
Cut 24” piece of white twill tape in half. Have child hold the snowman to their chest. Measure where the neck strings should be placed. Put apron on flat surface and hot glue the neck strings to the back of the snowman’s head. Cut the 72” piece of brown ribbon in half, these will become the snowman’s twig arms and the apron strings. Attach one mitten to the end of each piece of brown ribbon. Tie the neck strings behind your child’s neck and measure where the apron strings should be placed. Put apron on a flat surface and glue the apron strings to the back of the snowman’s body.

Here is another shot of my niece wearing her apron. She loves it and can’t wait to bake up some peanut butter cookies!
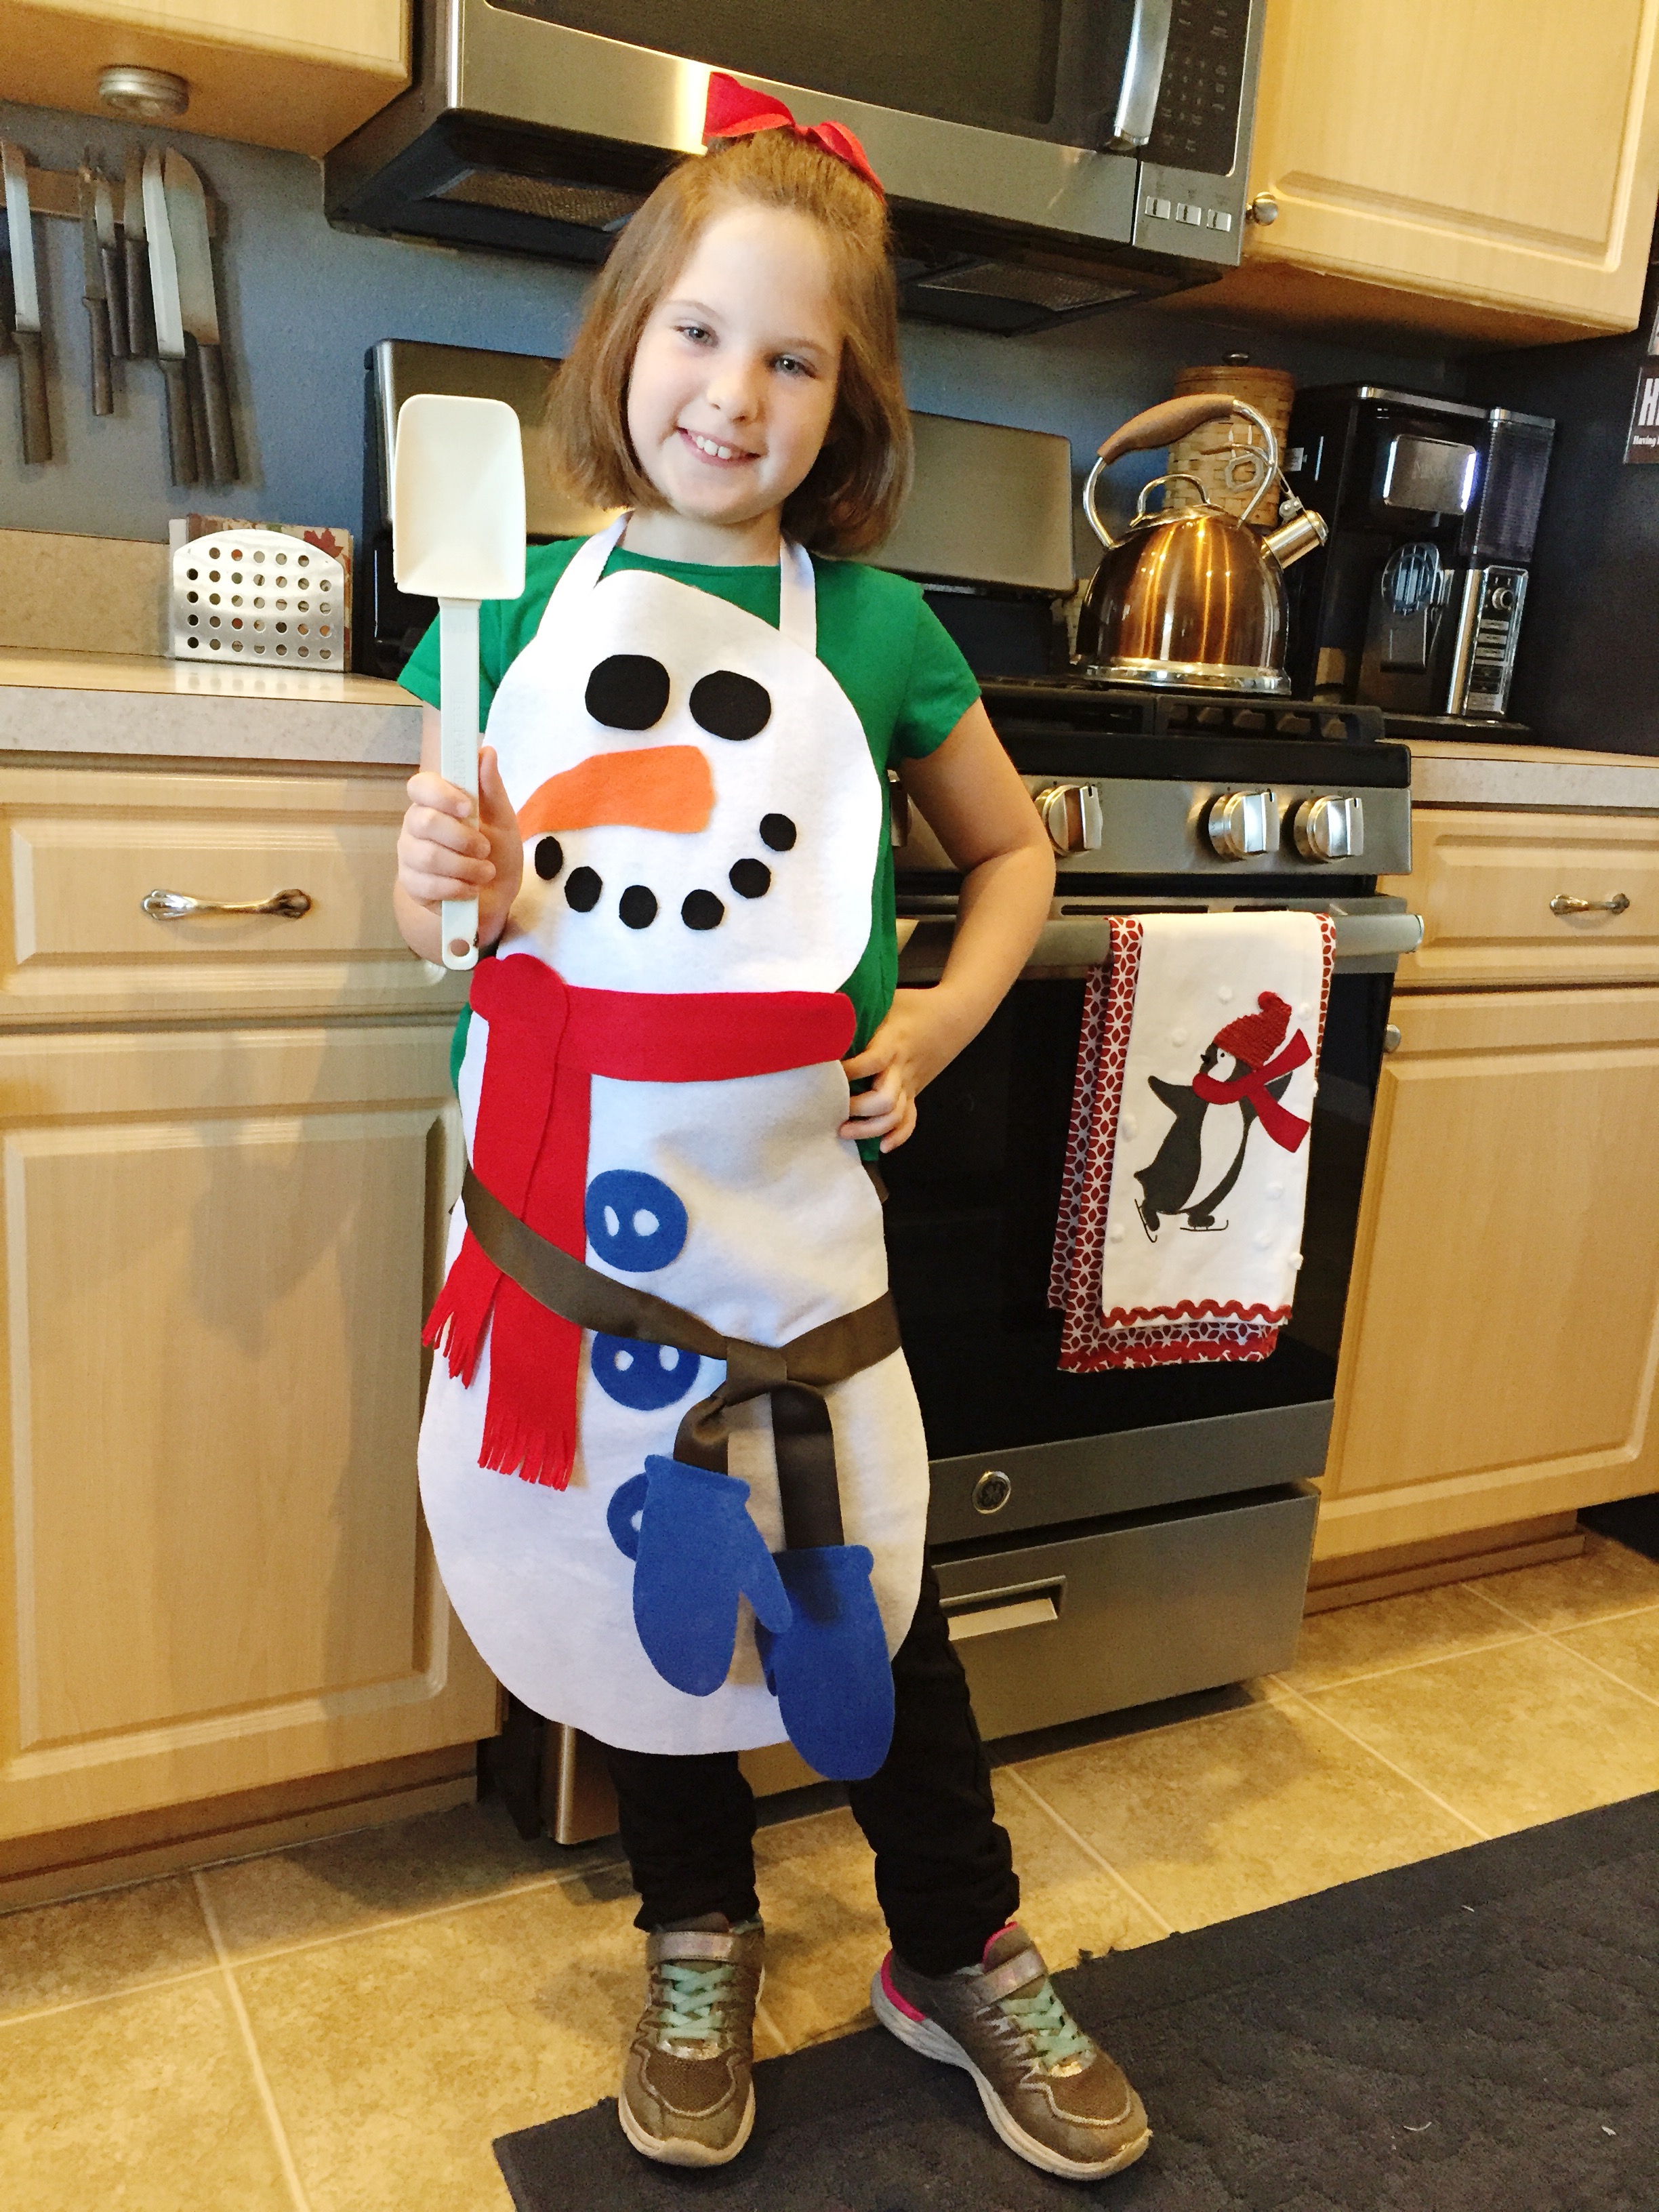
I hope you will use my No Sew Snowman Apron as a jumping off point to showcase your Kunin Creativity and craft with your children this Holiday Season!
Felt is an easy, versatile and forgiving medium which allows you to create affordable but trendy projects whether you are a beginner or an expert crafter!
You can now find an expanded color line of Kunin® Classicfelt; Kunin® Premiumfelt and Corduroy non-wovens fabrics in cut by the yard at your local Walmart; please inquire as to what is available in your area.
If you like this project, make sure to visit my blog for more inspiration.
Thanks for stopping by! -Beth