By Julie McGuffee
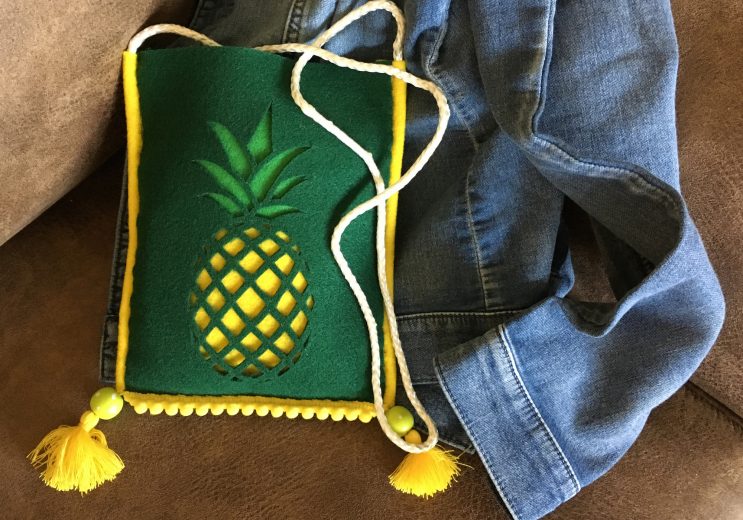
When my granddaughter needed a simple purse with a cross strap for the summer, we decided it would be fun to make one with our own custom pineapple design!

Skill Level for this project: Beginner + basic sewing skills
Time to complete: 2 hours
You will need:
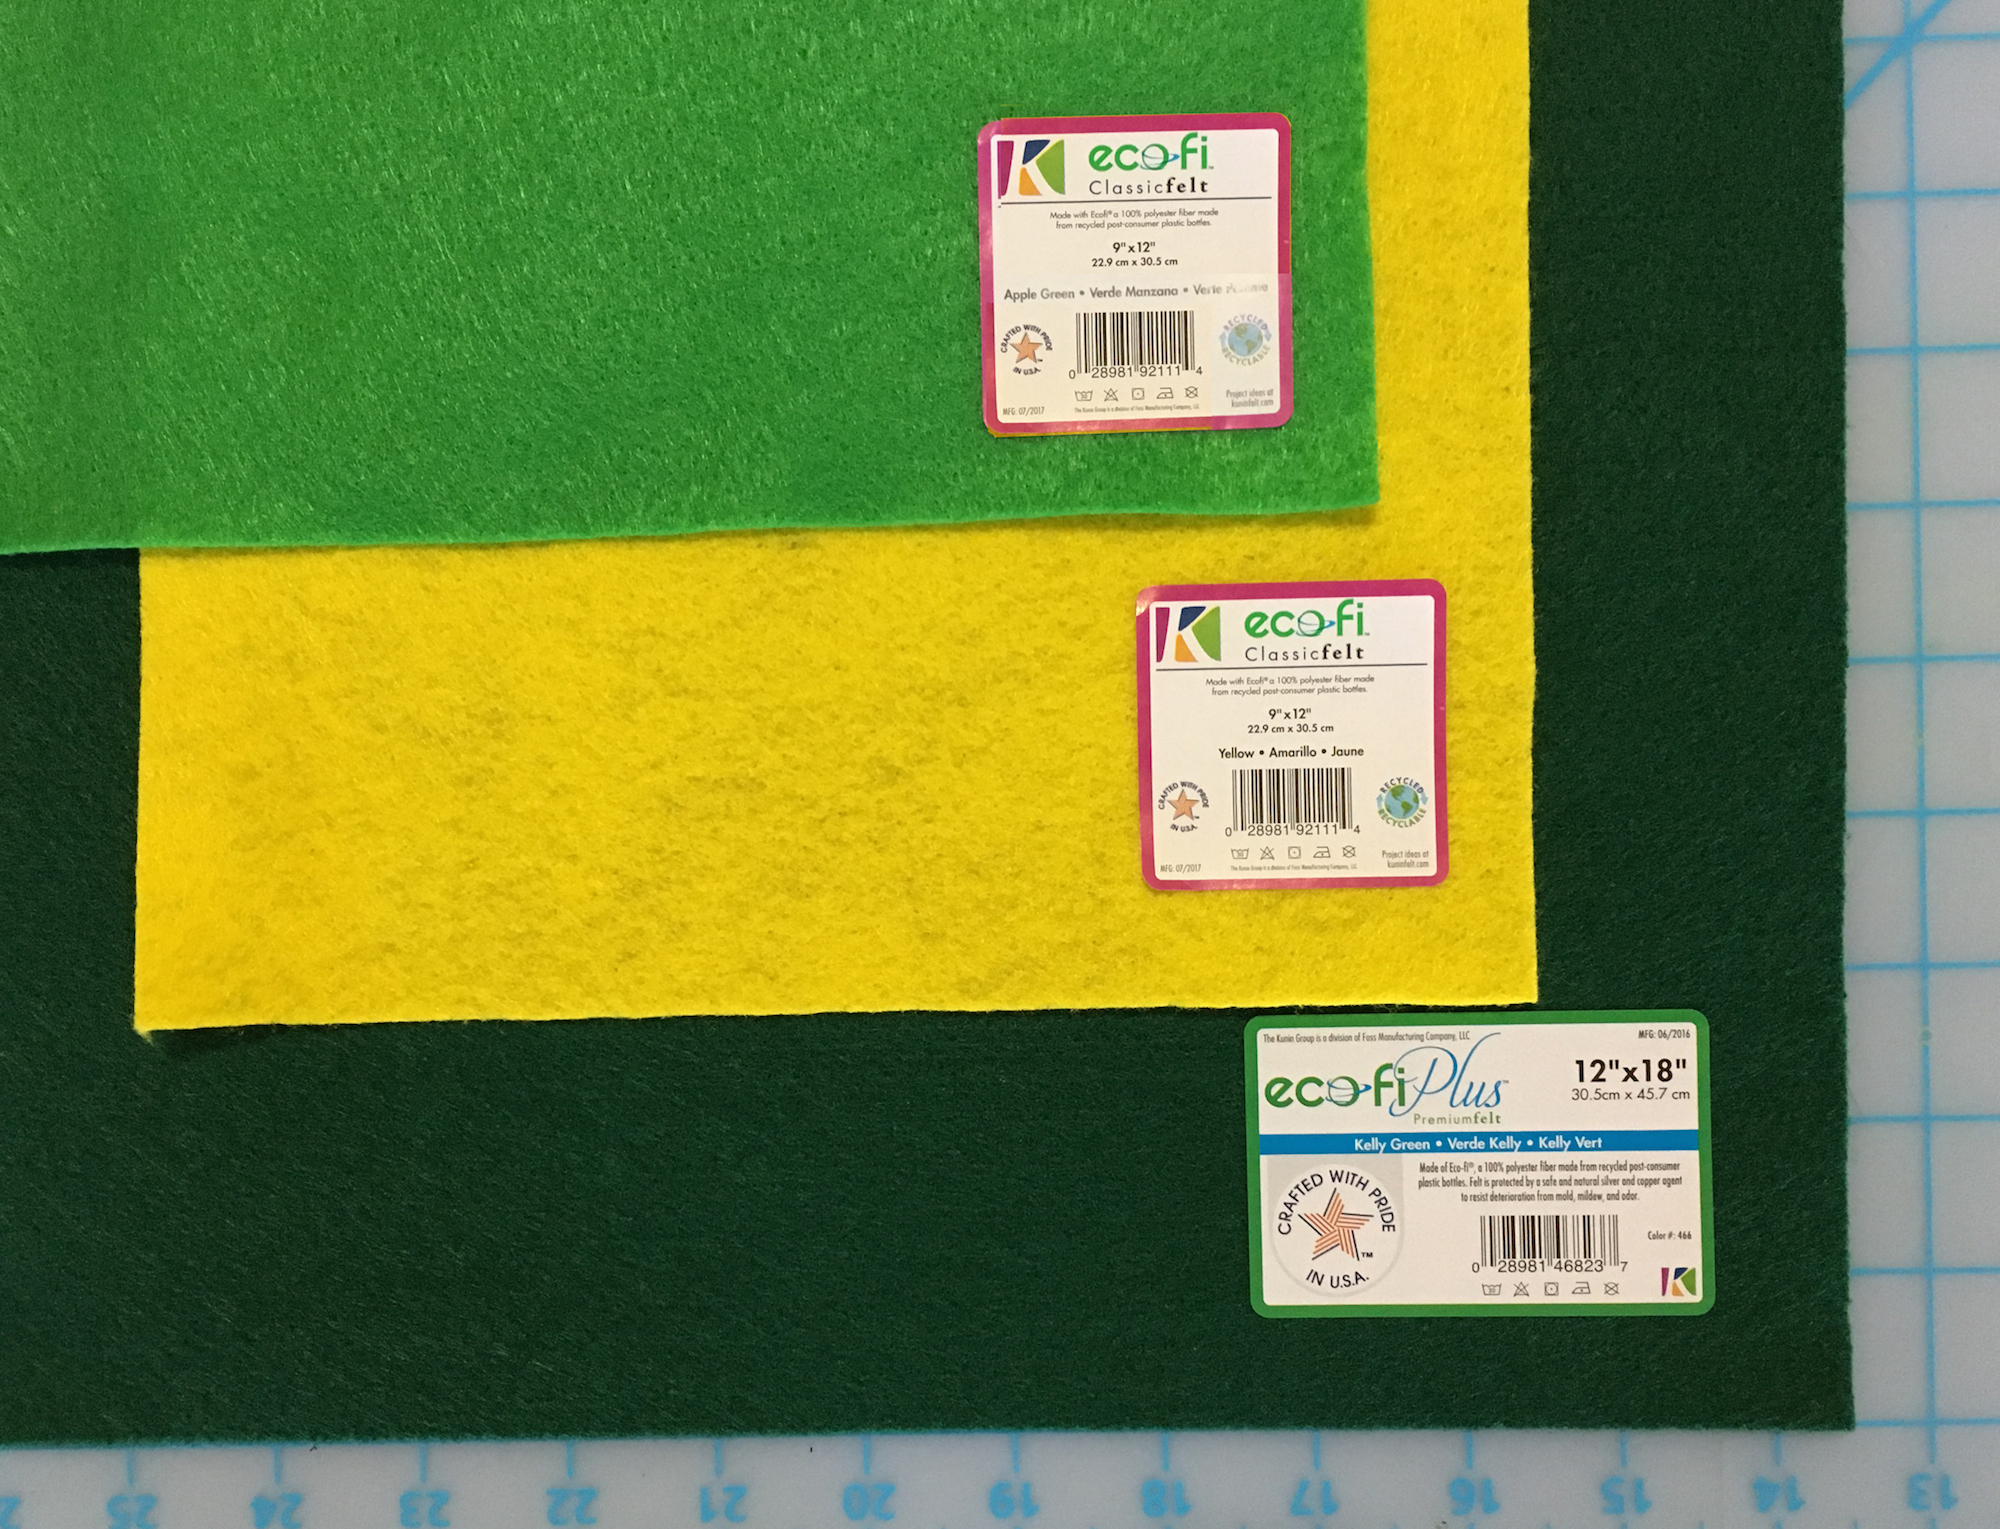
- Kunin® Premium Felt* 12” x 18” – Kelly Green
- Kunin® Classic Felt 9” x 12” – Yellow & Apple Green
- Cricut® Maker™ with Rotary blade
- Weeding tool
- Cord (for strap) – 1 yd
- 2 Tassels – Yellow
- 2 Beads – 5/8” Green
- Mini pom-pom trim – 7” yellow
- Felt glue/lo-temp glue gun
- Embroidery needle
- Thread or embroidery floss – yellow & dark green
- Pins
- Scissors
Instructions:
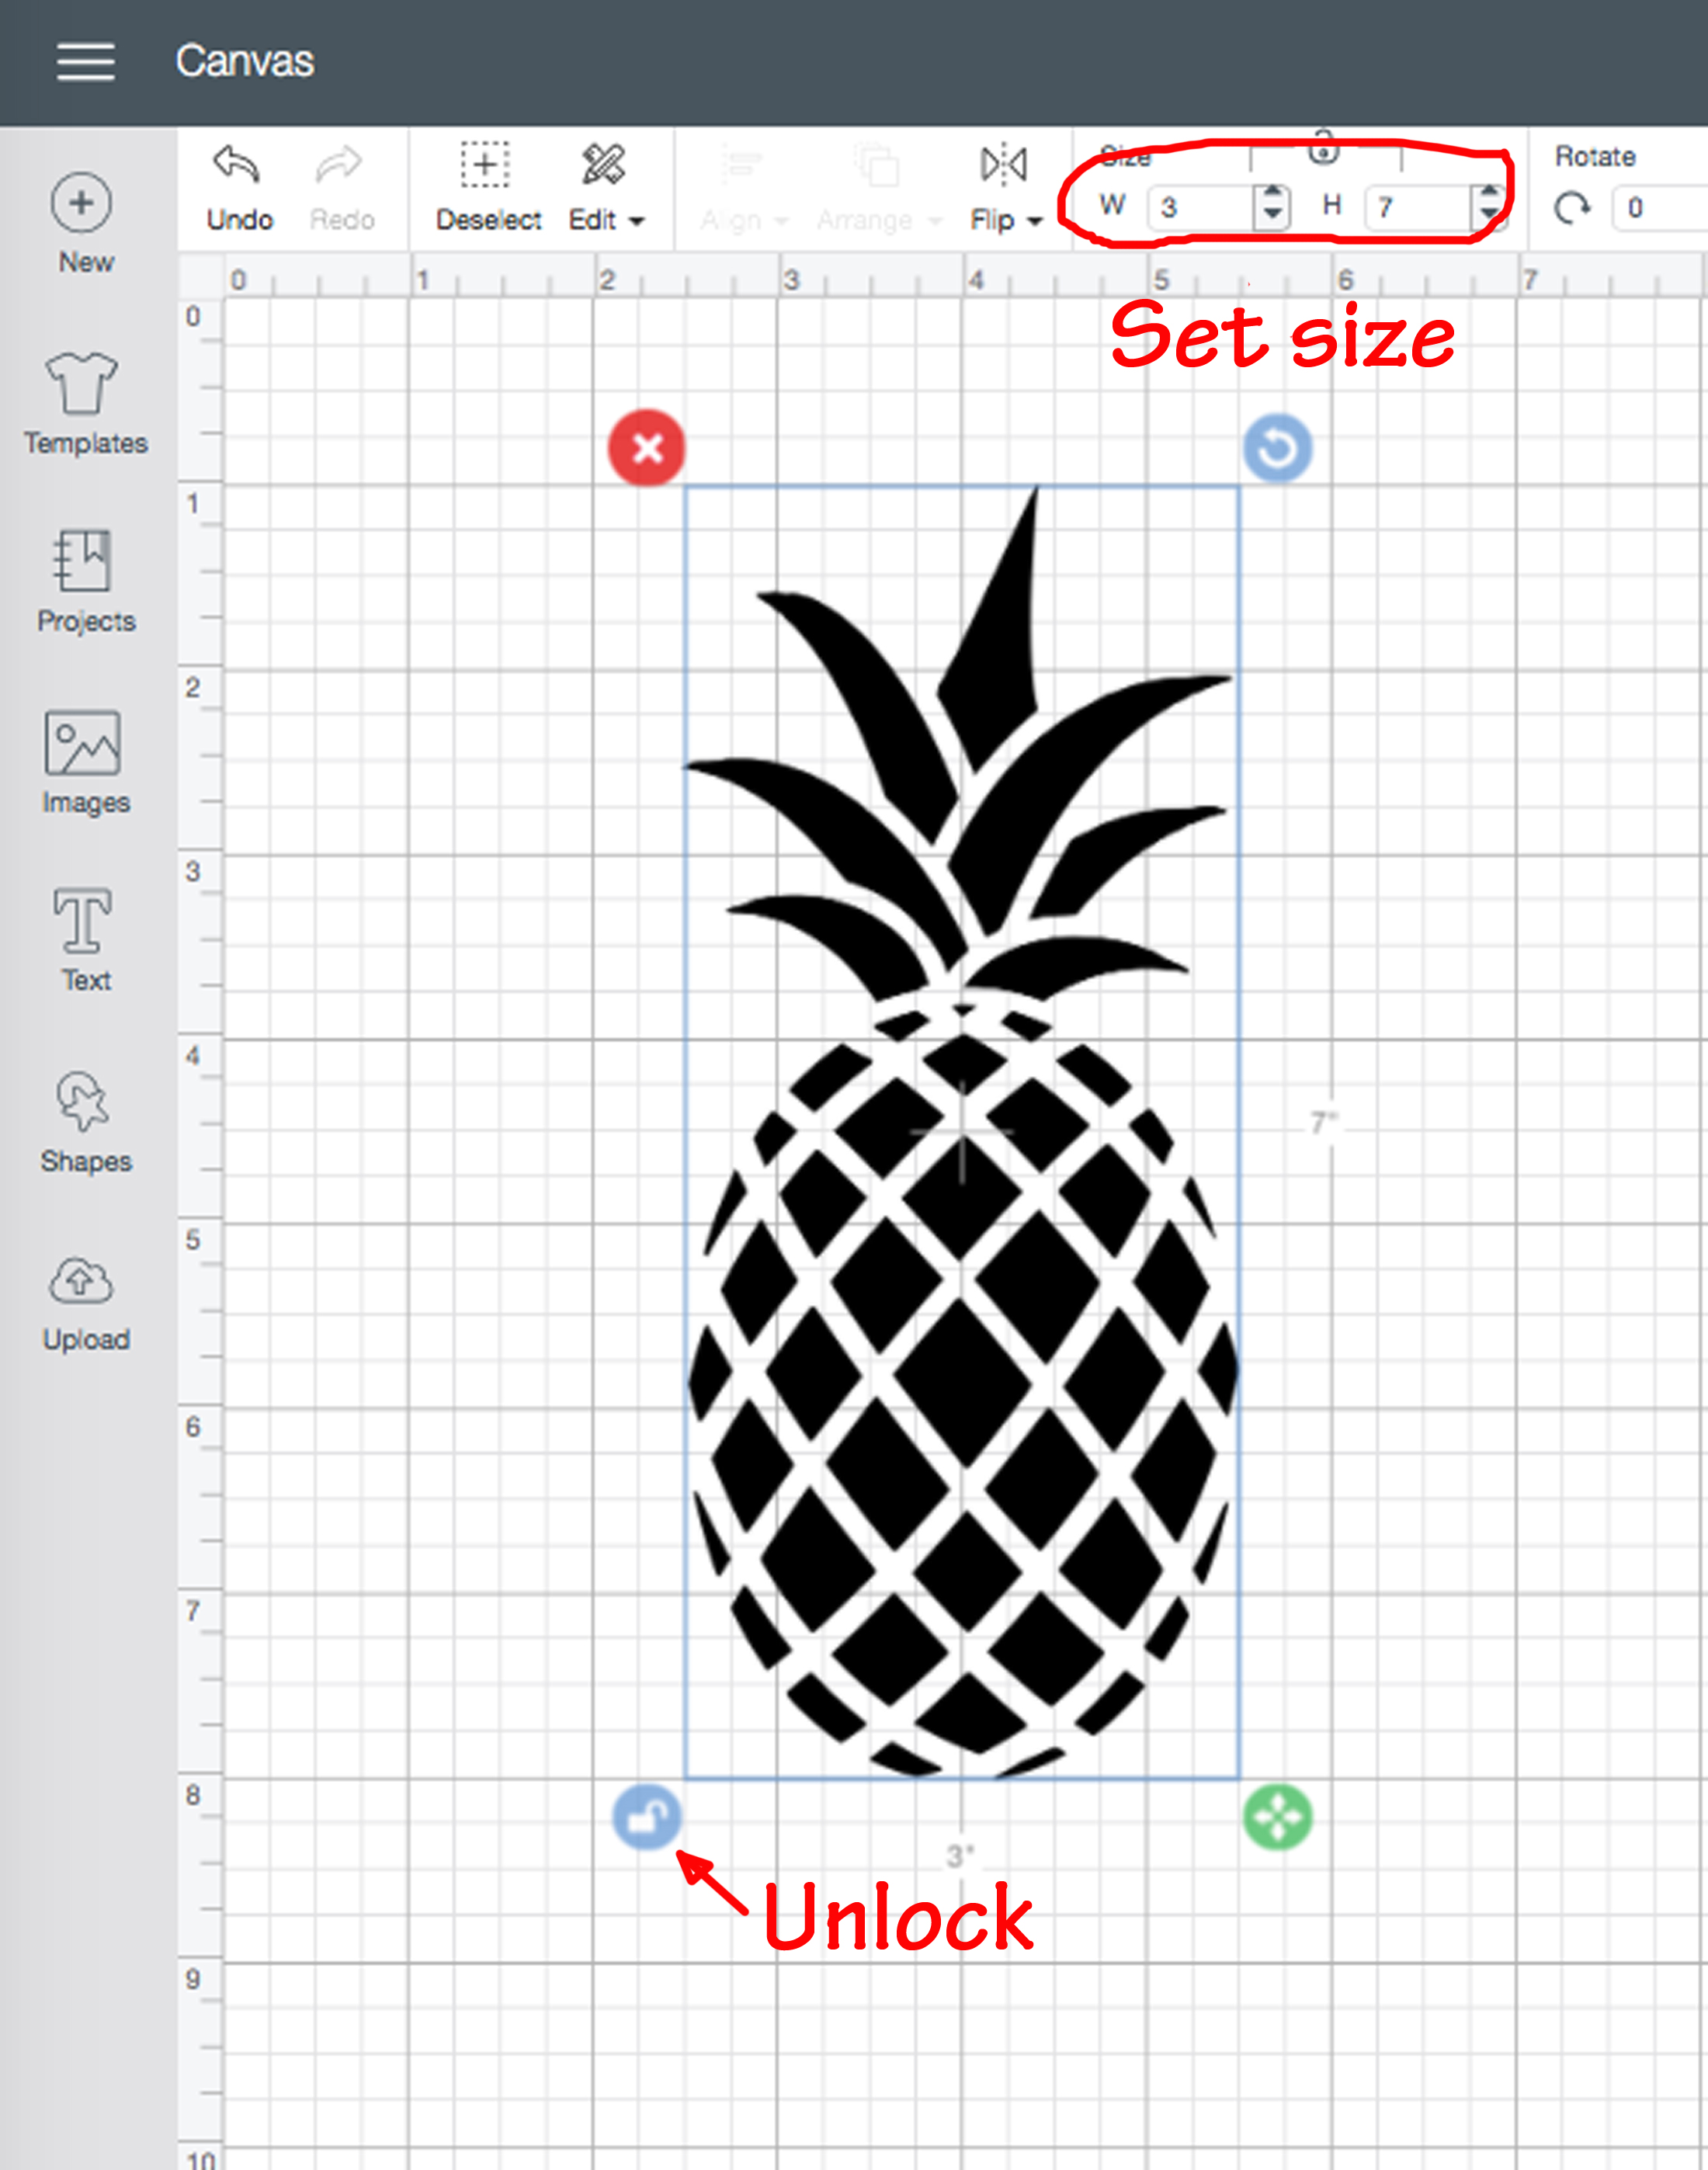
1. Download the pineapple design then upload and import into Cricut Design Space.

2. Unlock the design by clicking the lock icon at the bottom left corner, then size to 3” x 7”.
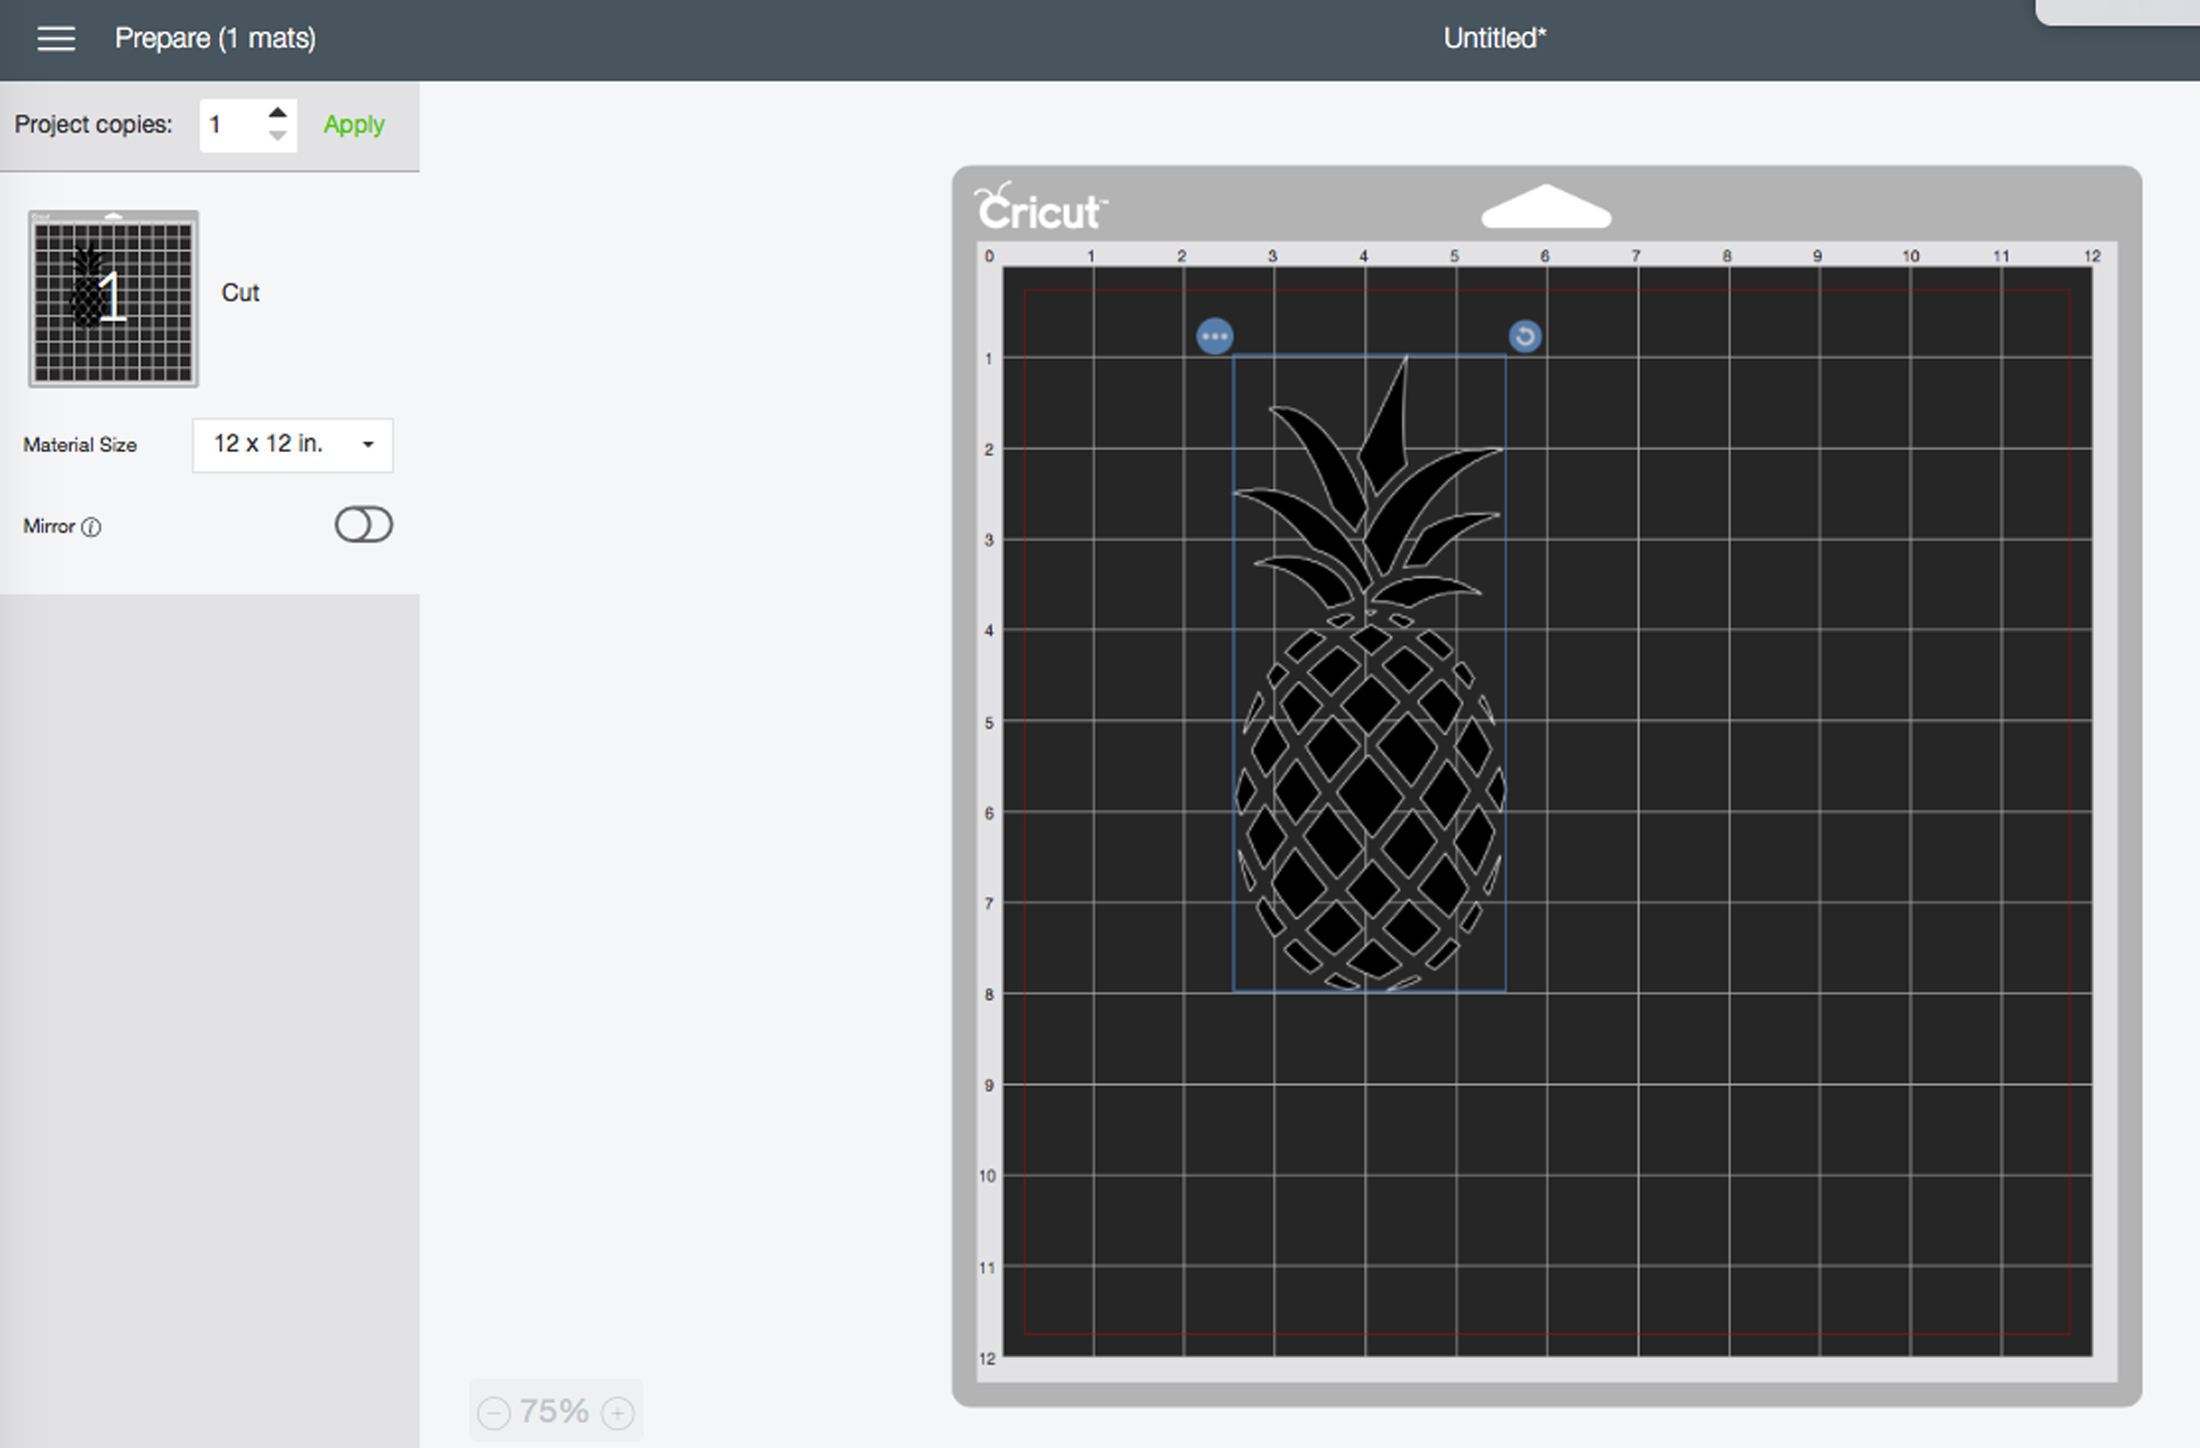
3. Continue to next screen and move the design 3” from the left edge and 1” from the top.
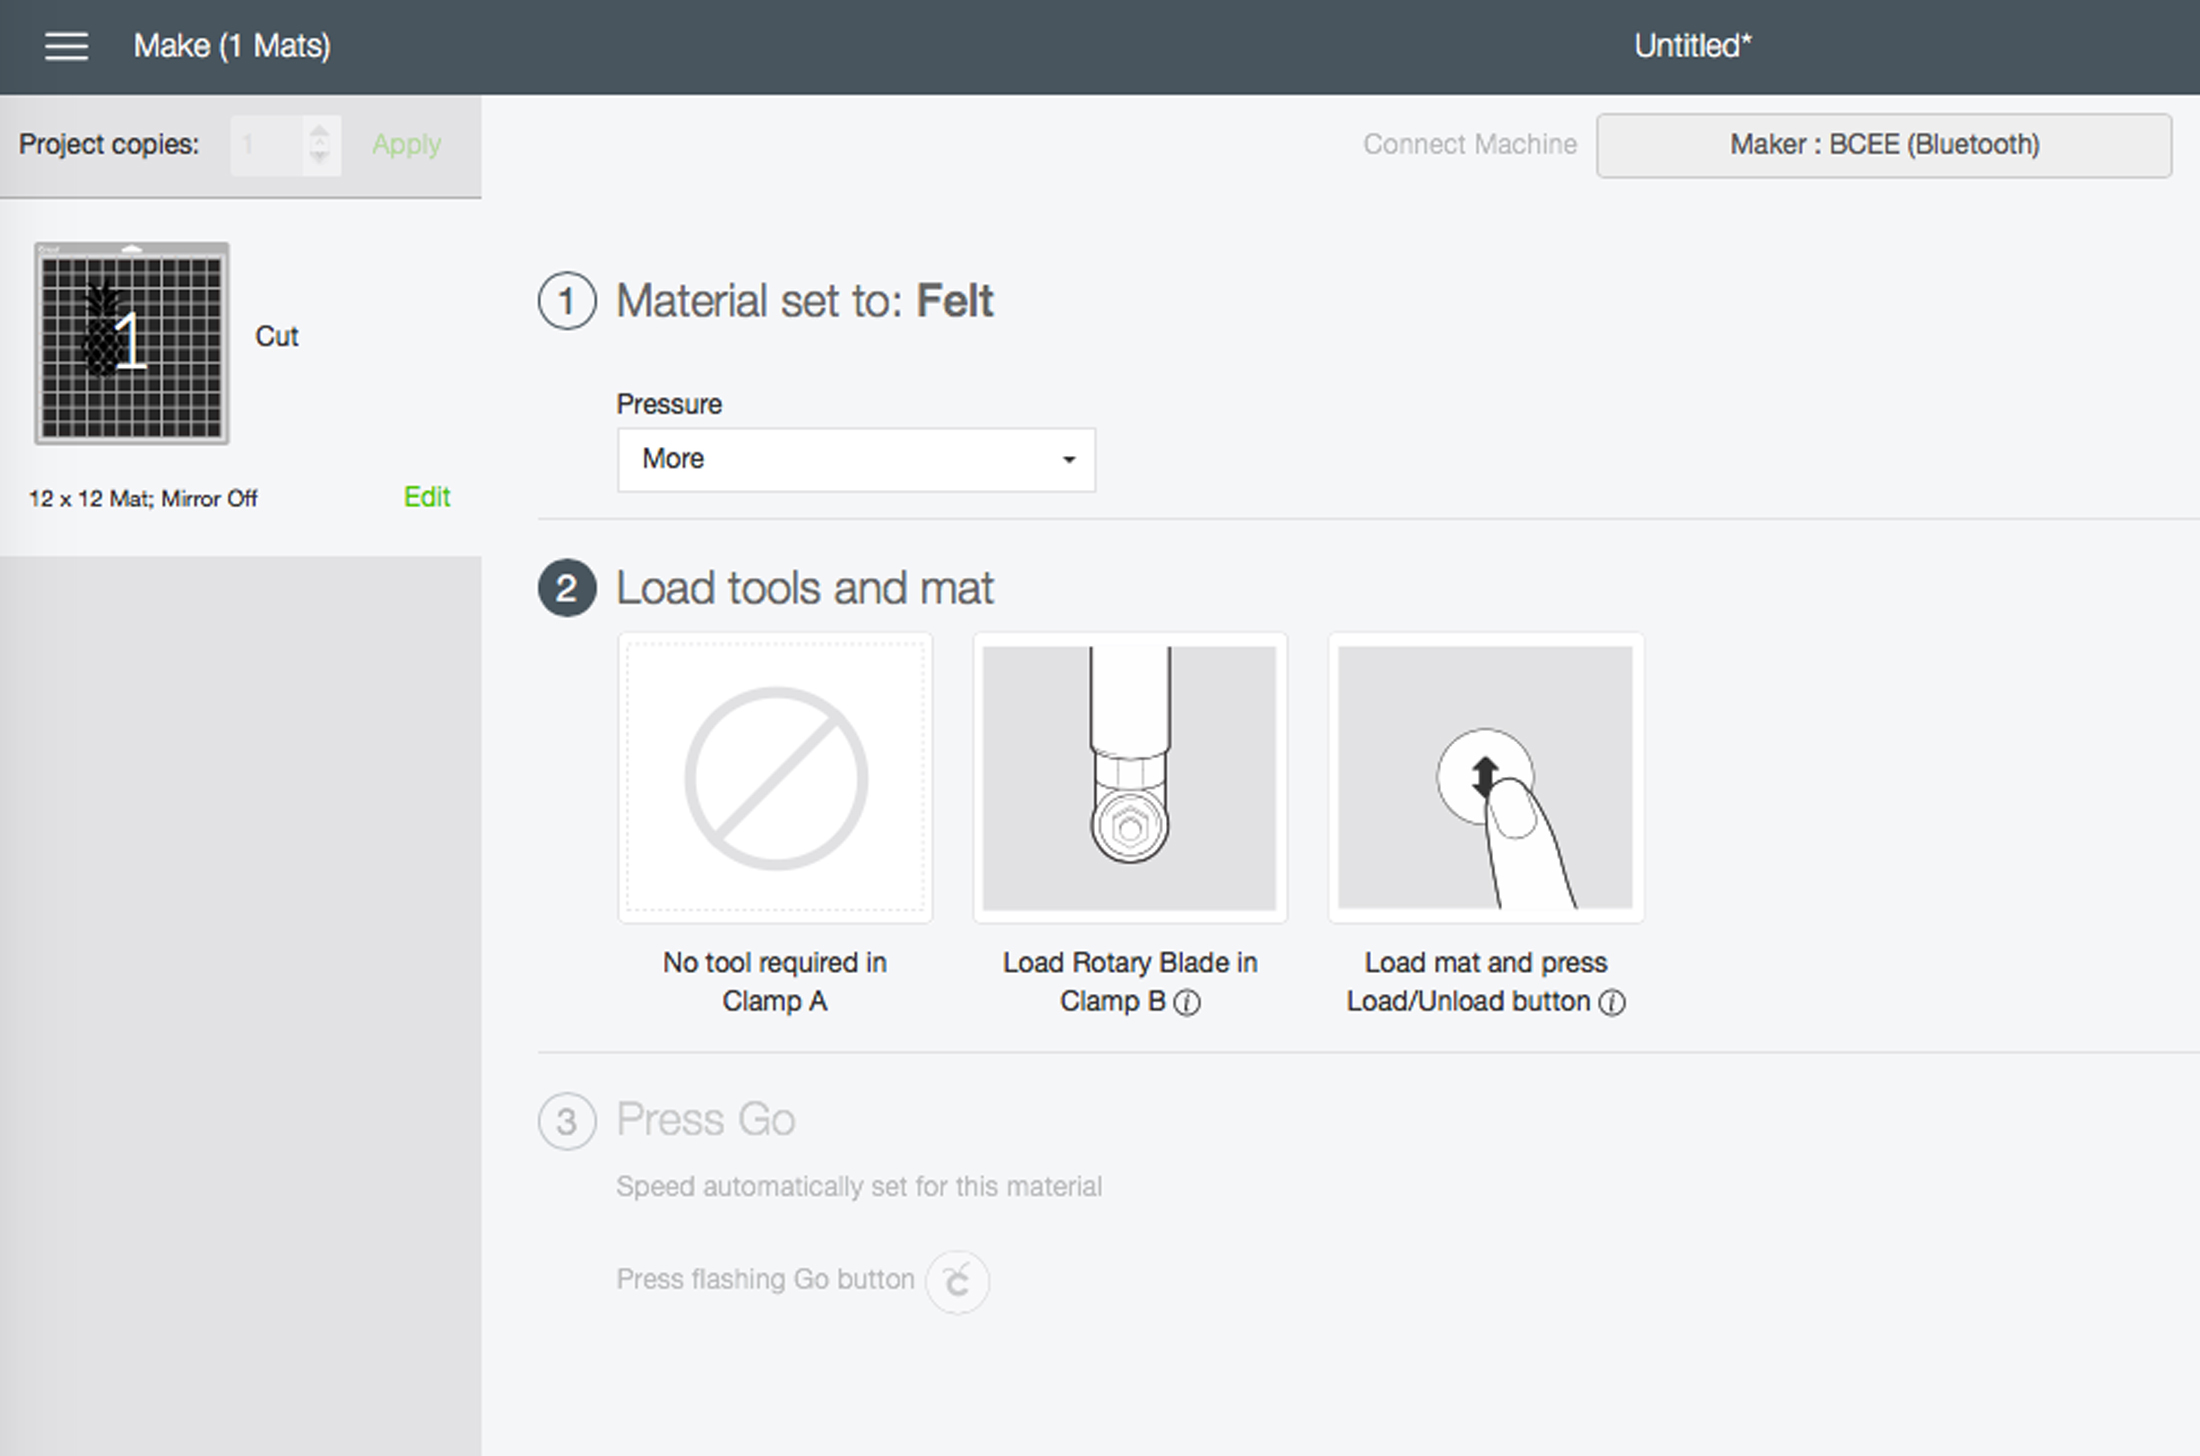
4. Continue to material to select felt and the rotary blade using the “edit tools” feature. Select “more” pressure.
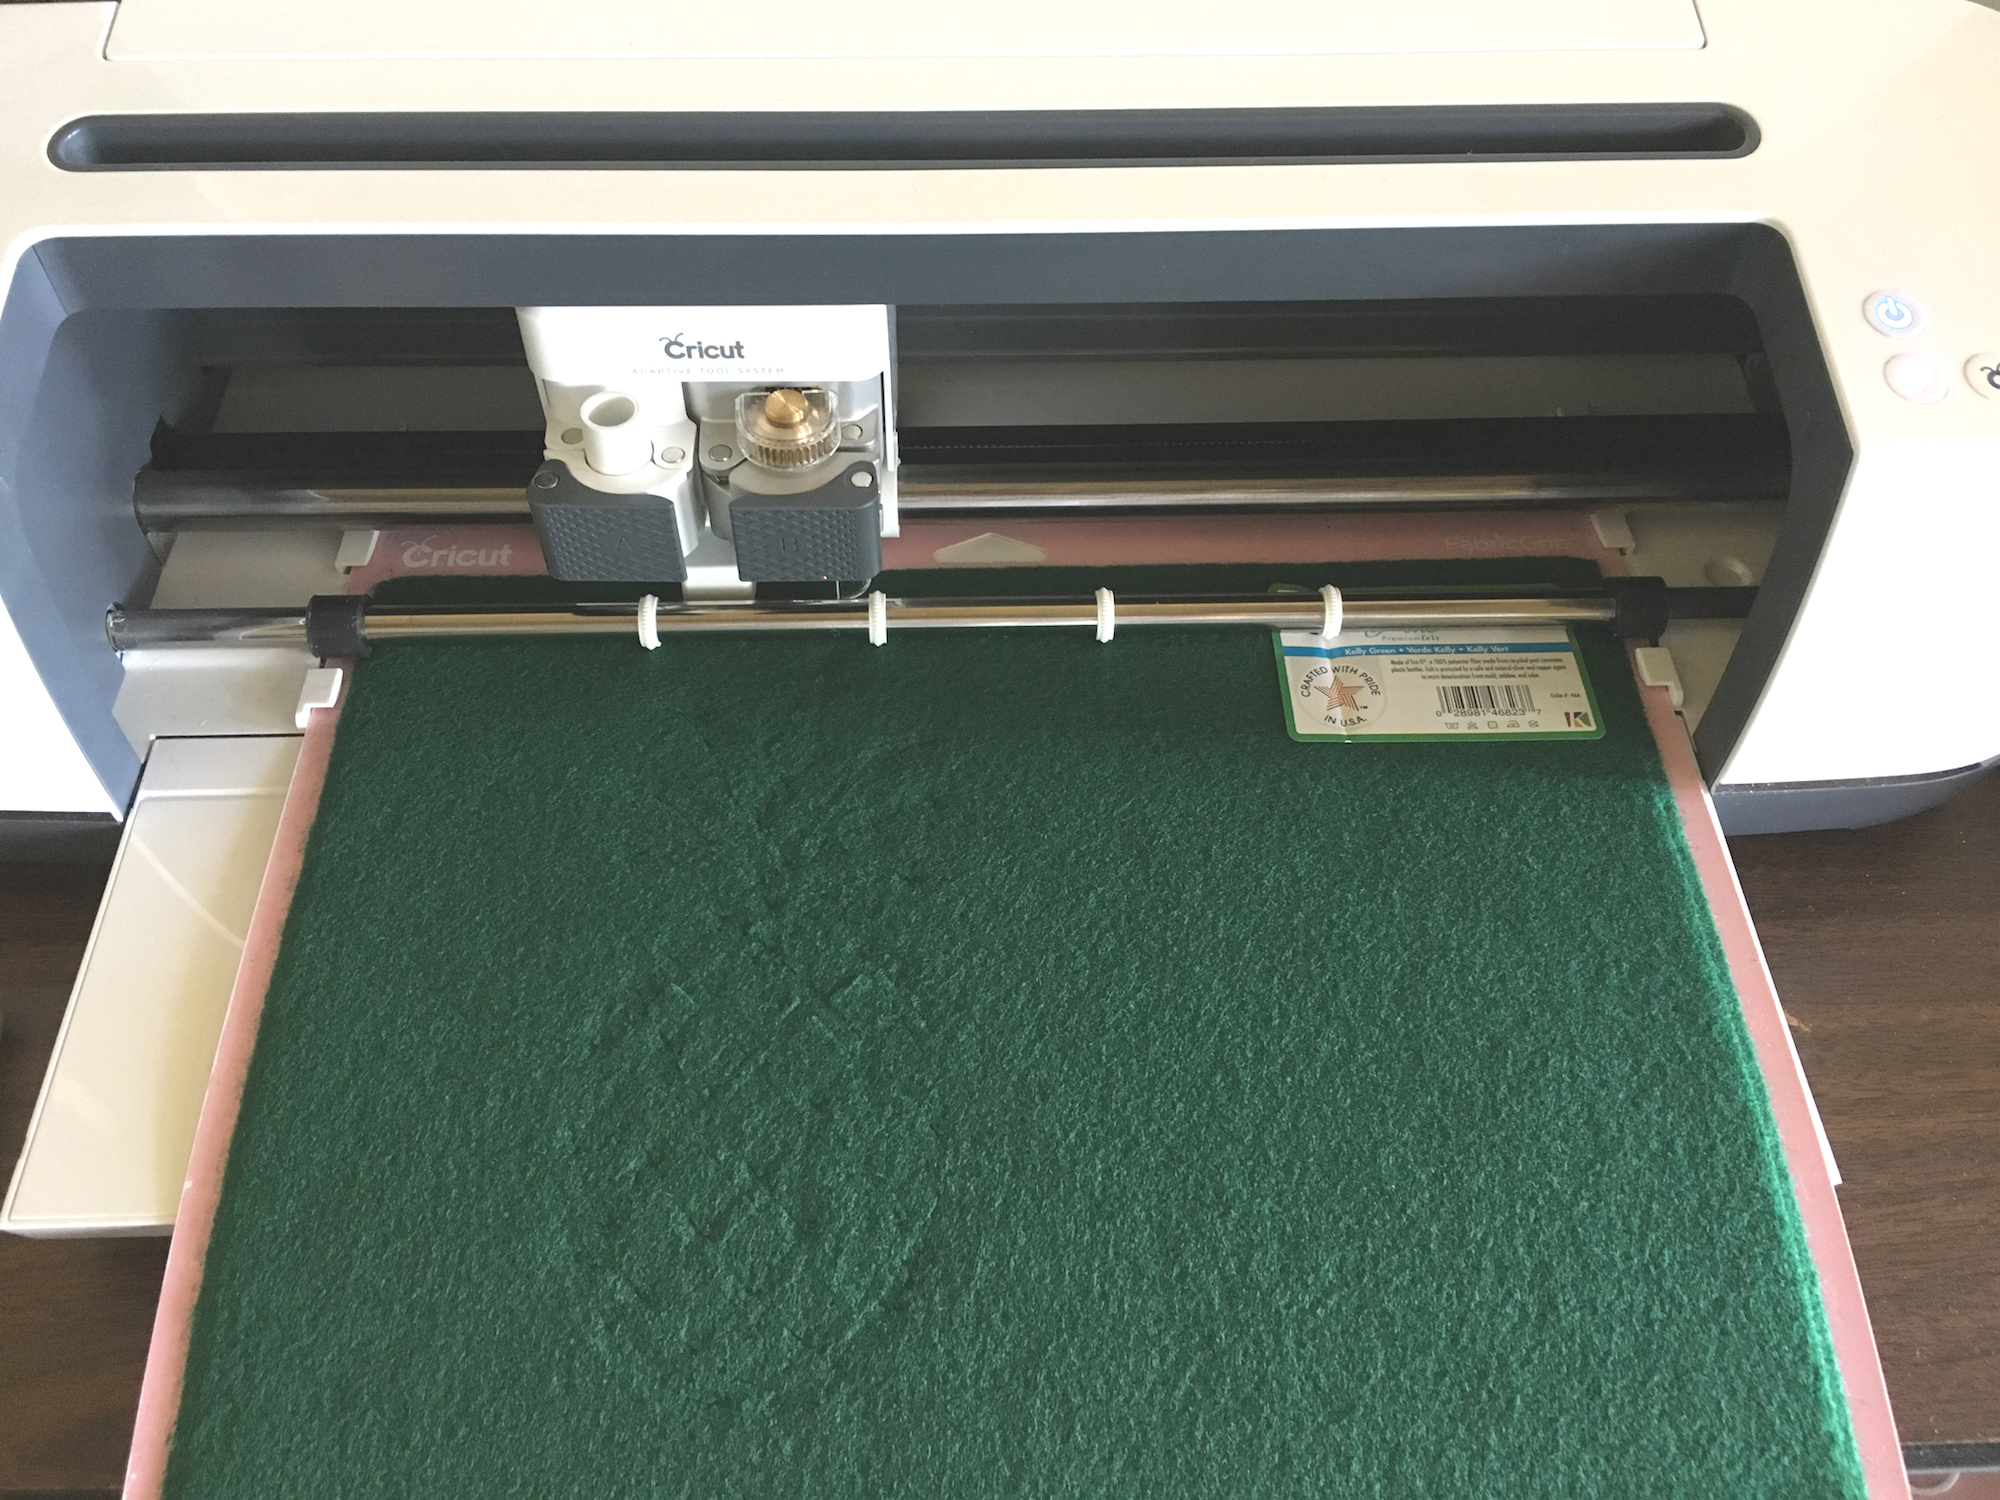
5. Place the Kelly Green felt on the mat and cut.
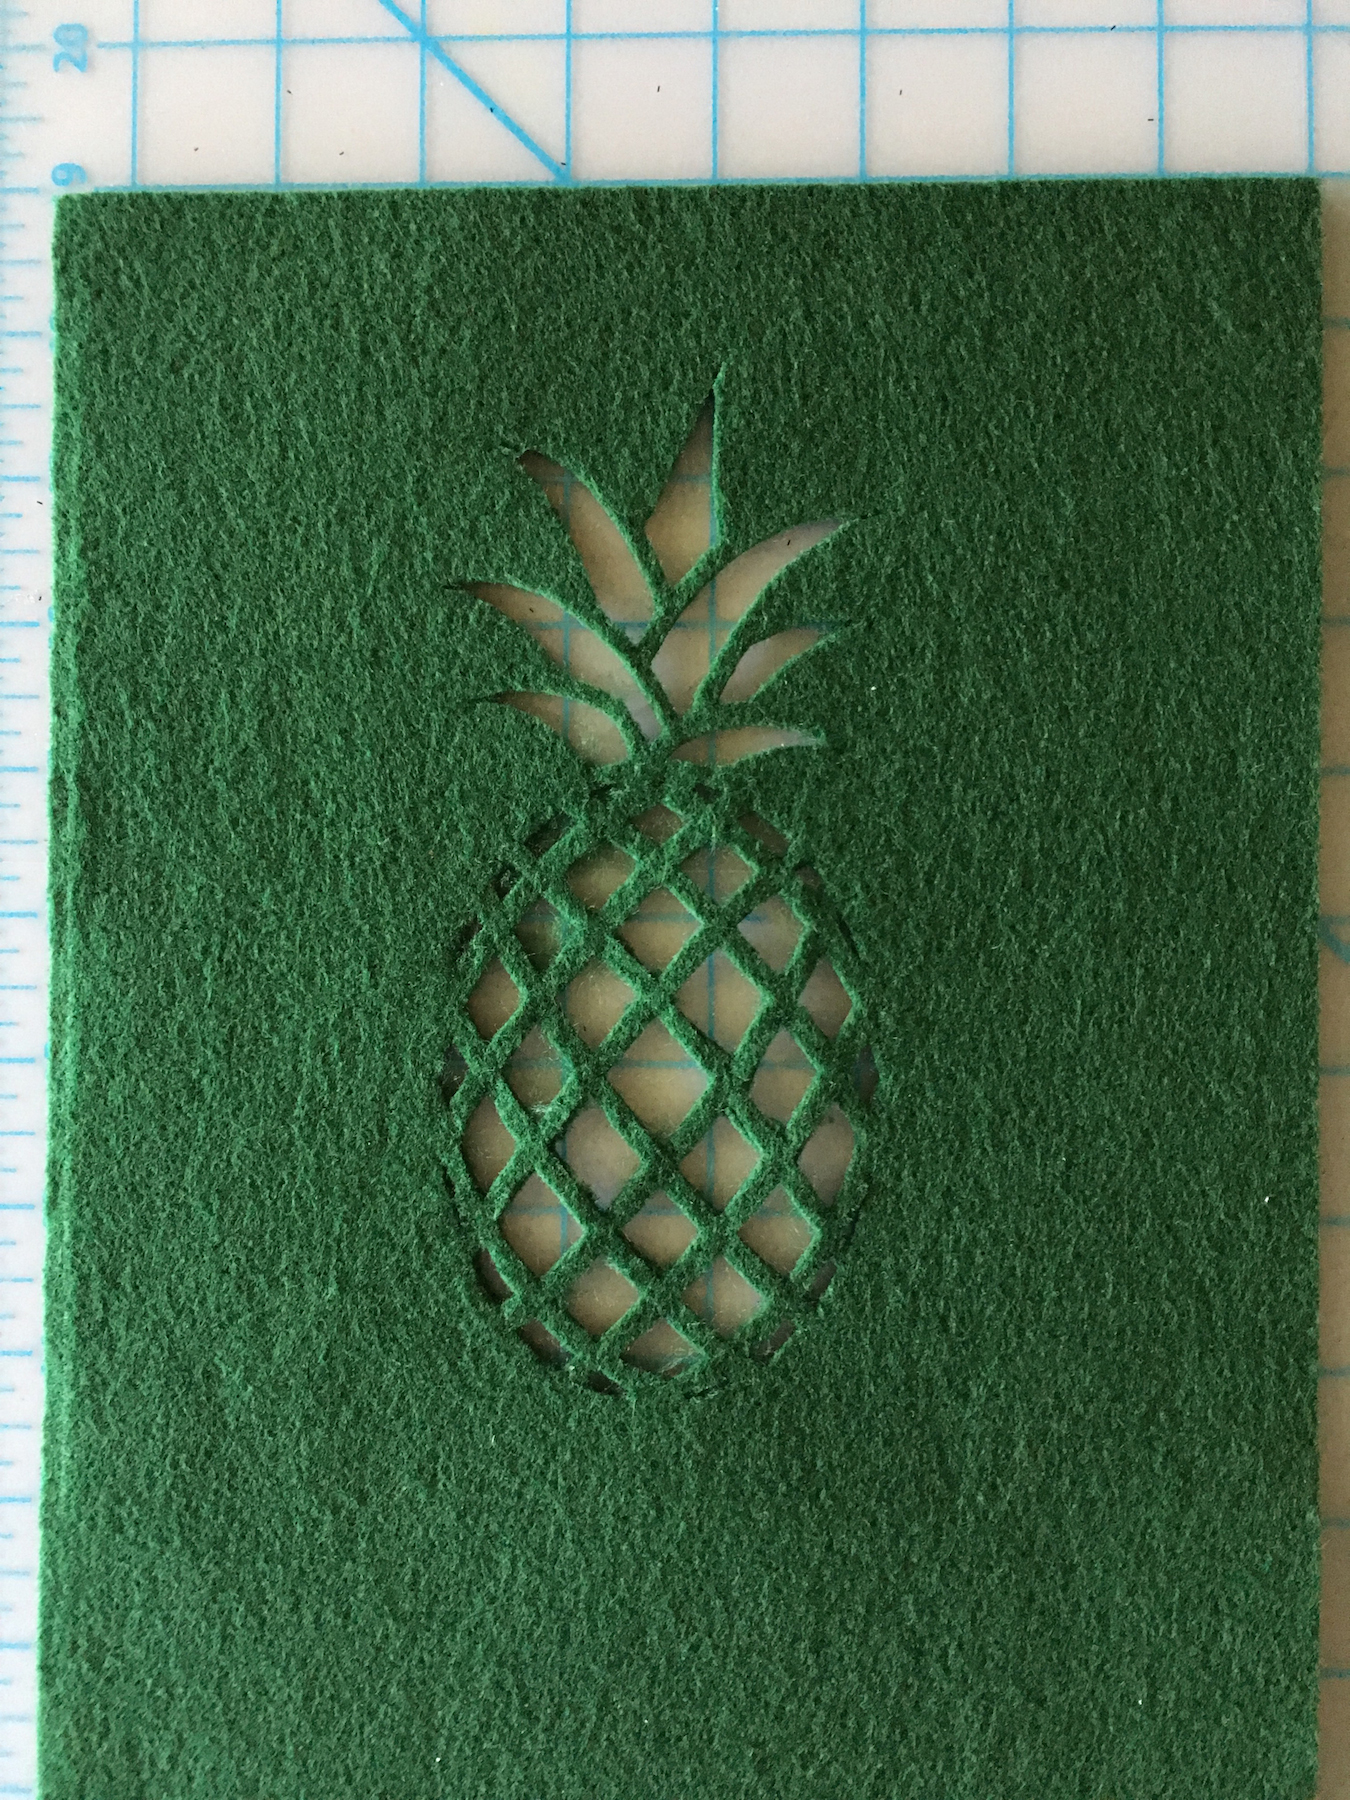
6. Using the weed tool, weed the design while the felt is still on the mat.

7. Carefully lift the felt from the mat then, with the design at the center, trim the width of the felt to 7”. Your felt piece will now measure 7” x 18”.
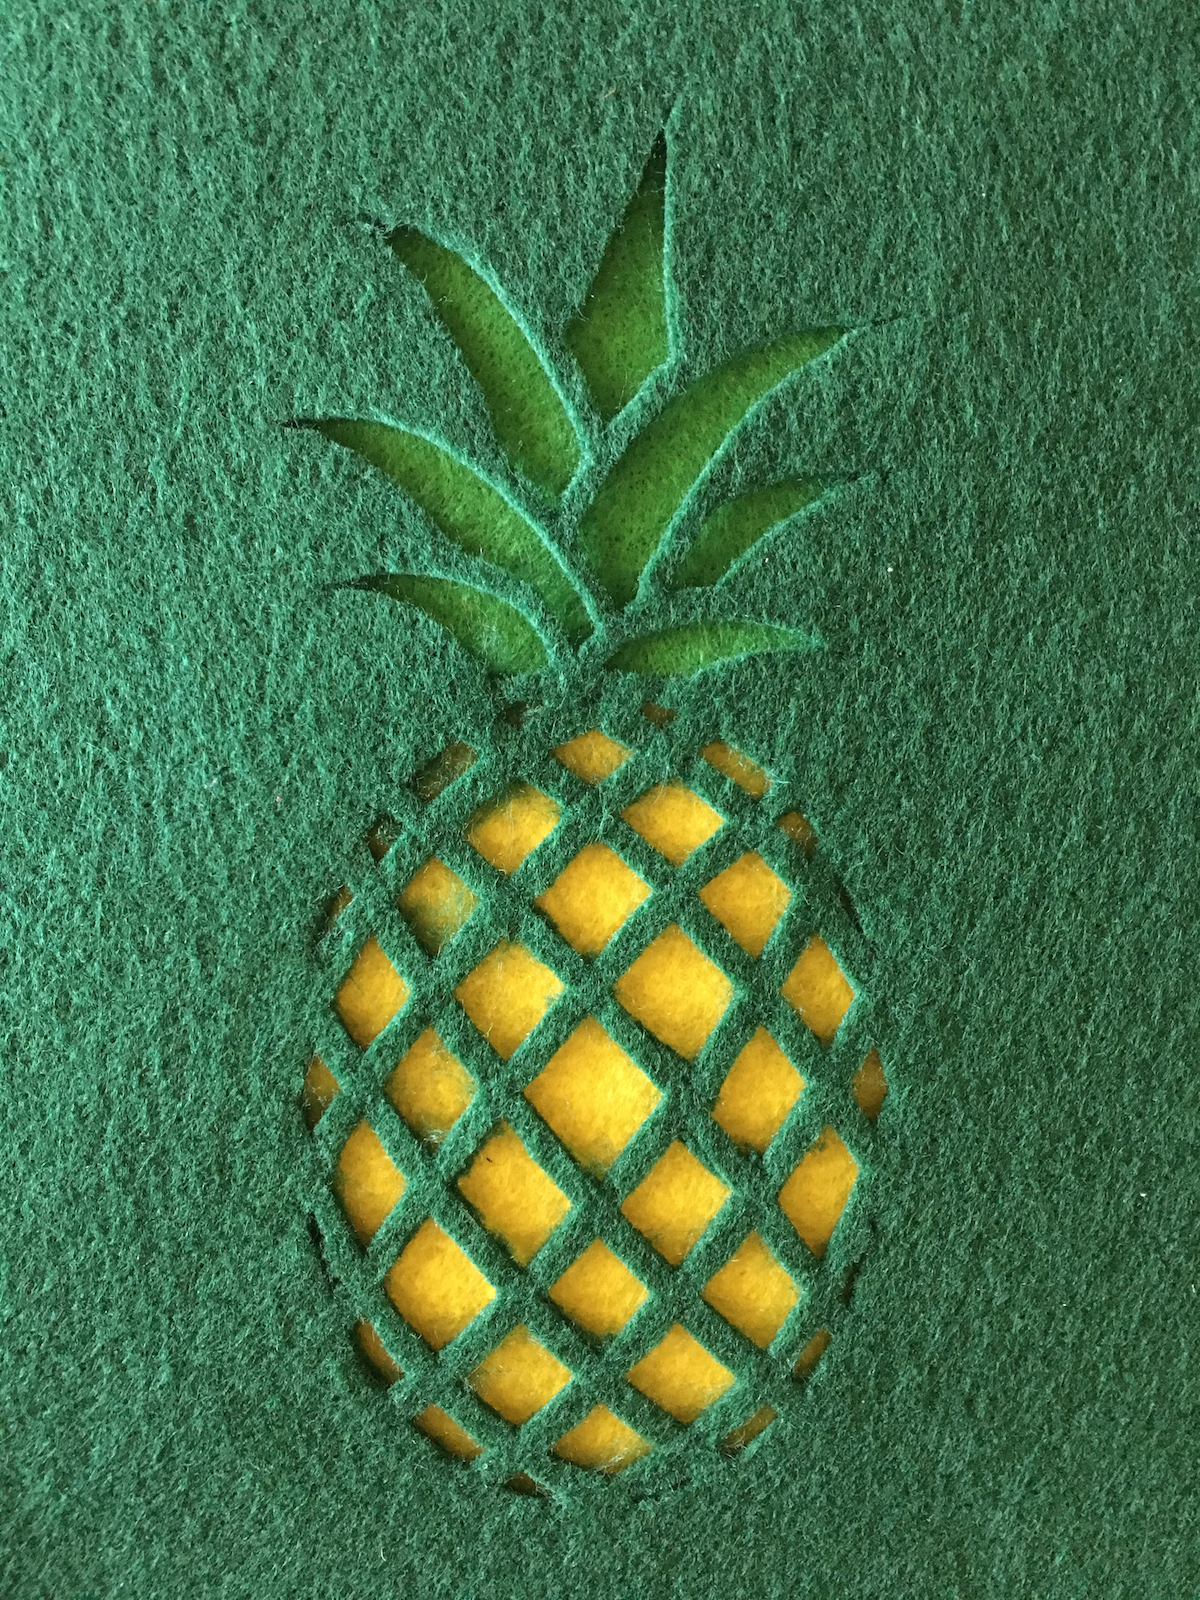
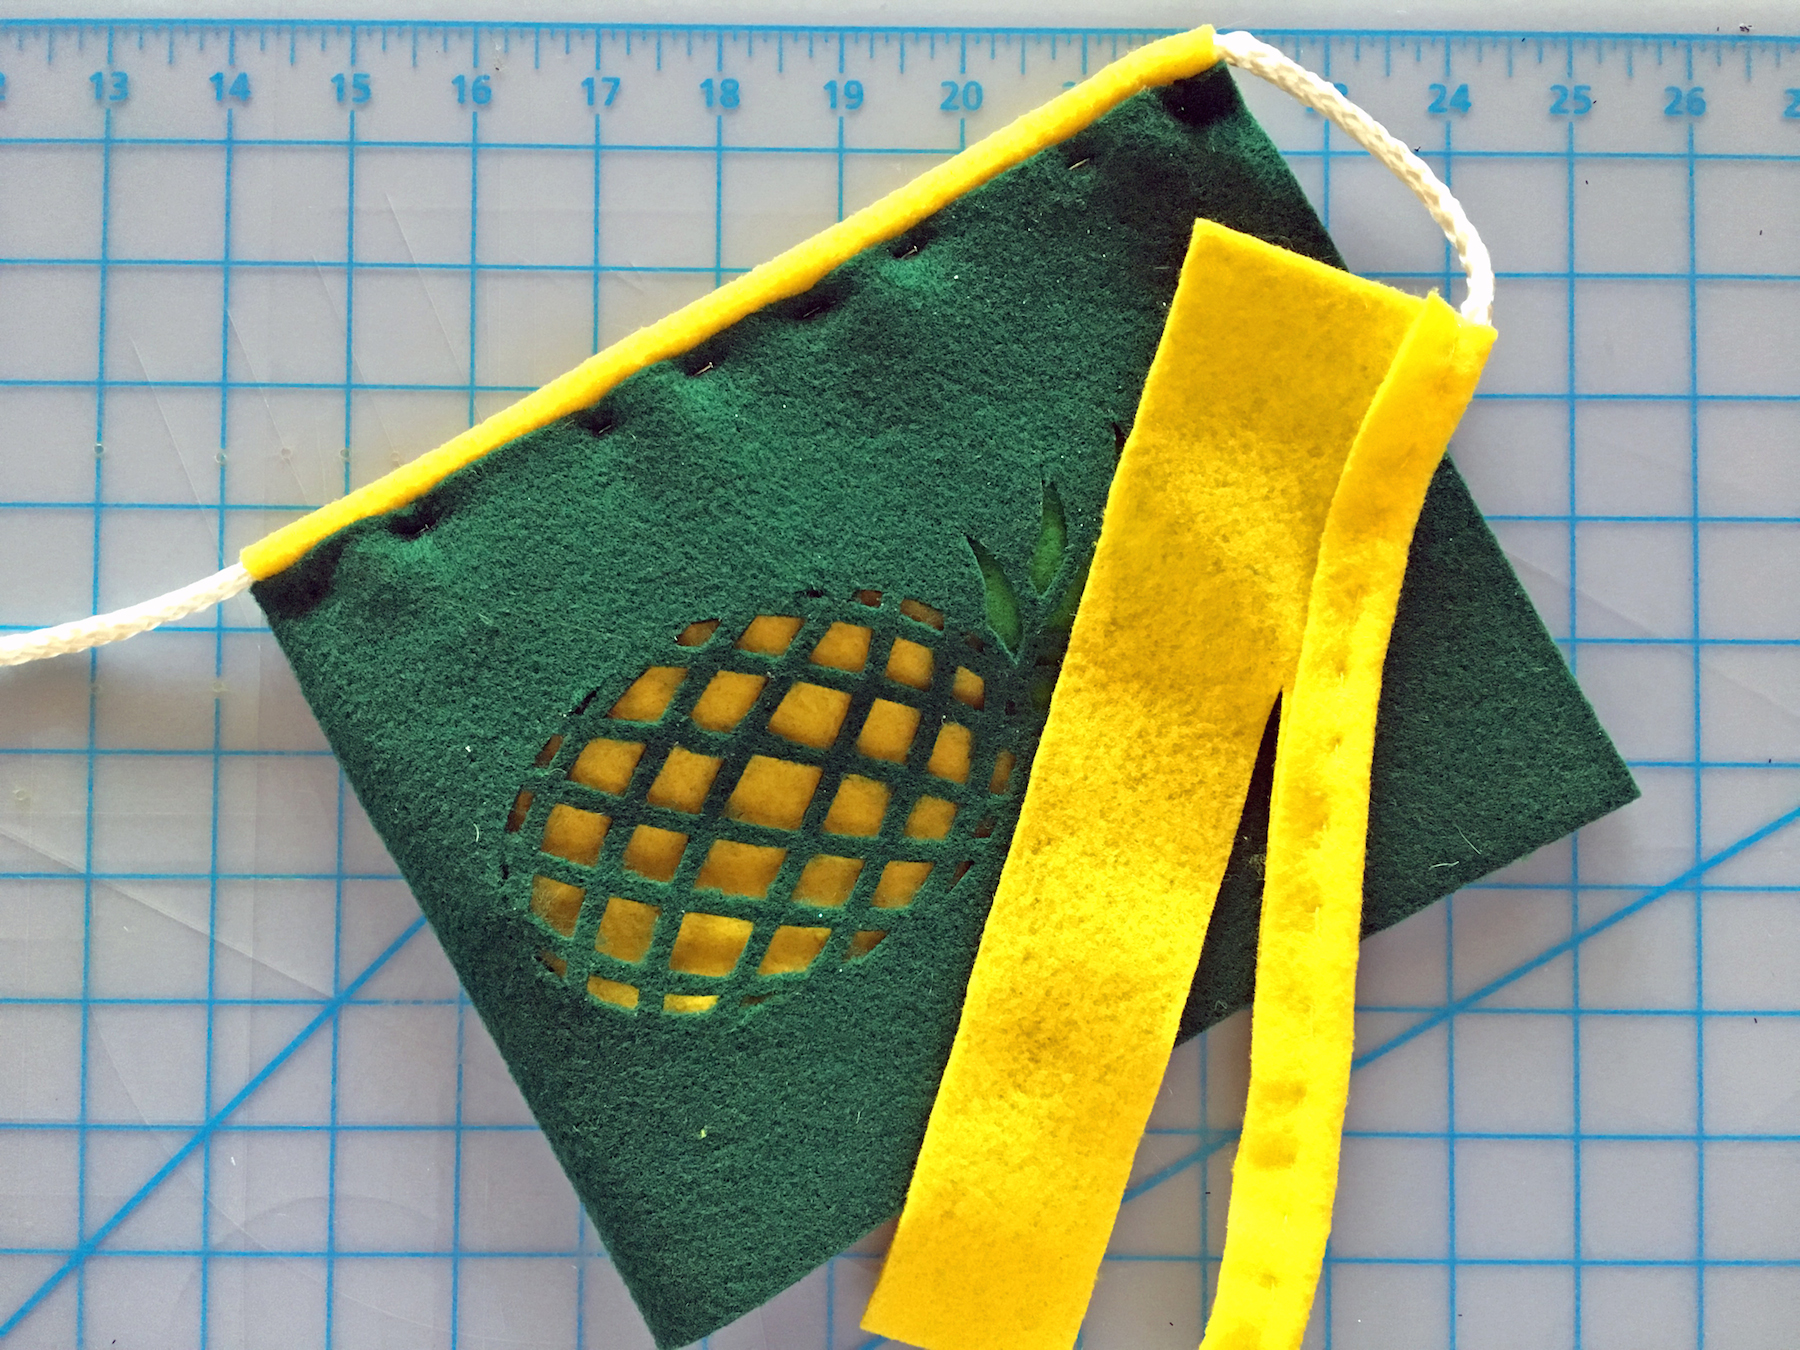
8. Place the green and yellow pieces of felt with the short edges touching on a flat surface. Place the Kelly Green felt on top with the leafy part of the pineapple over the green and the fruit over the yellow. Trim the top of the green a little shorter than the top edge of the purse front. Trim the bottom of the yellow felt to 1” below the bottom of the design, and the width to 6” (½” from each outside edge). Glue the yellow and green felt securely in place at the back of the design.
9. Fold the bottom part of the felt upwards with the design to the front and align the edges to create the purse. The overall size of will be 7” x 9”.
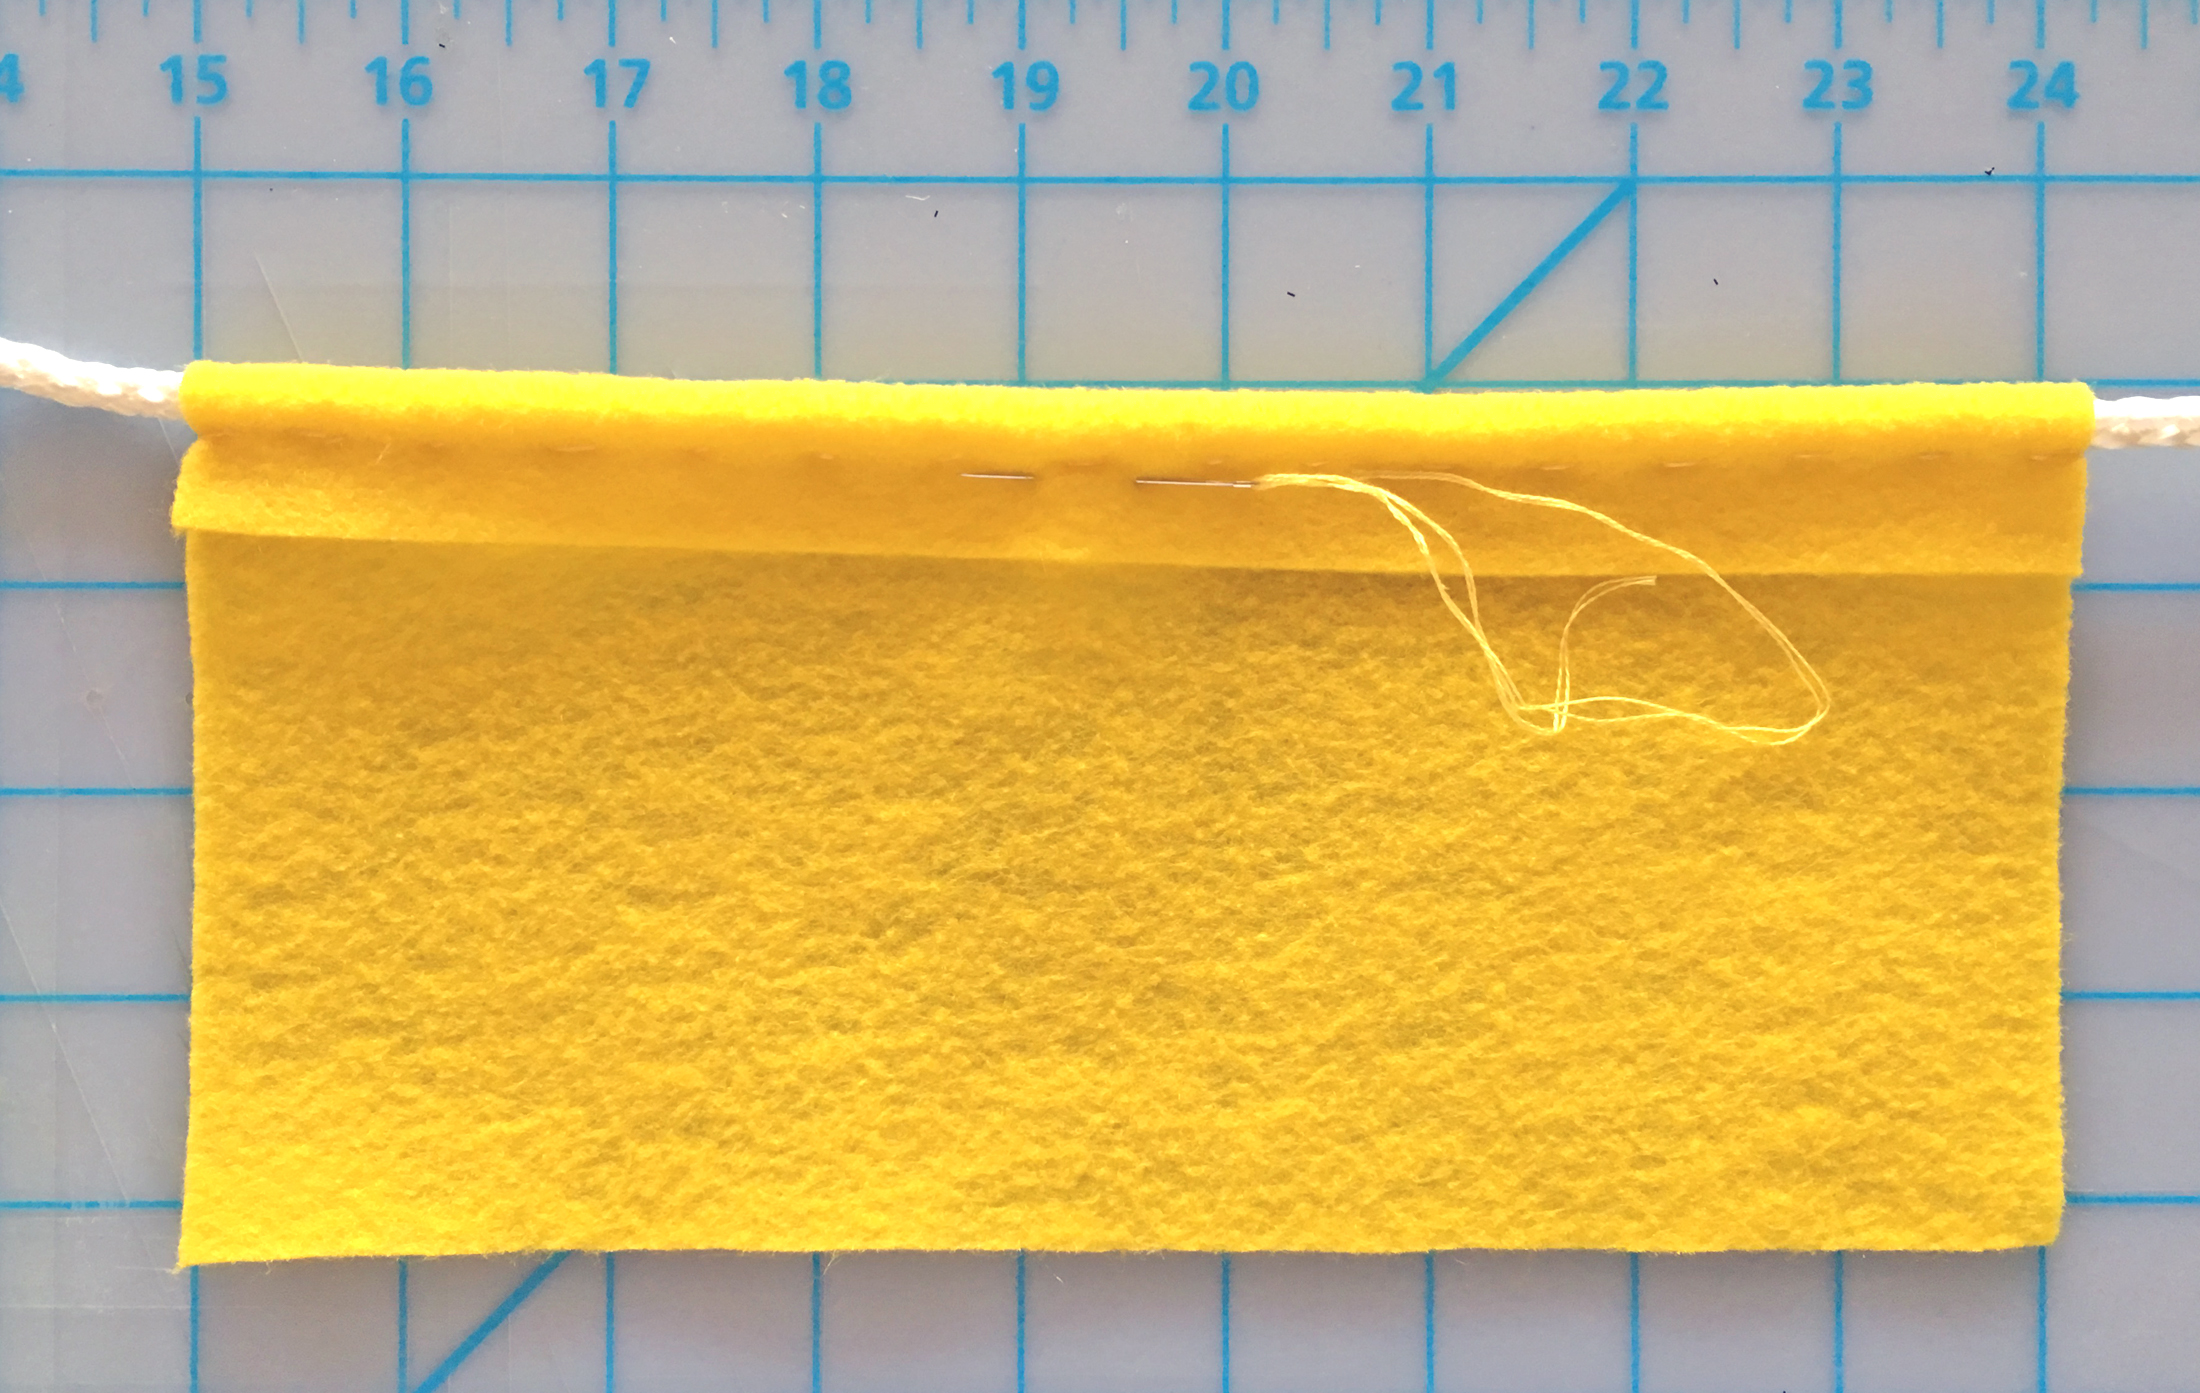
10. To create a casing on either side of the purse for the cord, place one end of the cord across the 9” width of the yellow felt 1” from the top edge. Fold the edge down over the cord then stitch in place up against the cord with a simple up and down (running) stitch. Note: Do not stitch thru the cord.
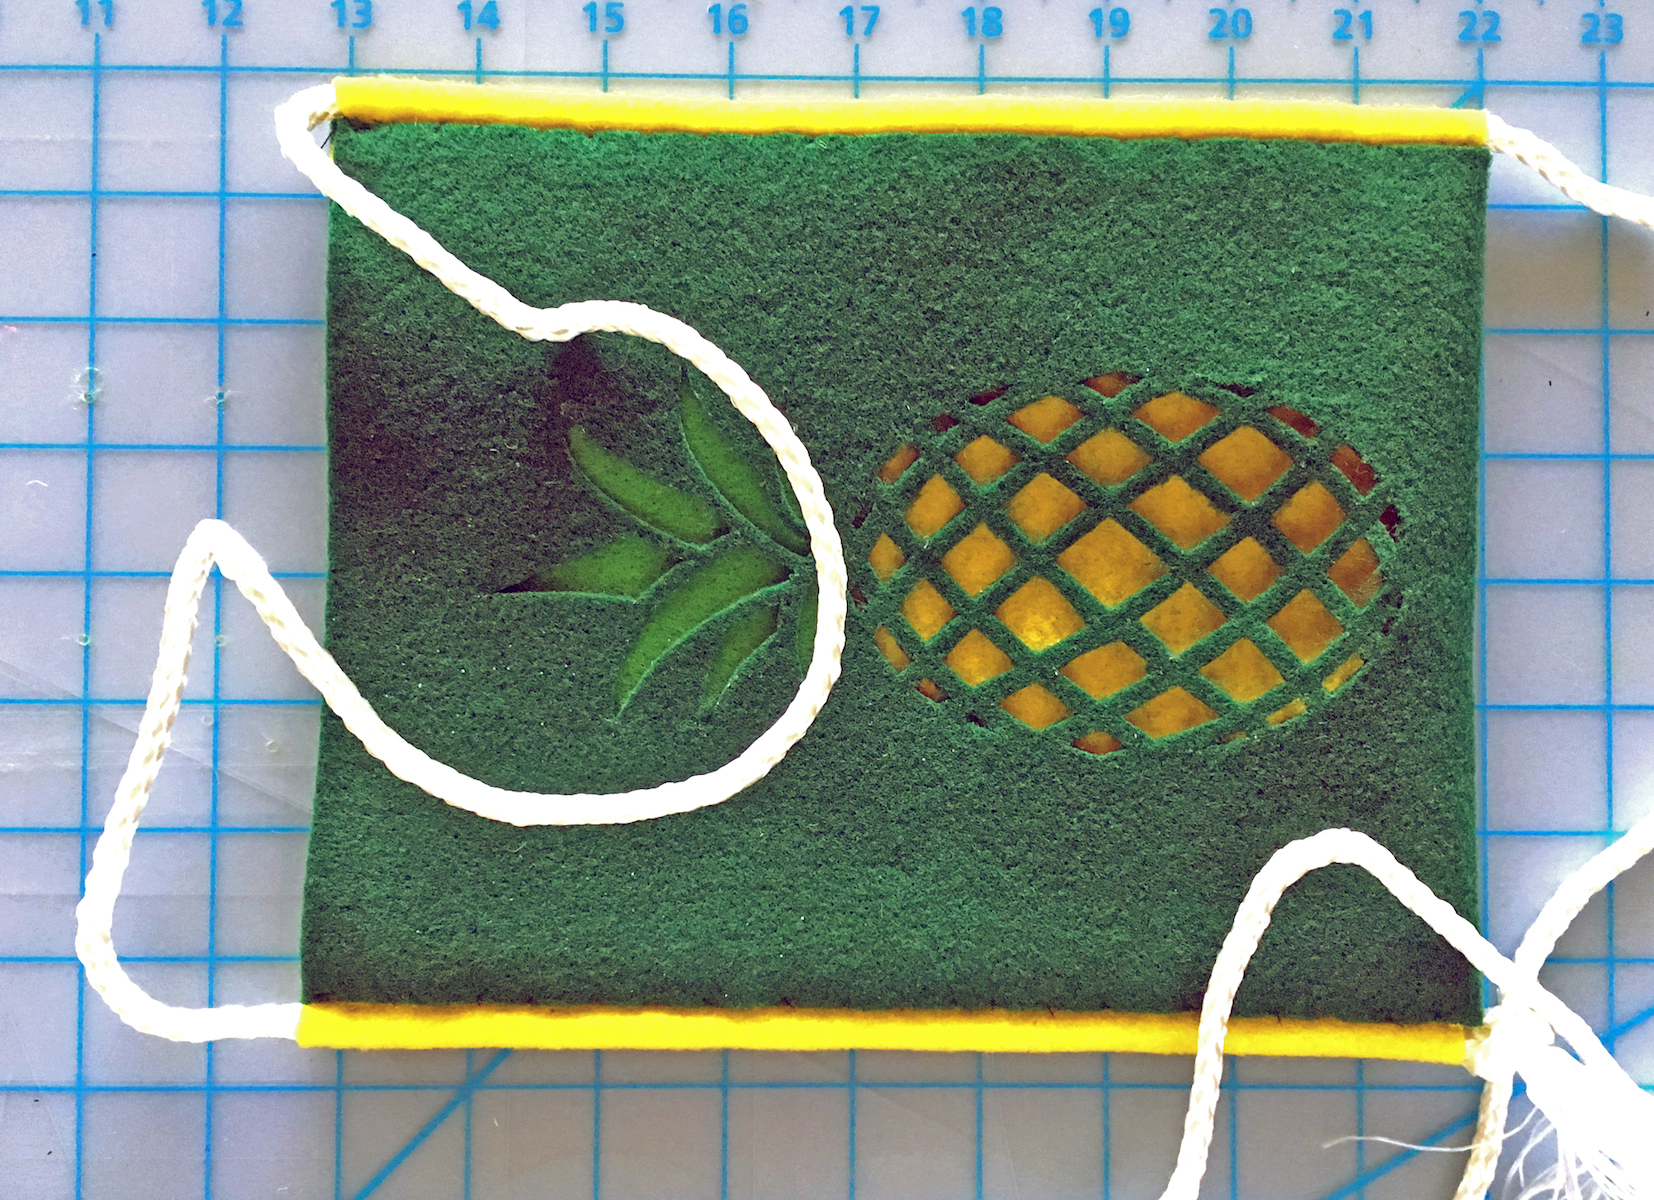
11. Cut away the excess felt from the casing then use this piece to create a second casing. With the end of the cord at the bottom of the purse, sandwich the first casing between the front and the back at the side of the purse. Pin in place. TIP: Tie a knot in the cord at the end so it isn’t accidentally pulled up into the casing.
12. Pin the second casing between the side edges on the opposite side of the purse. Pull the cord to the desired length for the cross strap then stitch the sides together. There are 4 layers of felt (casing, plus the back and the front). It may be easier to stitch the back to the casing first and then stitch the front to the casing. You can also glue the sides and casing together with lo-temp glue. Trim the ends of the cord even with the bottom of the purse.
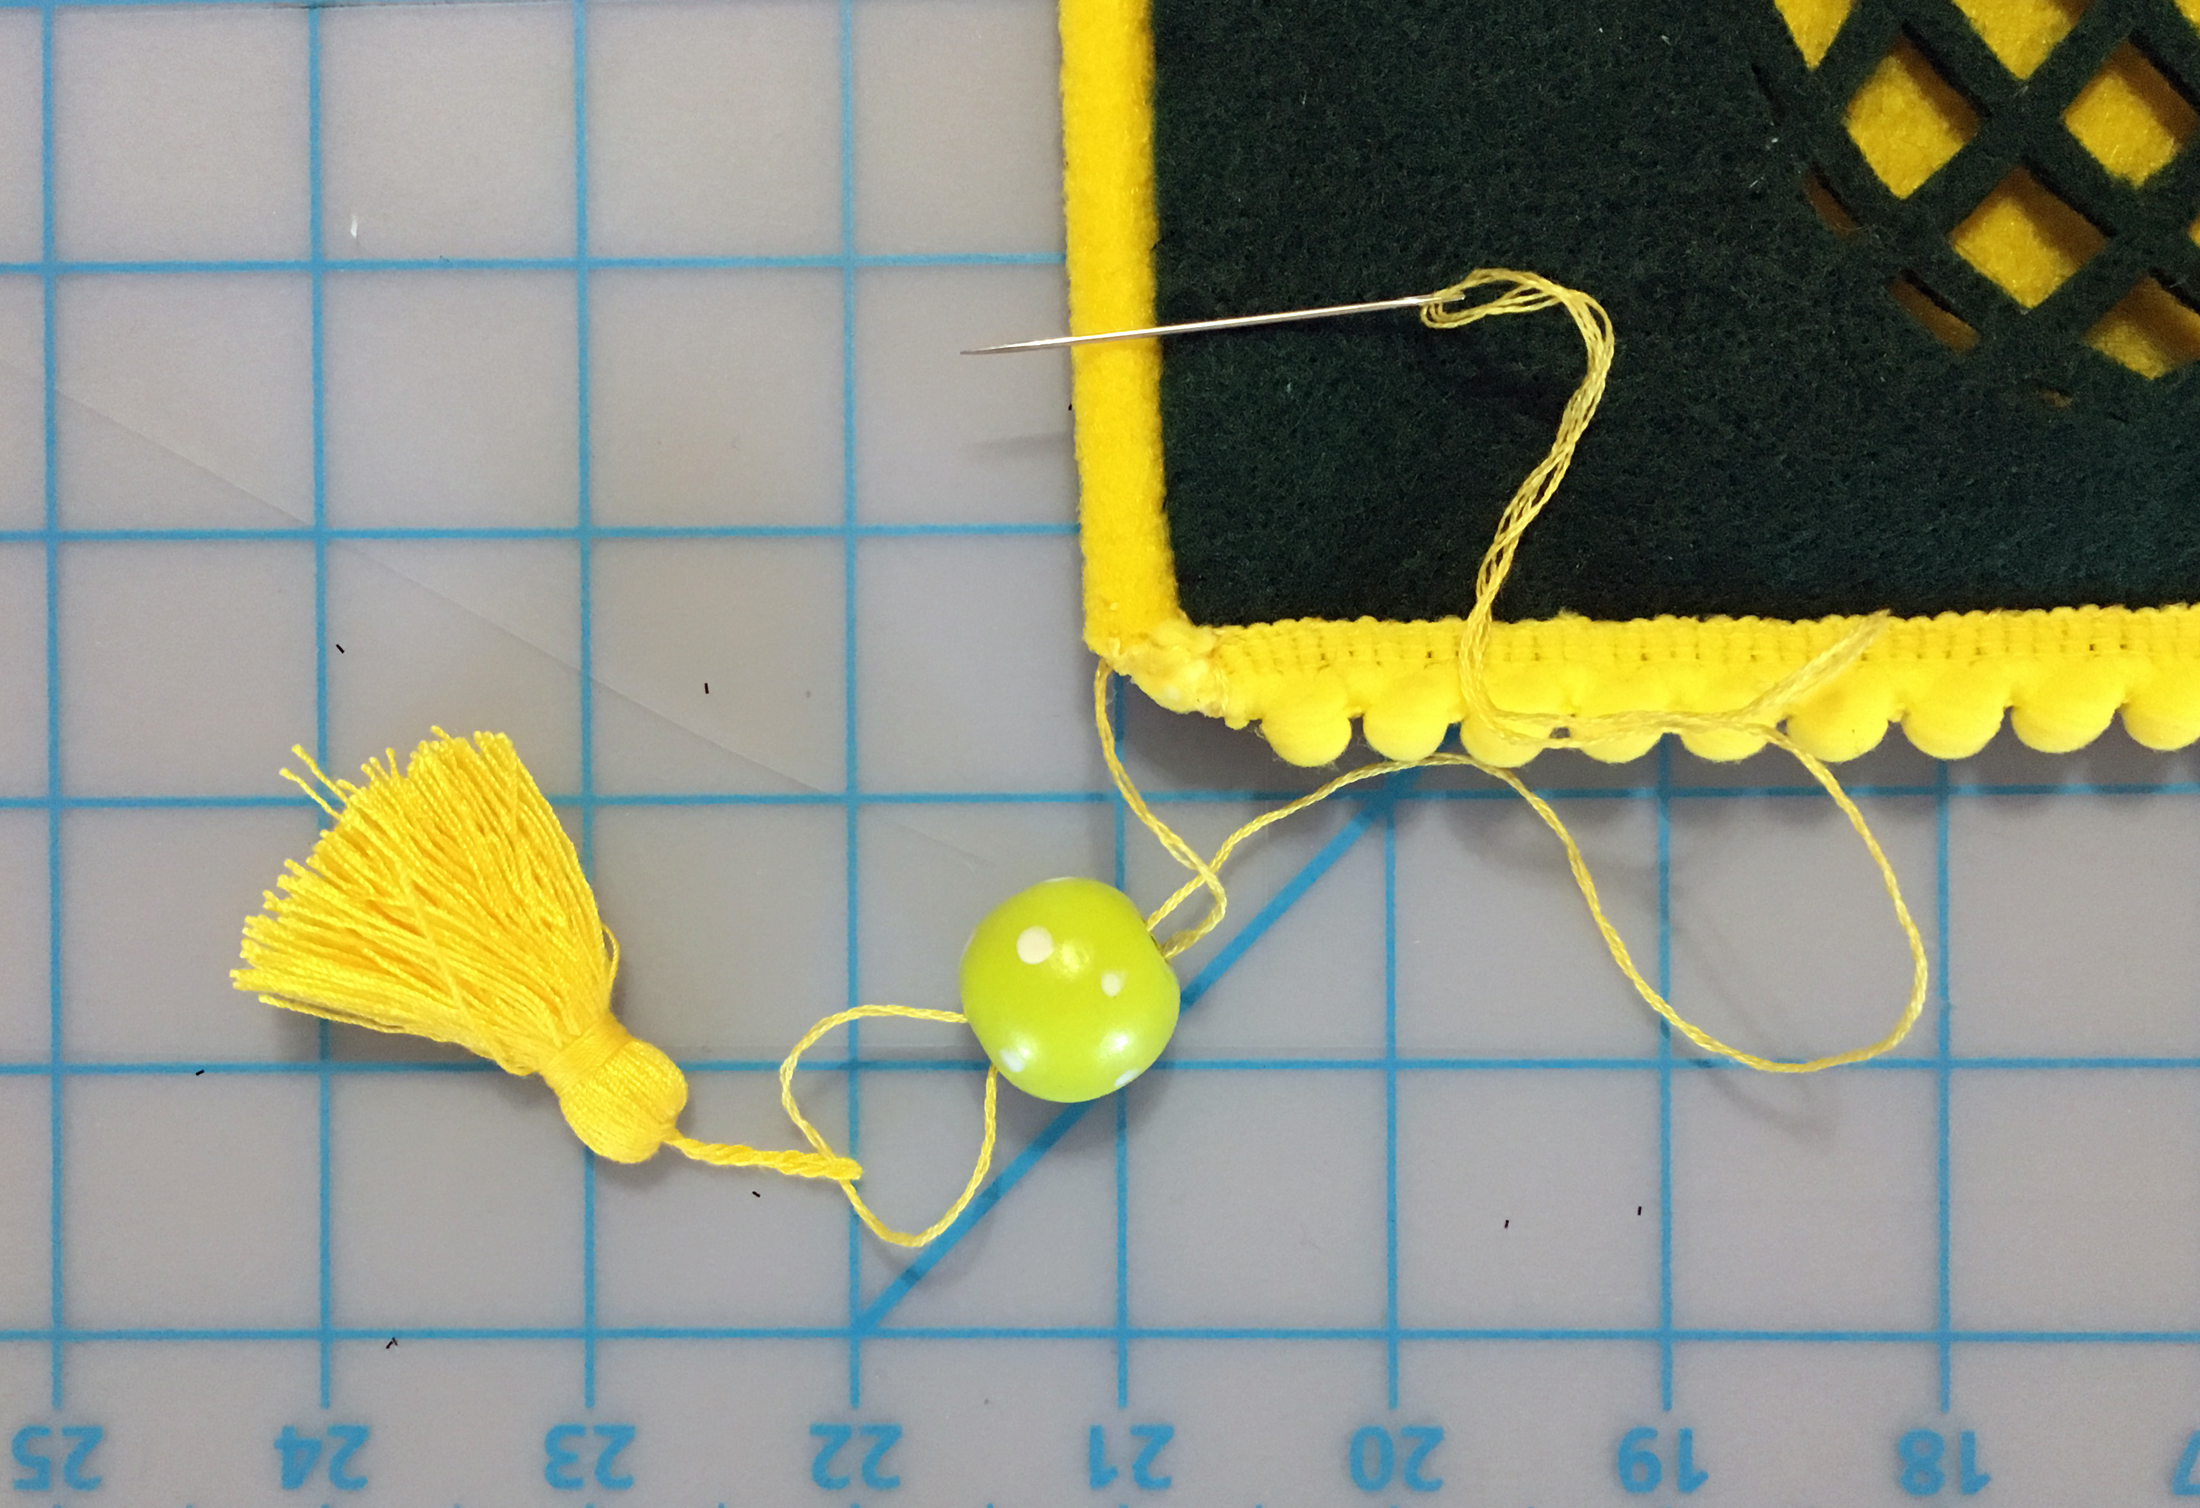
13. Stitch, or glue, the mini pom-pom trim across the bottom of the purse. Attach a tassel to each corner as follows. Secure a length of yellow thread to the corner of the purse. Thread thru the bead and the top of the tassel then back up thru the bead. Pull tightly together and stitch securely in place. Just add your cell phone and and you’re ready to go! Enjoy!
You can now find an expanded color line of Kunin® Classicfelt; Kunin® Premiumfelt and Corduroy non-wovens fabrics in cut by the yard at your local Walmart; please inquire as to what is available in your area.
how cool, i love that you can use a cricut to cut felt!!
Yes, the Cricut Maker is an amazing machine. You can cut lots of different materials with it. Love that I can use it to cut really intricate designs in felt.