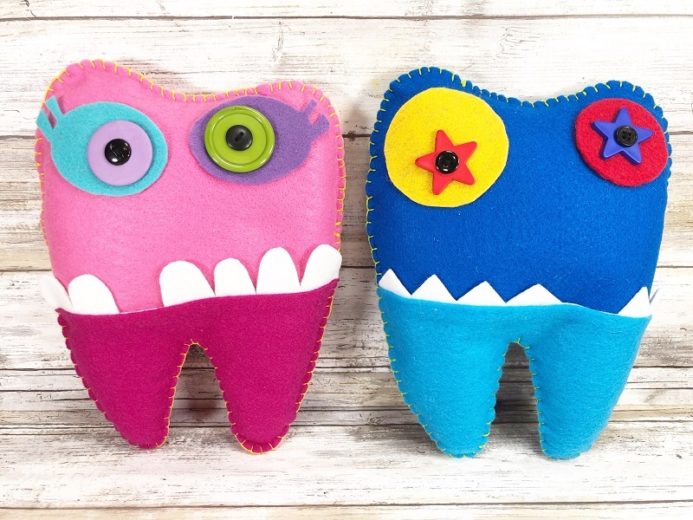
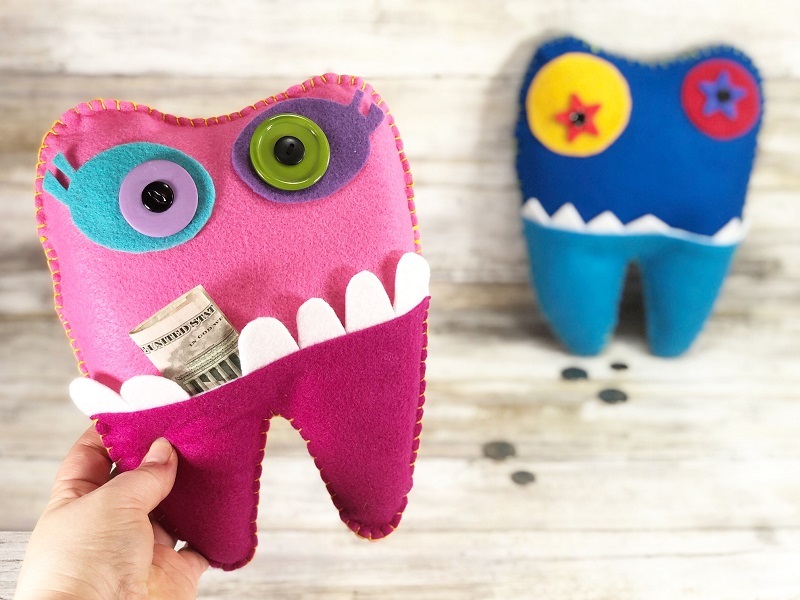
Losing teeth can be kinda scary, so a fun Tooth Fairy Monster Tooth Pillow can be helpful in easing the kiddos into this transition. Cost effective Poly-Fil and a few buttons plus my favorite colors of Kunin® Felt make this project quick. Free printable patterns are included below to make this project even easier for you.

Time: 30 Minutes
Skill Level: Beginner
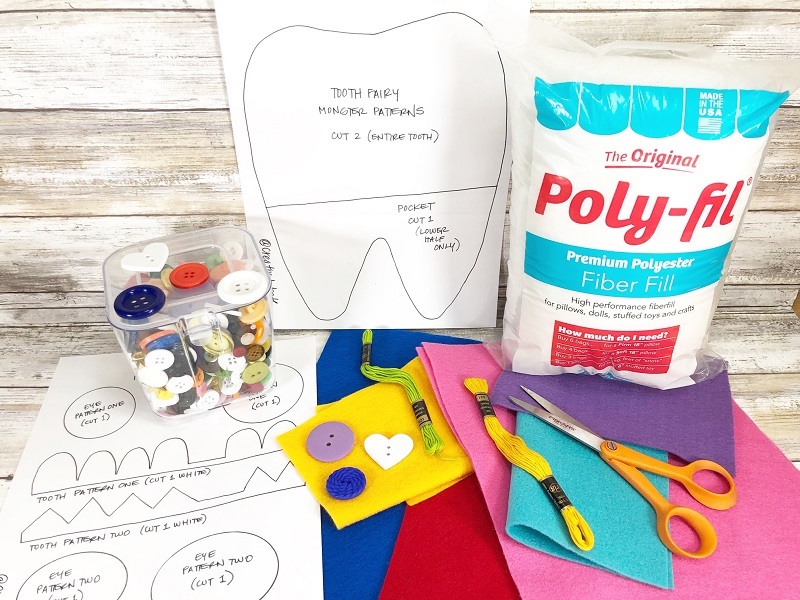
YOU WILL NEED:
- Kunin® Classic™ Felt 9” x 12” Craft Cuts – Neon Blue (2), Candy Pink (2), Brilliant Blue (1), Fucshia (1), White (1), Yellow, Red, Lagoon, Bright Lilac (scraps)
- Poly-Fil® from Fairfield World™
- Straight Pins
- Buttons – two large and two small for each monster
- Embroidery Thread – contrasting colors and black
- Embroidery Needle
- Scissors
- Hot Glue Gun and Glue Sticks OR Fabric Glue
- Tooth Fairy Monster Tooth Pillow Patterns – download below 1 and 2
INSTRUCTIONS:
STEP ONE
Gather all supplies. Download, print and cut out Tooth Fairy Monster Tooth Pillow Patterns HERE.
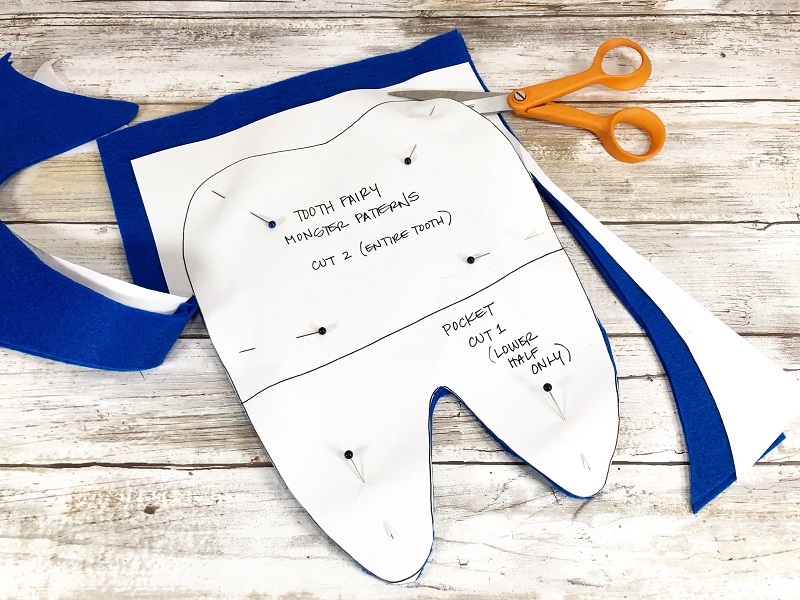
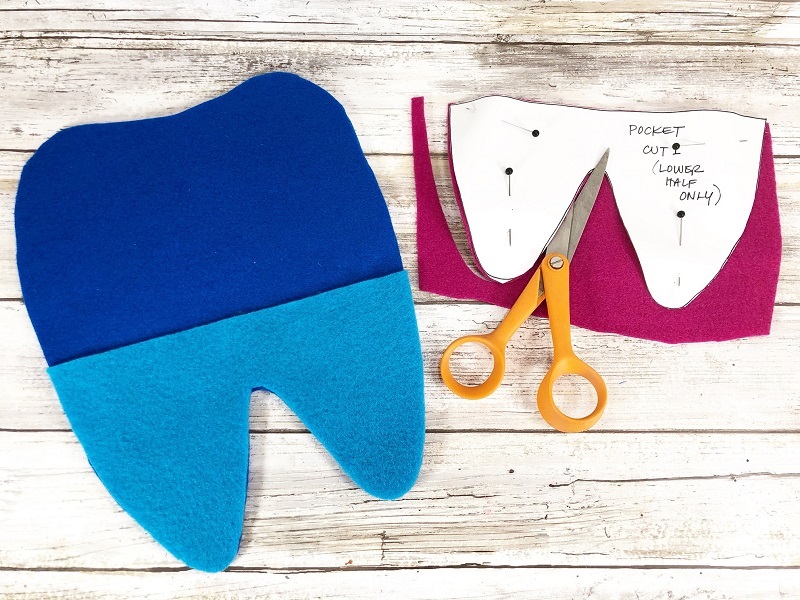
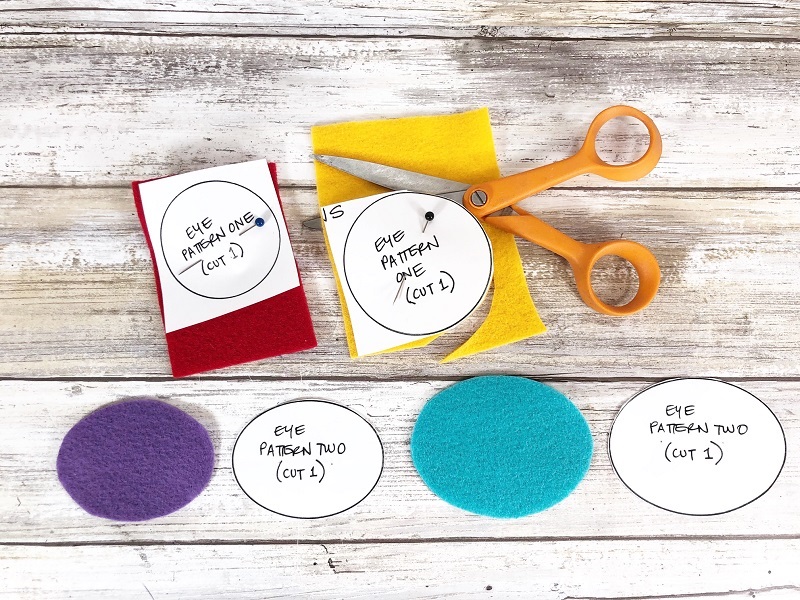
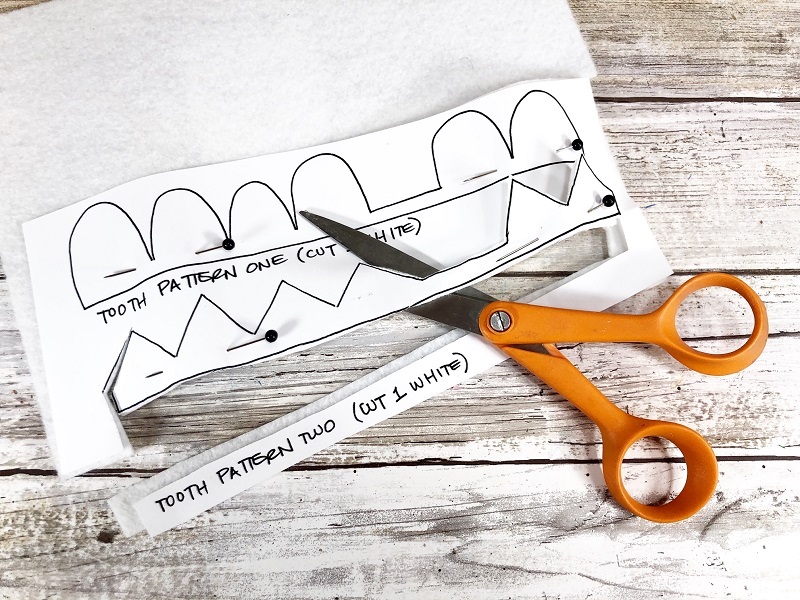
STEP TWO
Layer two pieces of felt and entire tooth pattern together, securing with straight pins. Cut out with scissors. Repeat this process with tooth pocket pattern, eye patterns, and tooth patterns. Get the kiddos involved in this step by selecting their color scheme. Get creative and use up what you have on hand.
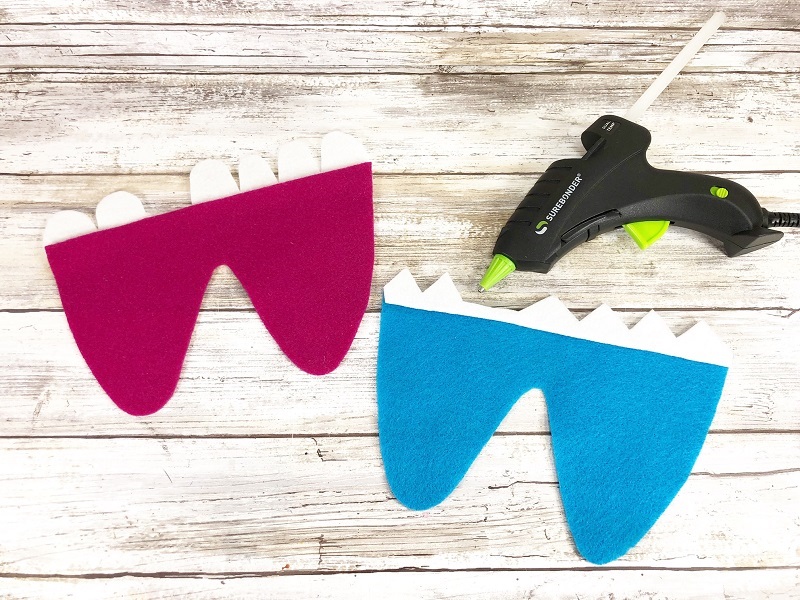
STEP THREE
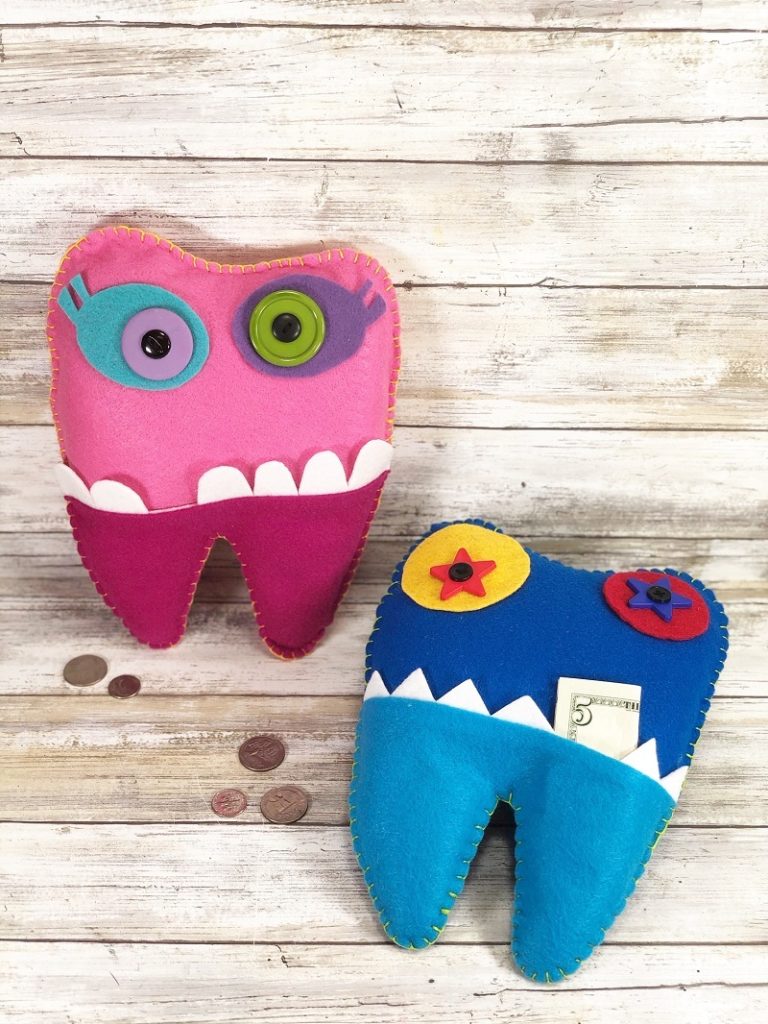
Attach white felt teeth to the back of the tooth pocket with hot glue. Repeat this process by attaching the felt eyes to the top of each monster body. I love the bold and bright super hero color combo, which is perfect for a boy or a girl!

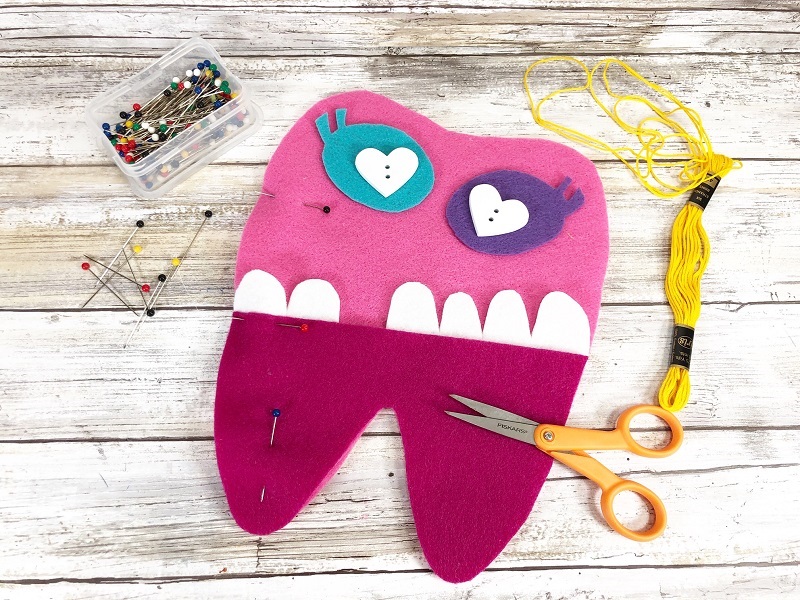
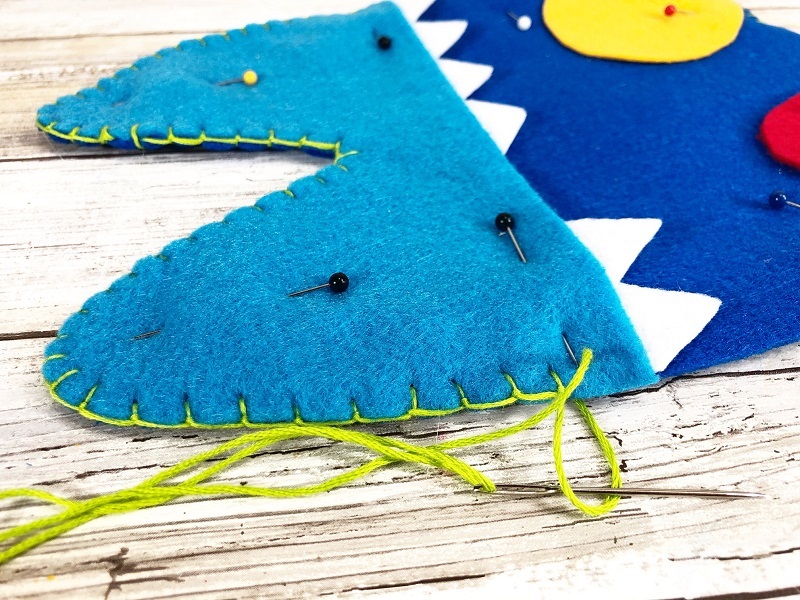
STEP FOUR
Stack all three layers of felt together, lining up the edges and secure with straight pins. Thread an embroidery needle with floss and blanket stitch the edges, leaving a small two-inch opening at the top for stuffing. I love the bright mix of contrasting colors, and the kiddos will, too!
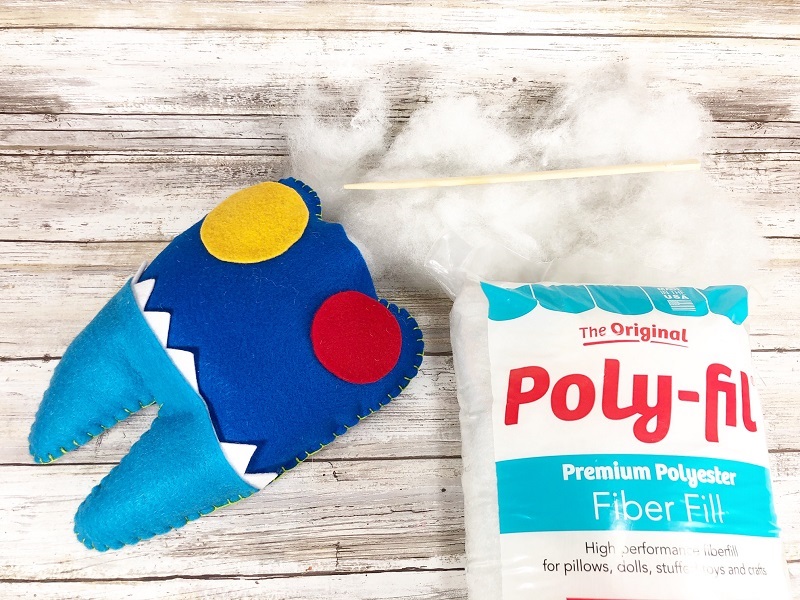
STEP FIVE
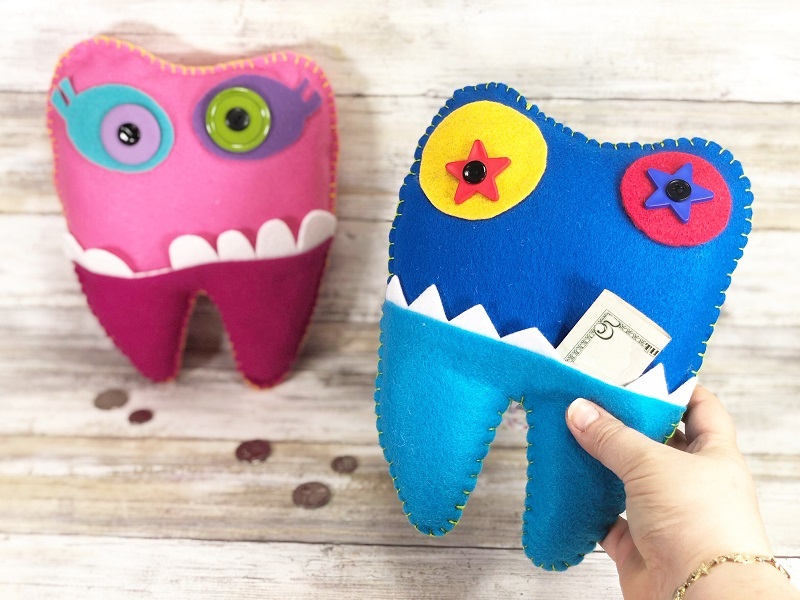
Stuff the Tooth Fairy Monster Pillow with Poly-Fil® from Fairfield World™ through the small opening left at the top. Pull apart small pieces of the stuffing and work down into each section of the pillow using a chopstick or pencil. I like a soft stuff, so I use a bit less Poly-Fil. If you prefer a harder stuff, use more and pack it tighter.
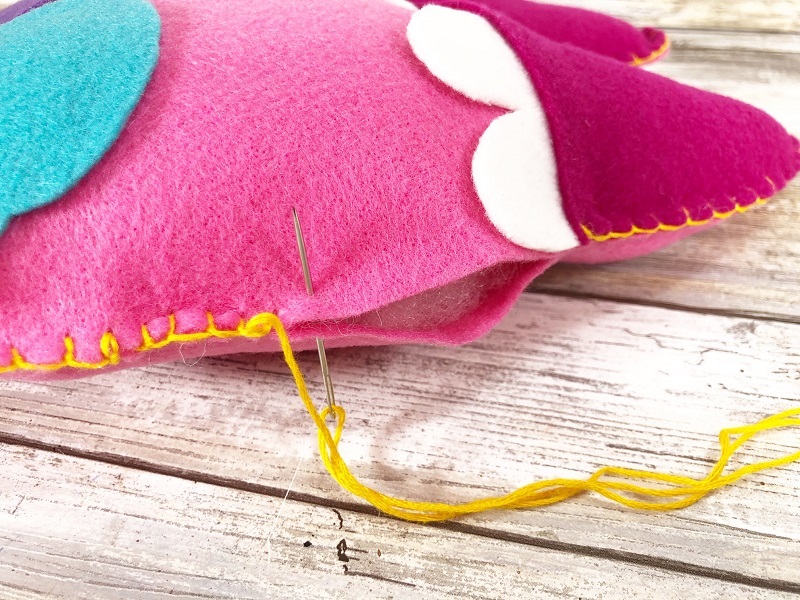
STEP SIX
Once the Tooth Fairy Monster Pillow is stuffed, stitch it closed.
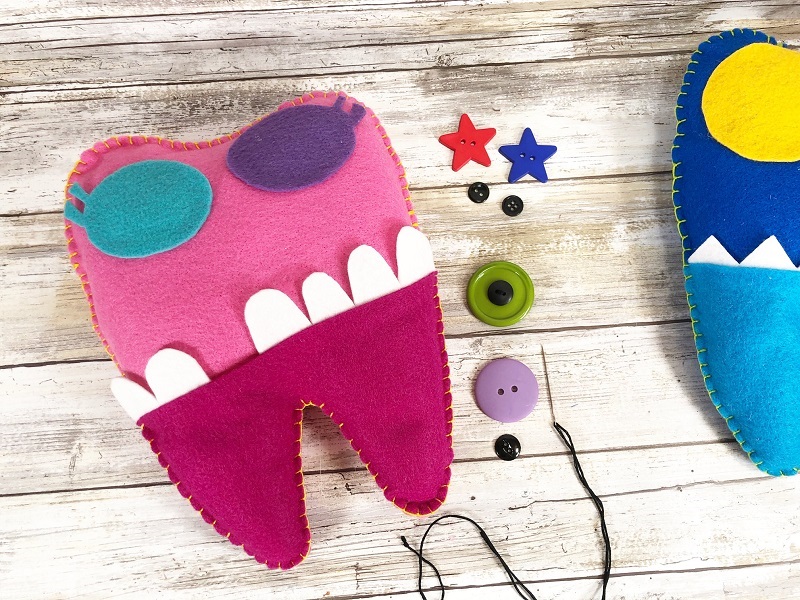
STEP SEVEN
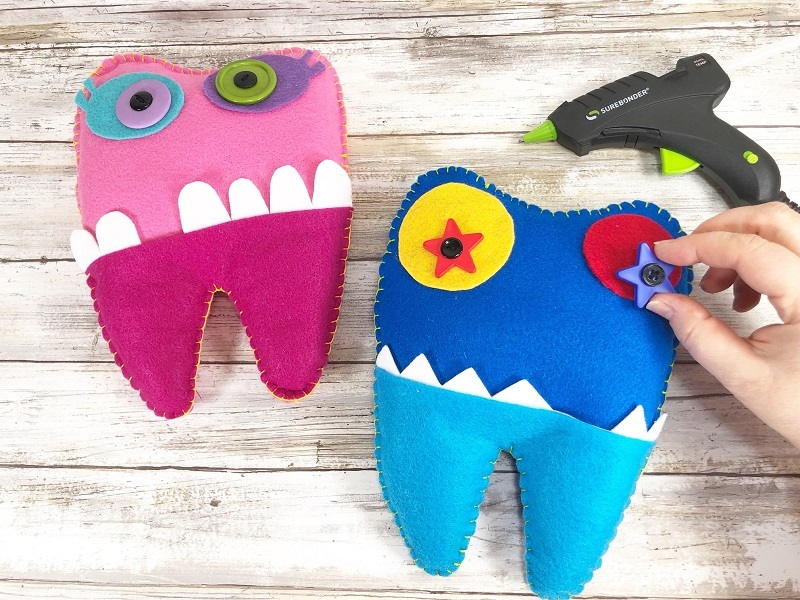
Stack a small black button on top of a large colorful button and stitch together with black embroidery floss. Attach the button eyes to the monster with hot glue. This pillow should be used by older children. For smaller children, you can stitch on all elements.
I hope you will use my Tooth Fairy Monster Tooth Pillow as a jumping-off point to showcase your Kunin Creativity and create a colorful and fun craft project with your kiddos! Switch up the colors to suit your child’s preferences, the possibilities are endless!
Kunin® Felt is an easy, versatile and forgiving medium which allows you to create affordable but trendy projects whether you are a beginner or an expert crafter!
You can now find an expanded color line of Kunin® Classicfelt and Kunin® Premiumfelt non-wovens fabrics in cut by the yard at your local Walmart; please inquire as to what is available in your area. Find our complete collection online at Fabric.com..
Follow Kunin® Felt on Facebook, Instagram and Pinterest for daily creative inspiration and crafty projects! Make sure to tag Kunin® on social media with the hashtag #createwithkunin
Thanks for stopping by!