Banners of Hope was launched at the CHA www.craftandhobby.org trade show in Anaheim in January. An initiative by the Fabric Arts Council, a show member section, the mission is to encourage people to sew and to also give back by creating small fabric Banners of Hope. These Banners will then be displayed in shelters, hospitals or wherever messages of hope are needed.
For the Anaheim show I created a banner along with a group of very talented designers. After the show these banners were sent to the Charity Wings Art Center and from there will travel as a display to wherever they are needed. Attendees at the show also created banners and Kunin Felt was one of the proud sponsors of that event.
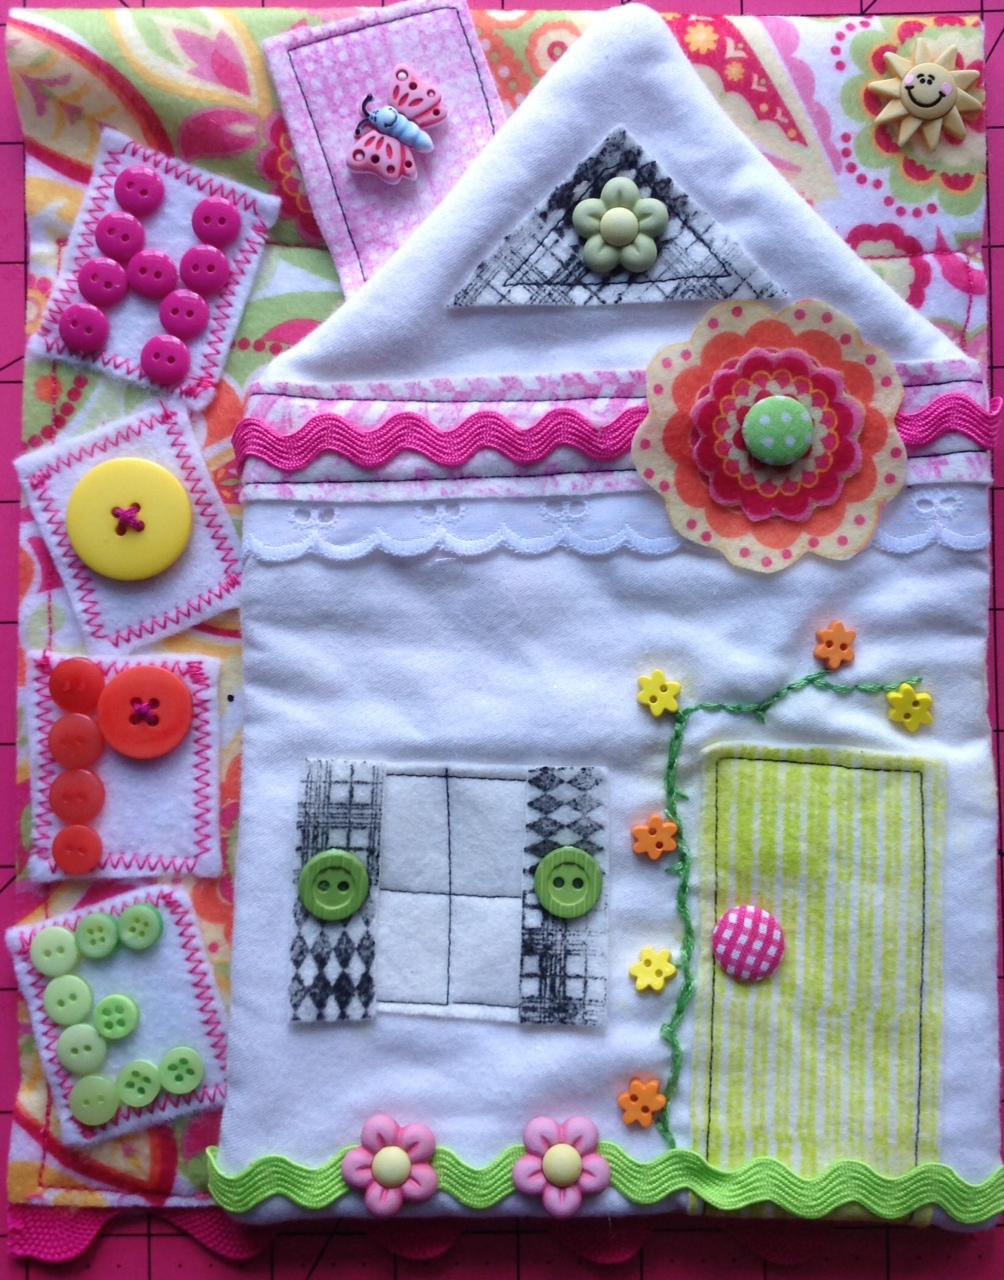
Canada Sews is getting ready to launch their own Banners of Hope events at various creative shows across the country, encouraging attendees to stop and sew a banner to become part of a charitable display. I created the banner above for the upcoming show event inspired by my Mom who was very creative. As an orphan she never really had a home until she married my Dad.
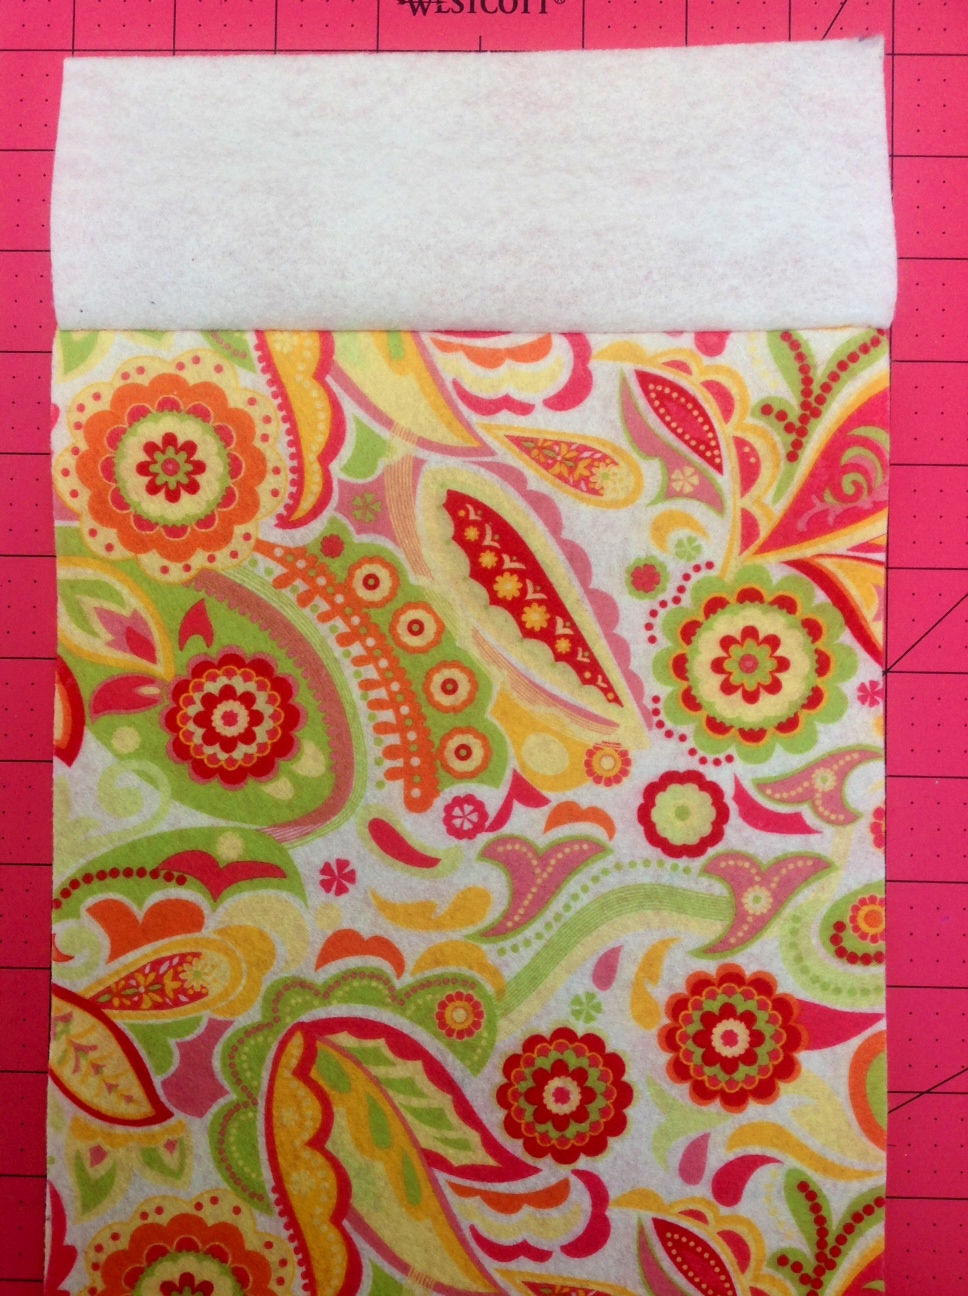
I also wanted to share a simple tutorial on how to make a basic banner from felt. This can then be embellished, layered with additional sewing elements. A craft cut of felt is 9” by 12” and a finished banner size is 8” by 12” so only two craft cuts are needed to make a basic banner.
You will need:
9” x 12” pieces of Kunin, 2 of your choice
Fabri-tac Glue by Beacon
Scissors, ruler, pencil, pins, scissors, cutting mat and rotary cutter, sewing machine and matching thread or it can be glued.

- With the rotary cutter cut 1” off of the 12” length. Cut a 3” by 8” piece of felt from second craft cut.

- Place right sides together and sew a ¼” seam or can be glued along the top.
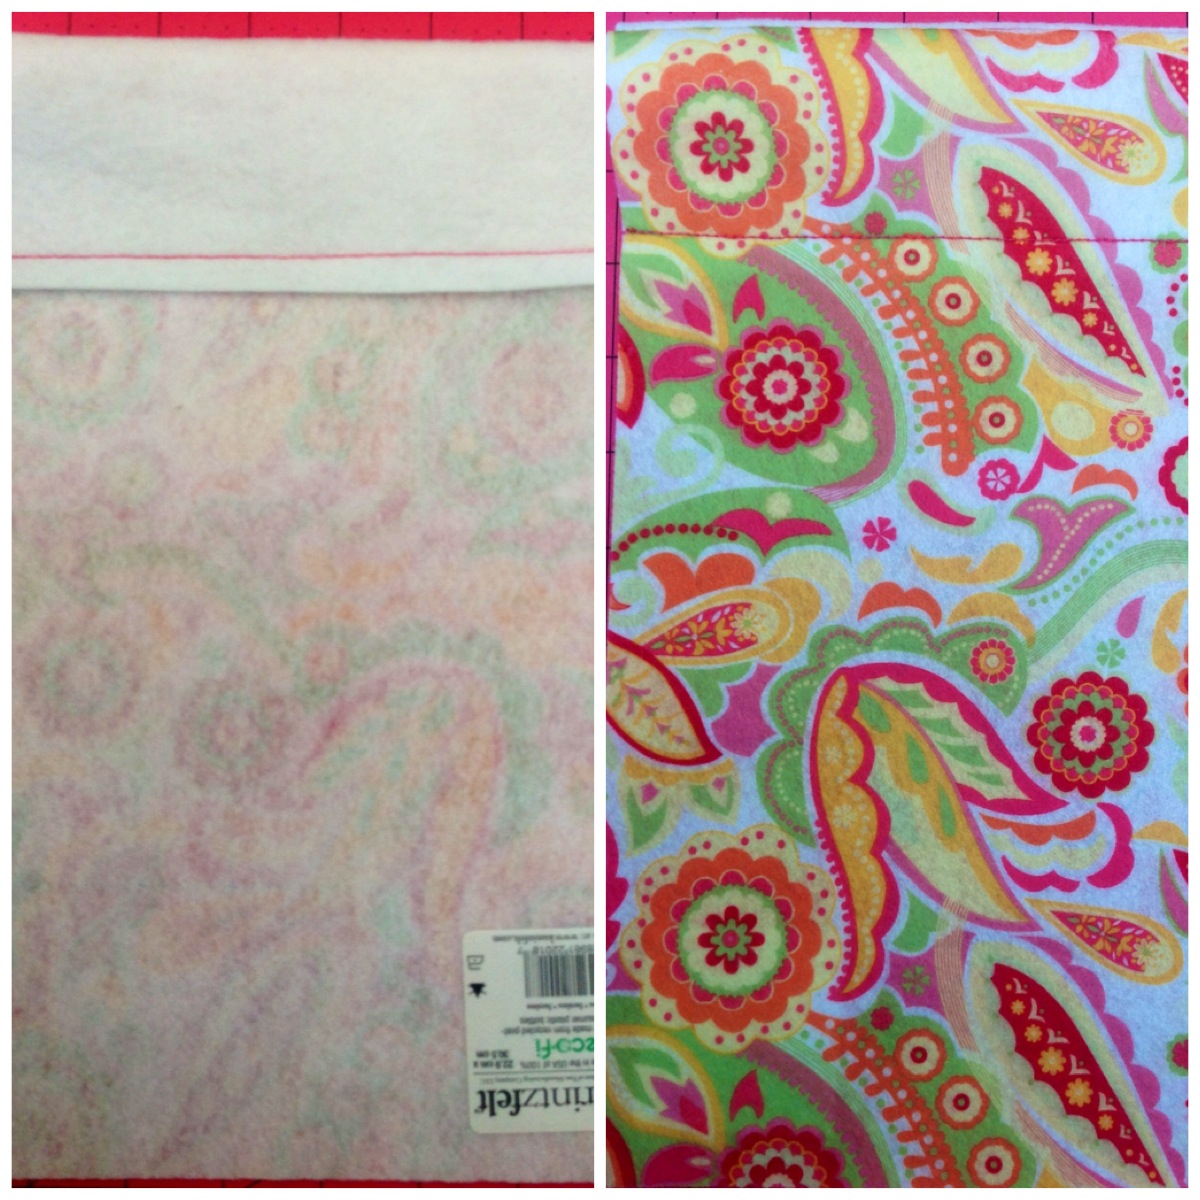
- Fold over 3” piece to back, measure 12” from bottom to the folded top. Adjust if needed. Finger press seam. Topstitch through both layers at the 2” mark to create casing to hang banner.
Now you are ready to create your main banner. I had made this little fabric stamped house and knew it would be perfect for this banner and its message.
The other elements the button Hope letters are cut rectangles of felt with a zigzag stitch edge. Sewing the elements separately and then adding them to the basic banner is the easiest way to construct the piece. I glued the buttons on and sewed a couple of the larger ones in place on the felt rectangles. The rectangles were then added to the banner. The house after being embellished was glued to the banner.
The Banners of Hope are a very doable project with their small size. A group of them arranged together makes for an inspiring display. Kids could make felt banners with someone preparing the basic banner for them they could then embellish it.
For more information on the Banners of Hope and starting your own visit the CHA www.craftandhobby.org website. There are links to all of the information you need to participate in a Banners of Hope project. #Creatime! Debra